SsangYong Korando II (1996-2006 year). Manual — part 447

SSANGYONG MY2002
9L-4 GLASS AND MIRRORS
KAA9L030
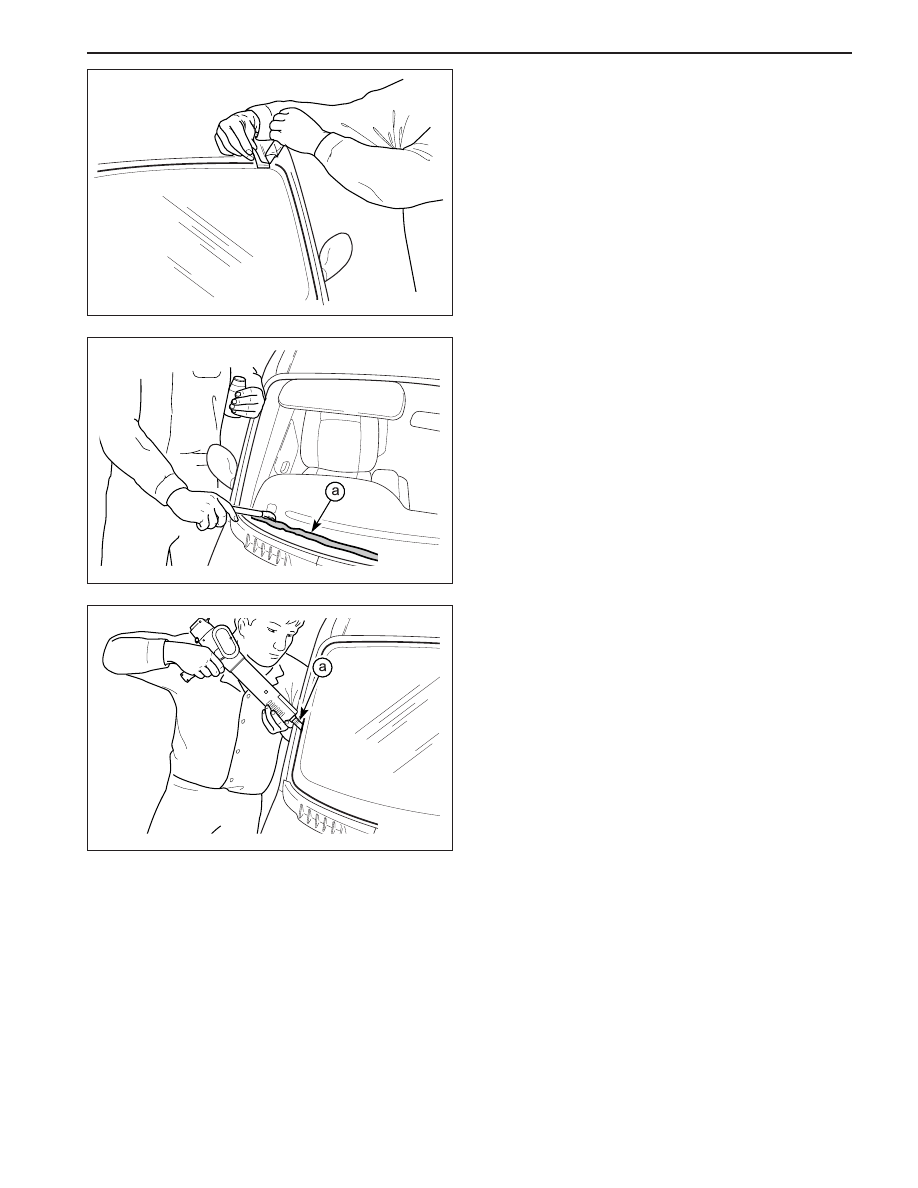
4. Using the glass sealant remover J-24402, cut the
adhesive around the windshield.
KAA9L020
ON-VEHICLE SERVICE
UNIT REPAIR
WINDSHIELD
Tools Required
J-24402
Glass Sealant Remover
Removal Procedure
1. Remove the cowl vent grille. Refer to Section 9R,
Body Front End.
2. Remove the inside rearview mirror. Refer to “Rear
view Mirror” in this section.
3. Remove the weatherstrip around the windshield.
REPAIR INSTRUCTIONS
GLASS AND MIRRORS 9L-5
SSANGYONG MY2002
KAA9L050
KAA9L060
Installation Procedure
1. Install the new weatherstrip to the windshield.
2. Apply tape to the new weatherstrip and the wind
shield to hold the weatherstrip in place.
3. Apply adhesive primer to the windshield frame and
the perimeter of the windshield.
KAA9L040
5. Remove the windshield from the vehicle.
6. Using a knife, remove the adhesive from the wind
shield.
7. Using a knife, remove the adhesive from the wind
shield frame.
4. Apply glass adhesive to the windshield frame.
5. Install the windshield into the windshield frame.
6. Reposition the tape over the weatherstrip, the
wind-shield, and the windshield frame to hold the
wind-shield in place.
7. Let the adhesive dry for 24 hours.
8. Remove the tape.
9. Check for waterleaks by pouring water on the wind
shield. If a leak is found, dry the windshield and
fill the area that leaks with adhesive. If the leak
persists, remove the windshield and repeat the
entire procedure.
10. Install the inside rearview mirror. Refer to
“Rearview Mirror” in this section.
11. Install the cowl vent grille. Refer to Section 9R,
Body Front End.
SSANGYONG MY2002
9L-6 GLASS AND MIRRORS
KAA9L080
KAA9L090
KAA9L100
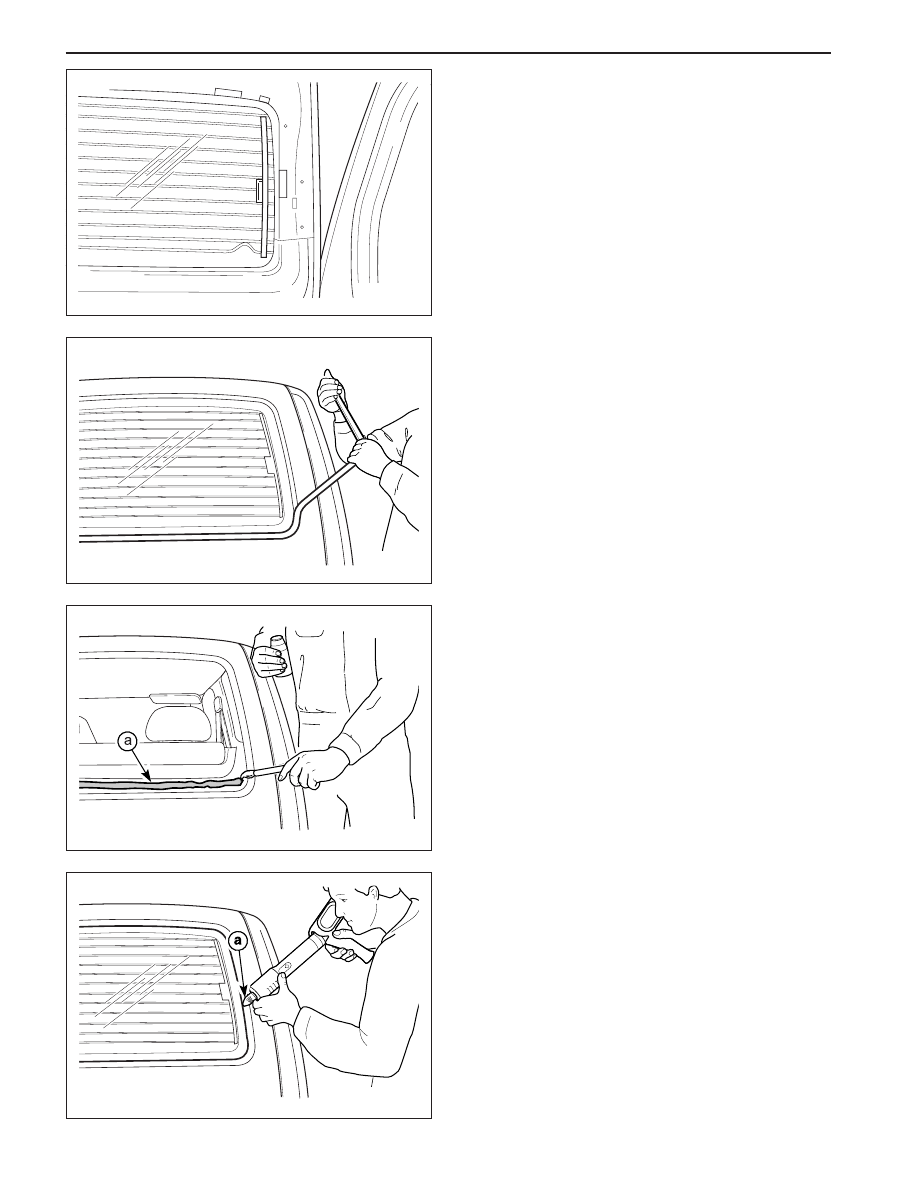
3. Remove the weatherstrip around the rear window.
7. Apply adhesive primer to the rear window frame
and the perimeter of the rear window.
KAA9L070
REAR WINDOW GLASS
Tools Required
J-24402
Glass Sealant Remover
Removal and Installation Procedure
1. Disconnect the negative battery cable.
2. Disconnect the rear window defogger electrical
connector.
4. Remove the tailgate trim panel.
5. Remove the screws that secure the glass to the
tailgate panel.
6. Remove the glass from the tailgate panel.
GLASS AND MIRRORS 9L-7
SSANGYONG MY2002
KAA9L120
11. Let the adhesive dry for 24 hours.
12. Remove the tape.
13. Check for waterleaks by pouring water on the rear
window. If a leak is found, dry the window and fill
the area that leaks with adhesive. If the leak
persists, remove the rear window and repeat the
entire procedure.
14. Connect the rear window defogger electrical
connector.
15. Connect the negative battery cable.
16. Installation should follow the removal procedure
in the reverse order.
KAA9L110
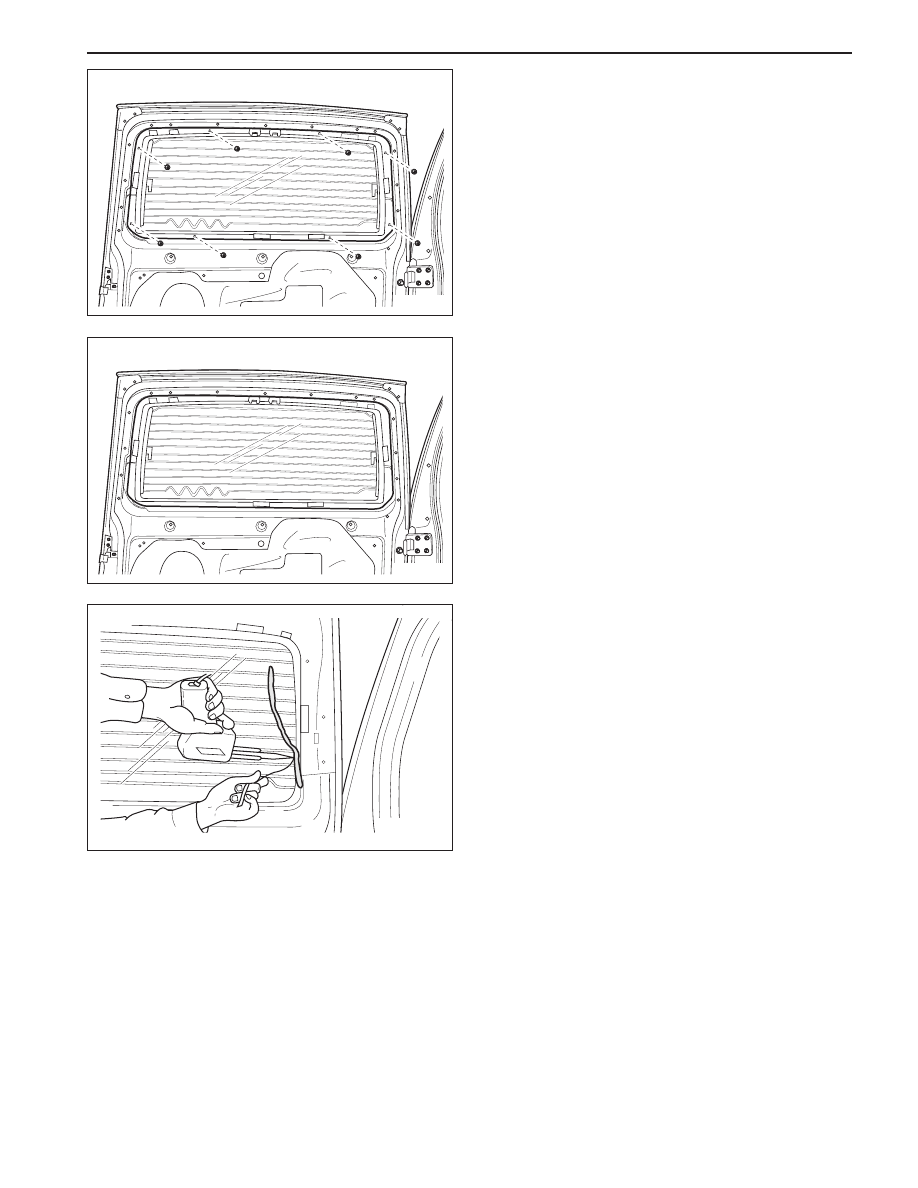
8. Apply glass adhesive to the rear window frame.
9. Install the rear window into the rear window frame
using the glass plastic nut.
10. Reposition the tape over the weatherstrip, the rear
window, and the rear window frame to hold the
rear window in place.
KAA9L150
REAR WINDOW DEFOGGER
BRAIDED LEAD WIRE REPAIR
The rear window defogger bus lead wire or the terminal
can be reattached by resoldering. Use a solder
containing 3 percent silver and a rosin flux paste.
1. The repair area should be buffed with fine steel
wool before soldering the bus lead wire.
2. Apply the paste-type rosin flux in small quantities
to the wire lead and the bus lead wire repair area
using a brush.
3. Coat the soldering iron tip with solder. Use only
enough solder to ensure a complete repair.
4. Use only enough heat to melt the solder. Do not
overheat the wire when resoldering to the bus lead
wire.
5. Installation should follow the removal procedure
in the reverse order.
Нет комментариевНе стесняйтесь поделиться с нами вашим ценным мнением.
Текст