BMW 3 (E46). Manual — part 229
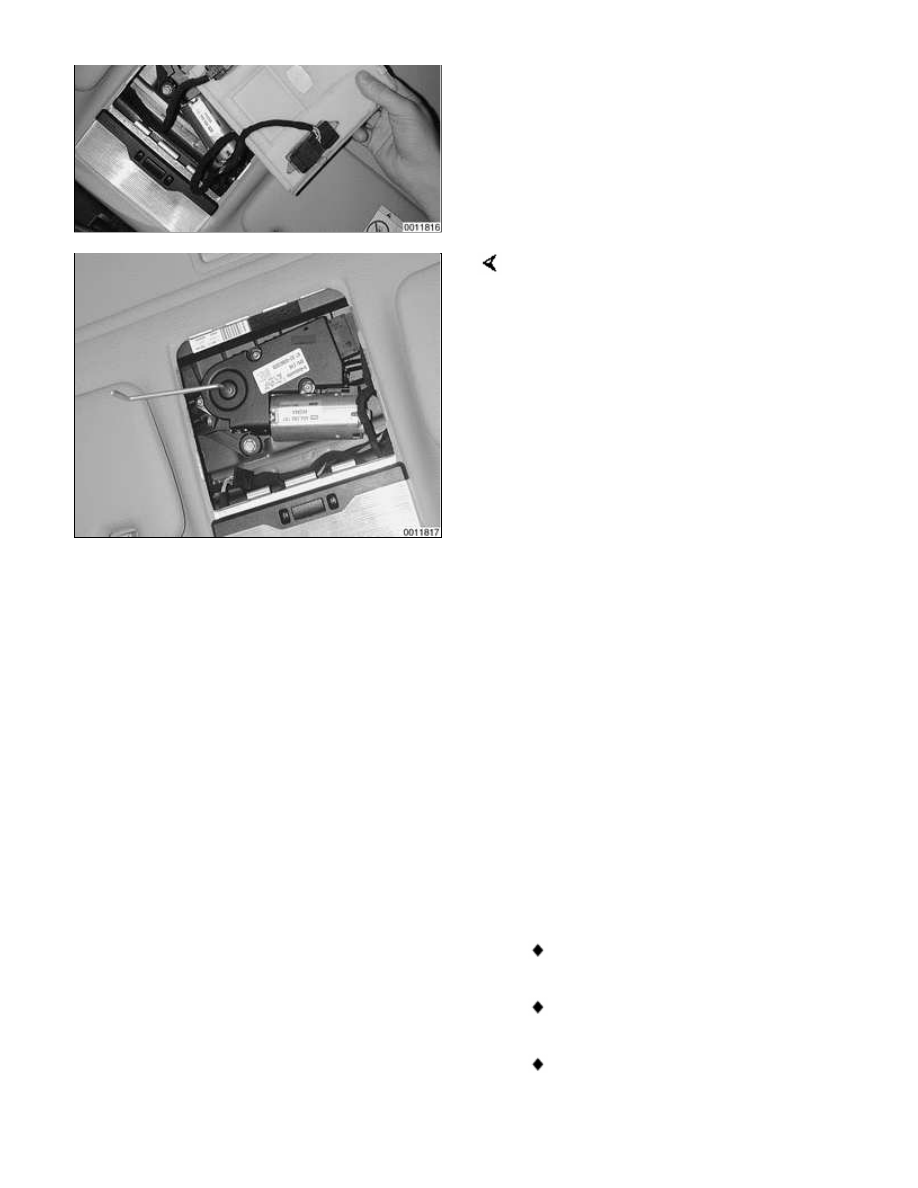
Insert hex key into drive in sunroof
motor, and turn hex key to manually
close sunroof.
Note:
The hex key for manually (emergency)
closing the sunroof can be found in the
tool kit located in the trunk lid (sedan,
coupe and convertible) or under the
cargo area floor panel (Sport Wagon).
Sunroof panel, adjusting
Note:
Be sure to check drains in front corners
of sunroof carrier if water is entering car
through headliner.
The sunroof is controlled by a set of
cables that move the sunroof panel
along guide rails when the motor is
operated. The sunroof can be adjusted
without removing it from the car.
The sunroof panel should be adjusted
under the following circumstances:
Sunroof misaligned with roof
Sunroof does not close squarely
Wind noise at high speeds
(sunroof closed)
Sunroof has been removed
Whenever the top of the closed sunroof
becomes misaligned with the roof of
the car, if it does not close squarely, if
there are wind noises at speed, if there
are water leaks, or if the sunroof has
been removed.
Correct sunroof alignment:
Sunroof must be fully closed.
Gap must be even all around
edge of sunroof.
Note:
Use a credit card to measure the gap.
The card should insert through the gap
with equal resistance all around the
perimeter.
Front of sunroof must be flush to
1 mm (0.04 in.) below surface of
roof.
Rear of sunroof must be flush to 1
mm (0.04) above surface of roof.
-
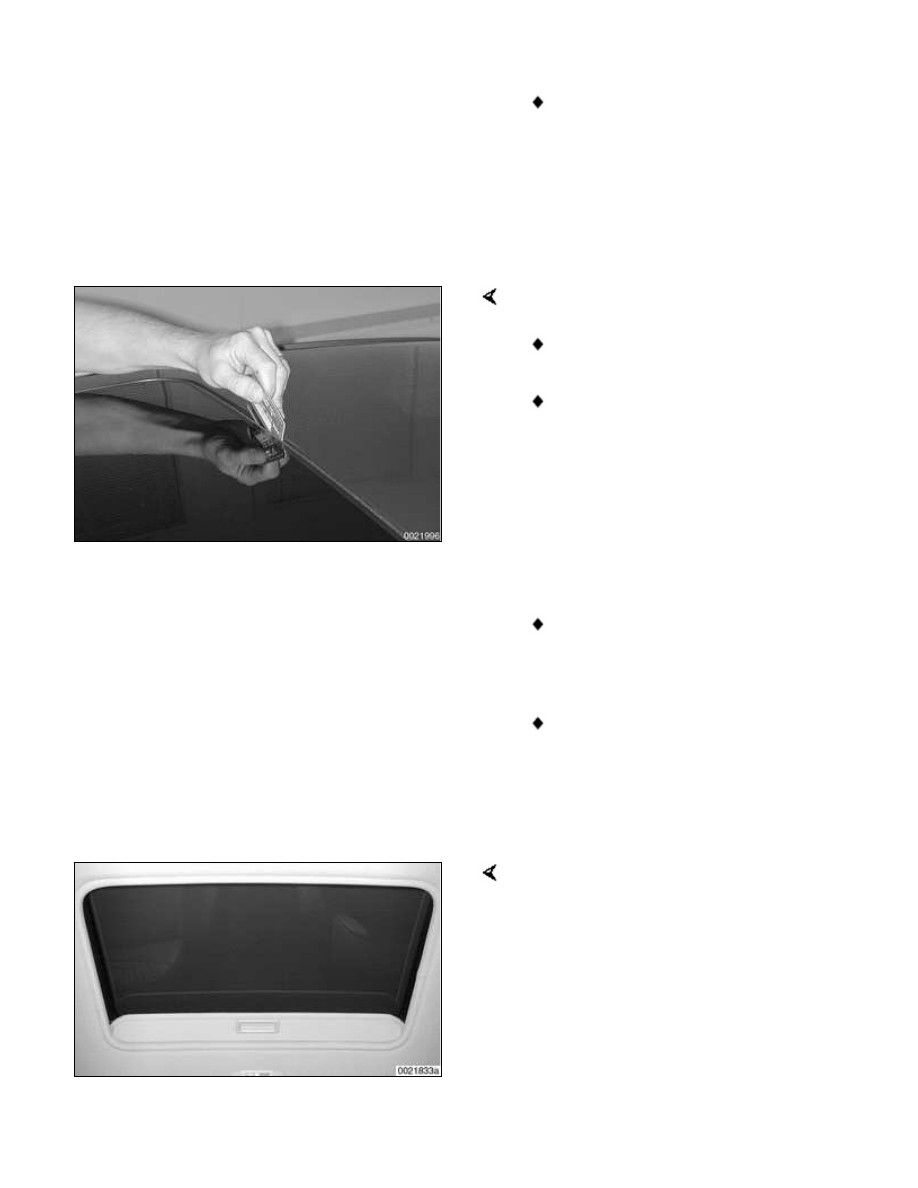
To adjust sunroof height, shut
sunroof fully.
Slide sunroof liner back into roof cavity
until approx. 90 mm (3.5 in.) is
exposed.
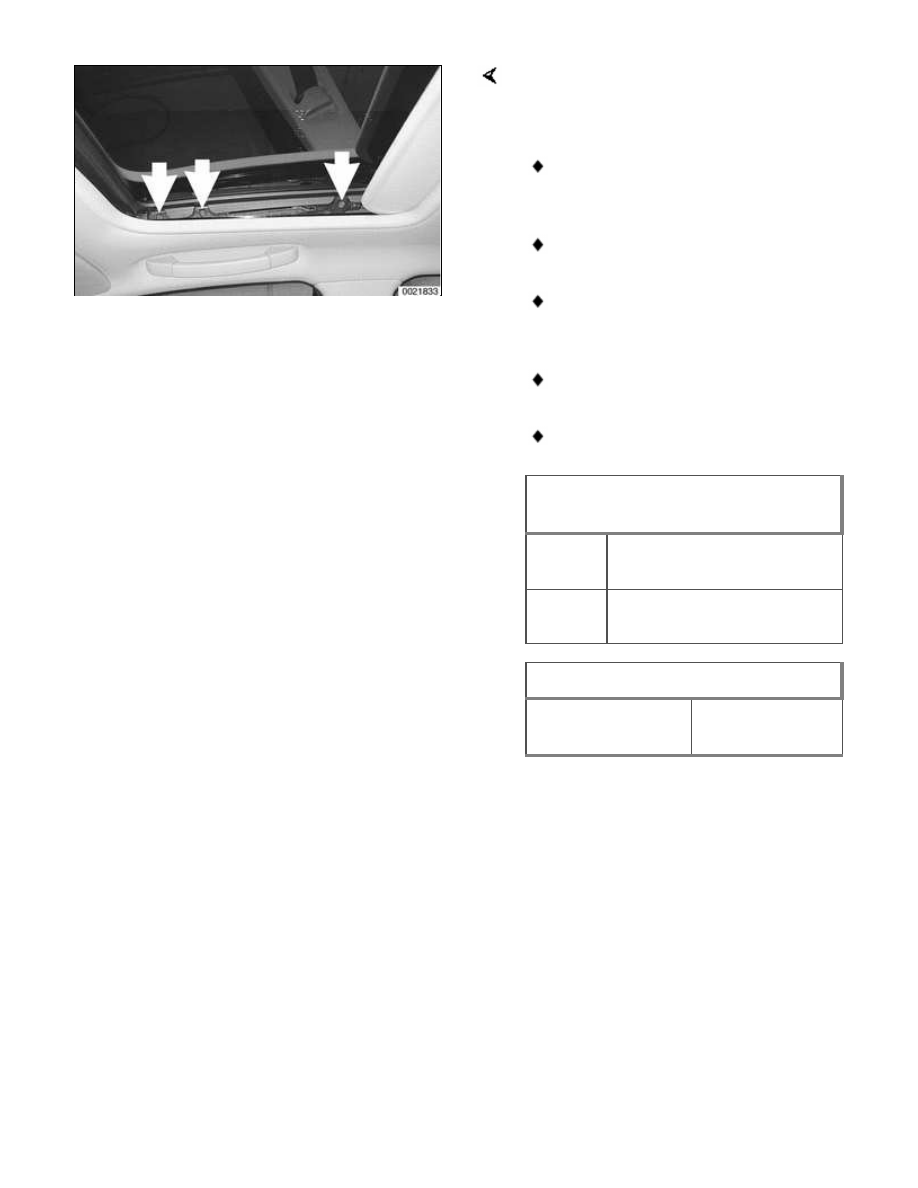
The sunroof panel is retained by three
Torx screws (arrows) on each side. To
adjust sunroof height:
Loosen Torx screws until sunroof
can just be moved.
Push sunroof panel forward.
Push sunroof panel up or down
until correct height is achieved.
Tighten screws. Recheck height.
Check sunroof function.nothing
Sunroof height adjustment
specifications
Rear
flush/1 mm higher than
roof top
Front
flush/1 mm lower than roof
top
Tightening torque
Sunroof panel to
roof (Torx)
4.5 Nm (40 in-lb)

540-2
Sunroof Components
Sunroof assembly removal and
installation involves headliner removal,
and is not covered in this manual. After
sunroof repairs be sure to follow
initialization and adjustment
procedures given earlier.
Sunroof assembly
1
-
Torx bolt M5
2
-
Slider
3
-
Glass sunroof
panel
4
-
Sunroof panel
gasket
5
-
Velour ceiling
panel
6
-
Synthetic strip
7
-
Slider
8
-
Gasket
9
-
Wind deflector
10
-
Deflector spring
11
-
Sunroof motor
12
-
Felt
13
-
Frame gasket
14
-
Sunroof frame
15
-
Torx bolt M5
tighten to 3.5 Nm
Нет комментариевНе стесняйтесь поделиться с нами вашим ценным мнением.
Текст