Jaguar XJ (X350). Manual — part 122
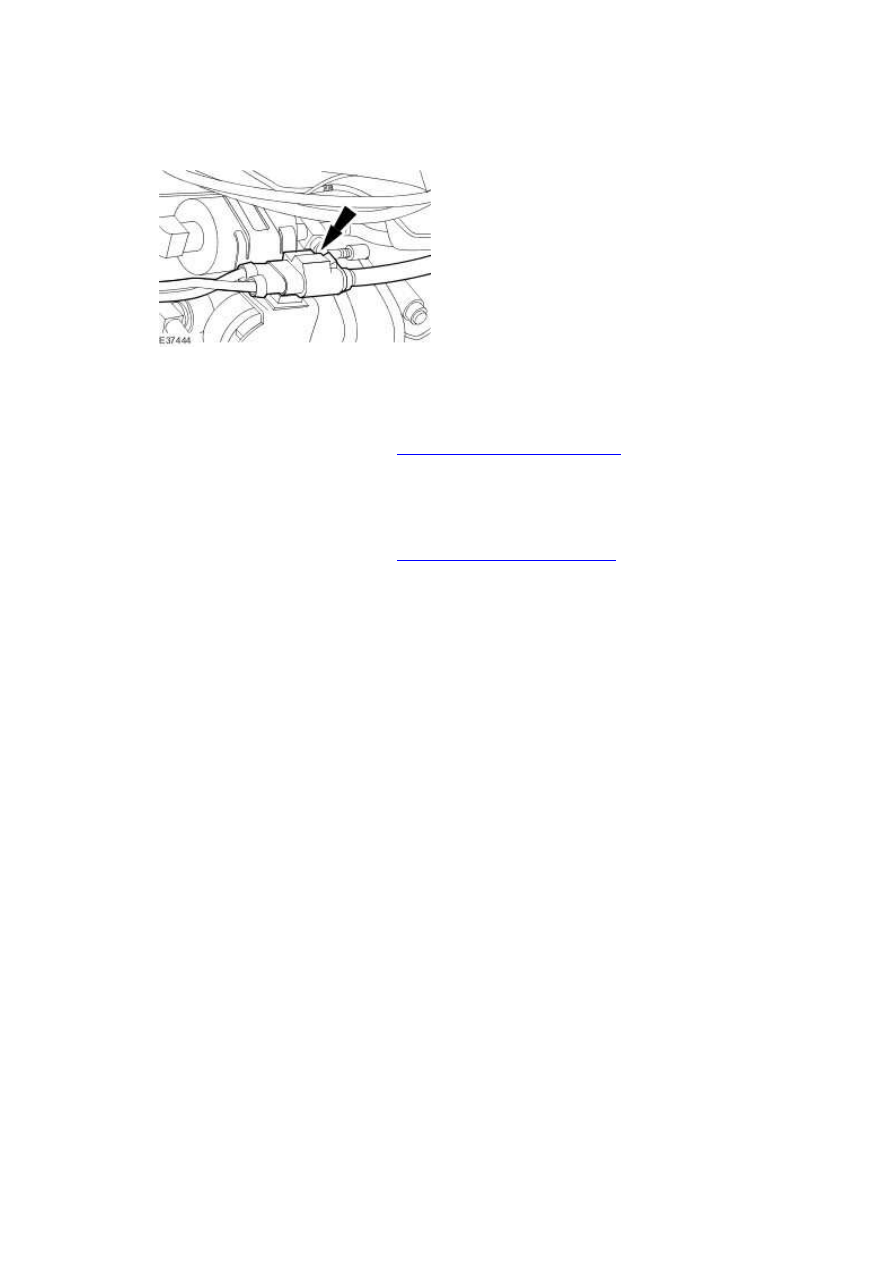
5 . Connect the electrical connector.
6 . Install the radiator splash shield.
For additional information, refer to
Radiator Splash Shield (76.22.90)
7 . Connect the battery ground cable.
For additional information, refer to
Battery Disconnect and Connect
Air Suspension Control Module (60.32.03)
Removal
NOTE:
Vehicles built before December 2003 have four suspension height sensors which are mounted
on the front and rear subframe assemblies, two front and two rear. Vehicles built after
December 2003 have only three (the right front sensor being deleted), although the functionality
of the system remains the same.
NOTE:
The later module can be fitted in place of the four sensor module, but the right front sensor
must be left in place, even though the system will not use it.
1
.
CAUTION: Electronic modules are sensitive to static electrical charges. If exposed to
these charges, damage may result.
Disconnect the battery ground cable.
For additional information, refer to
Battery Disconnect and Connect
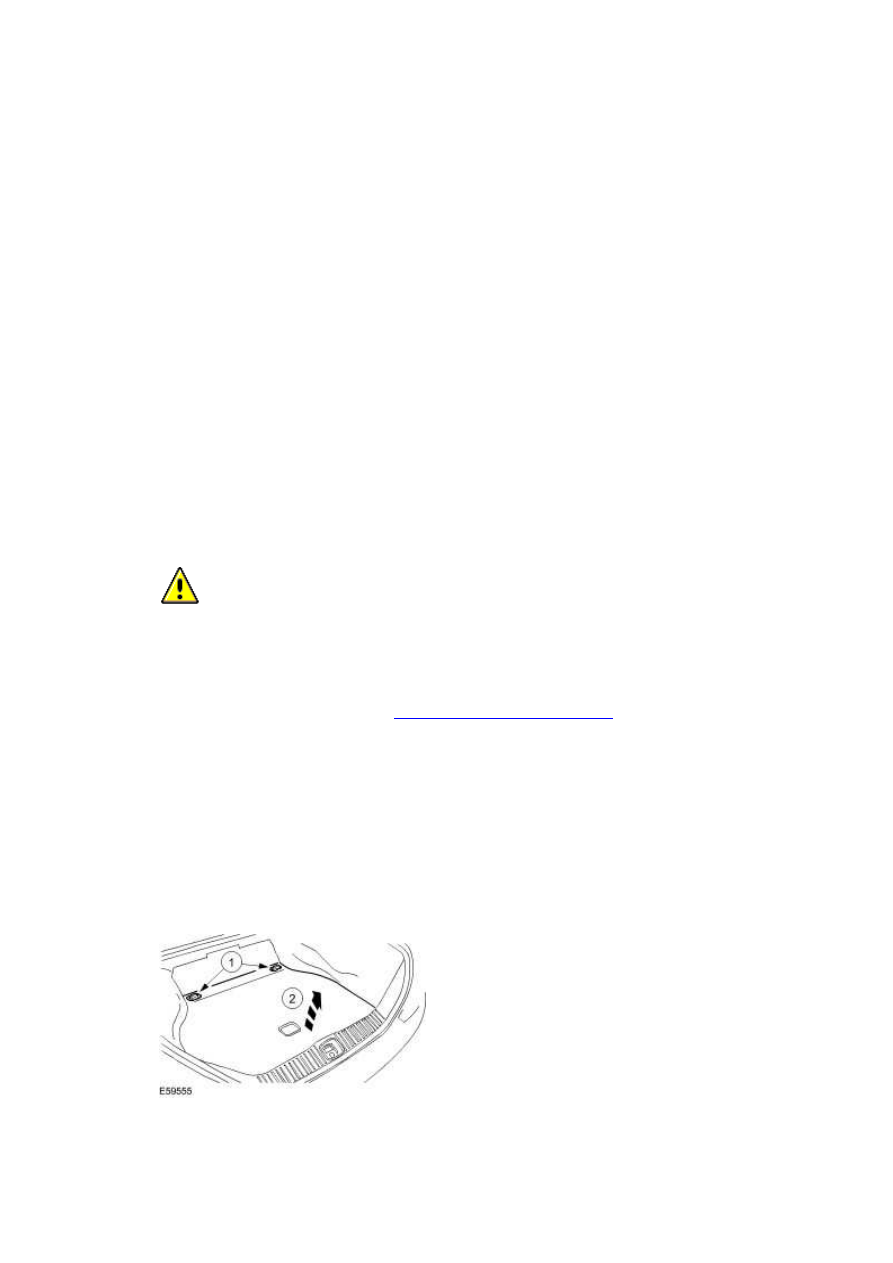
2 . Remove the luggage compartment floor covering.
1) Remove the luggage compartment floor covering securing screws.
2) Remove the luggage compartment floor covering.
www.
3 . NOTE:
Left-hand shown, right-hand similar.
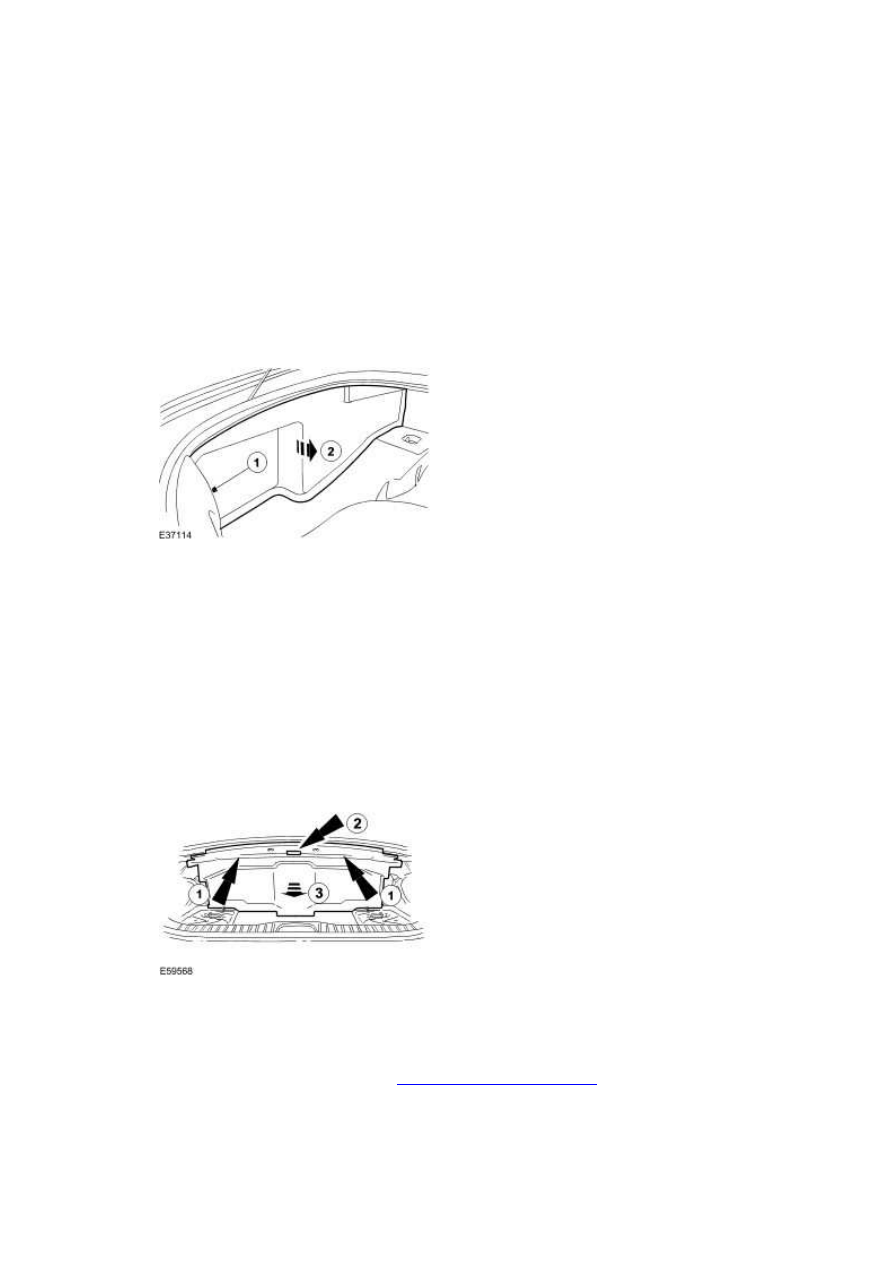
Remove the luggage compartment side trim panel.
1) Remove the luggage compartment side trim retaining clip.
2) Remove the luggage compartment side trim panel.
4 . Remove the luggage compartment front carpet.
1) Remove the fir tree clips
2) Disconnect the interior light electrical connector.
3) Remove the luggage compartment front carpet.
5 . Remove the rear seat backrest.
For additional information, refer to
Rear Seat Backrest (76.70.38)
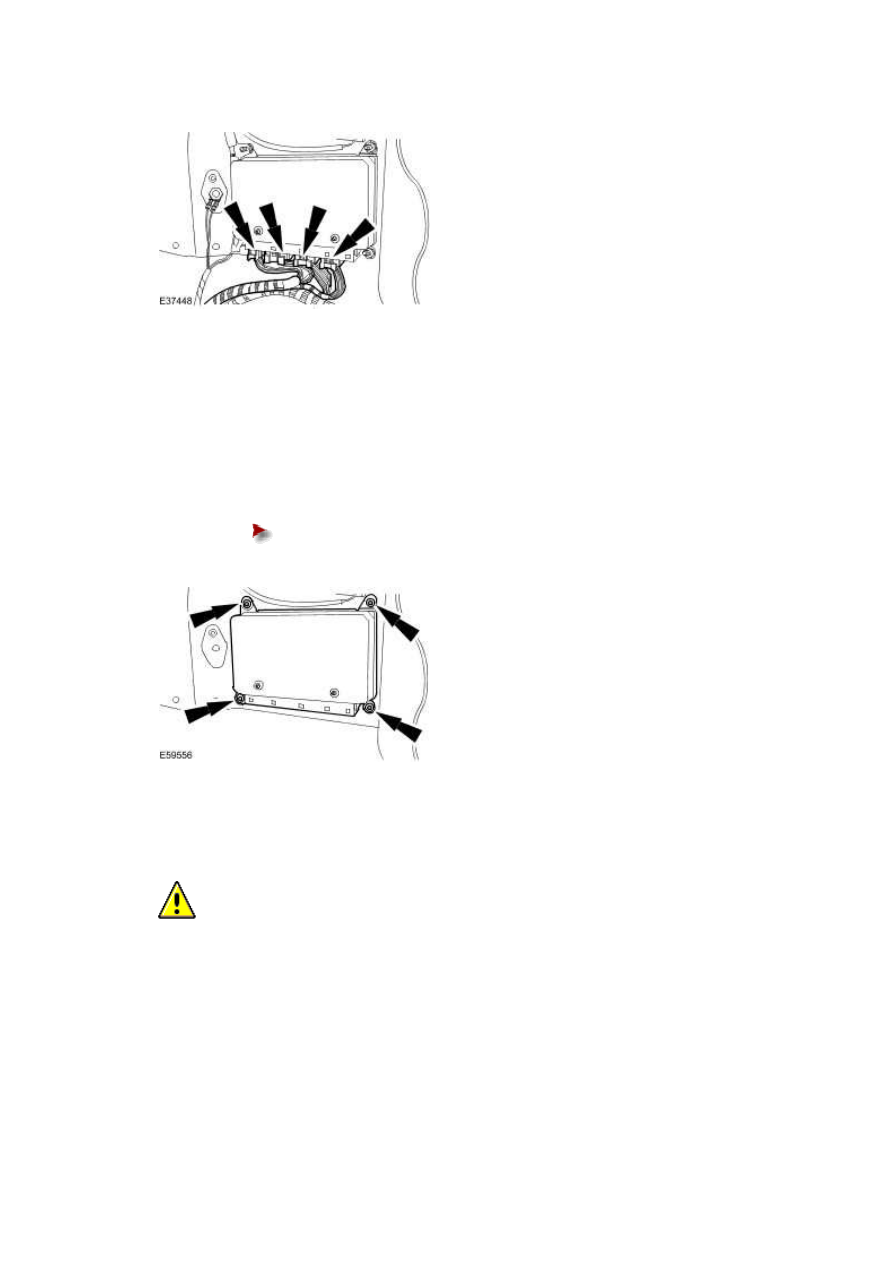
6 . Disconnect the air suspension control module electrical connectors.
7 . NOTE:
Clean the vehicle of any debris after the rivets have been removed.
Remove the air suspension control module.
Using a suitable tool, remove the four rivets.
Installation
1
.
CAUTION: Make sure the rivets are correctly seated and the riveting device is
positioned squarely onto the rivets before the rivets are secured. Failure to follow this
instruction may result in damage to the vehicle.
To install, reverse the removal procedure.
www.
Нет комментариевНе стесняйтесь поделиться с нами вашим ценным мнением.
Текст