Jaguar XJ (X350). Manual — part 96
Specifications for the wheels and tires (pressures, torques, etc) can be found at the same link.
When replacing wheels or tires you must comply with local legislation regarding health and safety
and correct fitment.
If the vehicle is fitted with TPMS, only Jaguar approved wheels and tyres should be used. If the wheel
and tyre size is changed (for example from R18 to R20) the TPMS module should be updated with the
correct pressure information appropriate to the new wheel and tyre set. Update the TPMS module
using the Jaguar approved diagnostic system.
As a general guideline, only replace tires in pairs or as a set, and only with tires of equivalent size and
specification.
Confirm the symptoms of the customer complaint.
As much information as possible should be gathered from the driver to assist in diagnosing the
cause(s).
1 . Before a road test, carry out a basic inspection to make sure the vehicle is safe and legal to drive.
Basic inspection
•
Correct tire inflation.
Specifications
•
Legal tire tread depth.
•
Cuts/Bulges in tire sidewall(s).
•
Tire ply separation.
•
Embedded objects.
•
Wheel rim damage.
•
Correct tire fitment (specification, direction of rotation, etc).
•
Any obvious distortion of the tire (flat/high spots).
•
Worn/Damaged steering or suspension components.
Front Suspension
Rear Suspension
Road test
If the results of the basic inspection are acceptable, carry out a road test to confirm the symptoms.
To reproduce the symptoms, test the vehicle on similar roads to those on which the fault occurs and
at similar speeds (provided it is legal to do so).
If the vibration or noise can be reproduced, note the speed at which it occurs and see if it is possible
to drive through the symptom, meaning, is it possible to alter the fault by driving faster or slower
than the speed at which it occurs?
If it is possible, it is likely that the fault is caused by an imbalance in the wheel or tire.
If the vibration or noise gets worse as the vehicle speed increases, it is likely that the fault is caused
by distortion in the wheel or tire, or worn or damaged components.
Distortion checks
Check for distortion by raising the vehicle so that the wheels are free and placing an axle stand or
similar fixed object next to each wheel in turn.
If the stand is placed at the tread of the tire, the tire can be checked for ovality by turning the wheel
by hand and checking for high or low spots where the gap between the tread and the stand increases
or reduces.
If the stand is placed next to the wheel rim or tire sidewall, the wheel and tire can be checked for
run-out in a similar way.
Pinpoint tests
NOTE:
When performing voltage or resistance tests, always use a digital multimeter (DMM) accurate to
3 decimal places, and with an up-to-date calibration certificate. When testing resistance, always
take the resistance of the DMM leads into account.
NOTE:
Check and rectify basic faults before beginning diagnostic routines involving pinpoint tests.
NOTE:
If DTCs are recorded and a fault is not present when performing the pinpoint tests, an
intermittent concern may be the cause. Always check for loose connections and corroded
terminals.
PINPOINT TEST G528618p1 :
EXTERNAL ANTENNA NO
CONNECTION
www.

G528618t1 : Check the external antenna signal circuit for short circuit to
ground
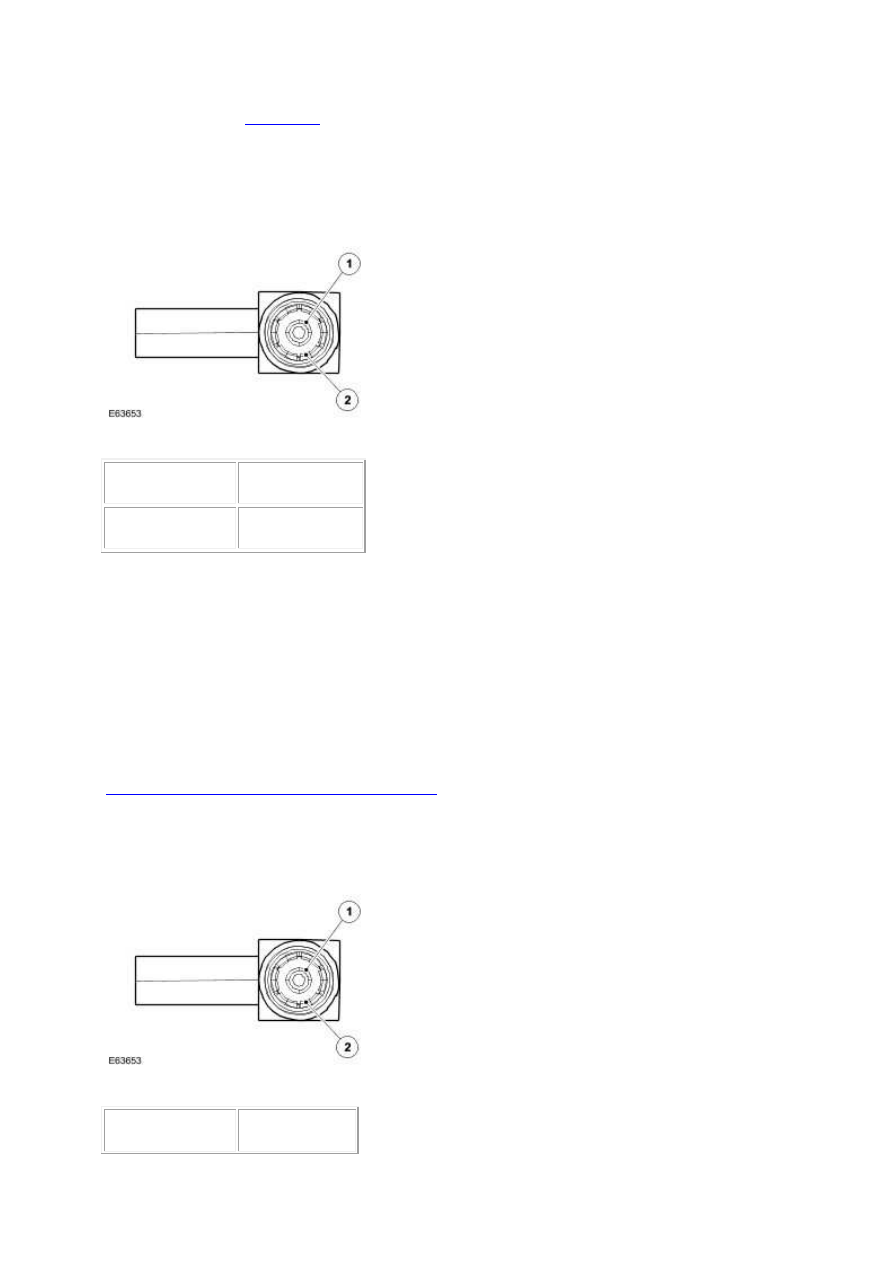
1. Key off. 2. Disconnect the TPMS external antenna electrical connector, CR99. 3.
Measure the resistance between:
CR99, harness side
Battery
Pin 01, signal
Negative terminal
•
Is the resistance less than 10,000 ohms?
-> Yes
GO to Pinpoint Test
G528618t44
.
-> No
GO to Pinpoint Test
G528618t2
.
G528618t2 : Check the external antenna signal circuit for short circuit to
power
1. Measure the resistance between:
CR99, harness side
Battery
Pin 01, signal
Positive terminal
•
Is the resistance less than 10,000 ohms?
-> Yes
GO to Pinpoint Test
G528618t45
.
-> No

GO to Pinpoint Test
G528618t3
.
G528618t44 : Check whether the short circuit is in the harness or the
module
1. Disconnect the TPMS module connector, CR96. 2.
Measure the resistance between:
CR99, harness side
Battery
Pin 01, signal
Negative terminal
•
Is the resistance less than 10,000 ohms?
-> Yes
REPAIR the short circuit. For additional information, refer to the wiring diagram. Clear the DTC and
test the system for normal operation.
-> No
INSTALL a new TPMS control module.
Tire Pressure Monitoring System (TPMS) Module
G528618t45 : Check whether the short circuit is in the harness or the
module
1. Disconnect the TPMS module connector, CR96. 2.
Measure the resistance between:
CR99, harness side
Battery
www.

Нет комментариевНе стесняйтесь поделиться с нами вашим ценным мнением.
Текст