Jaguar XJ (X350). Manual — part 586
•
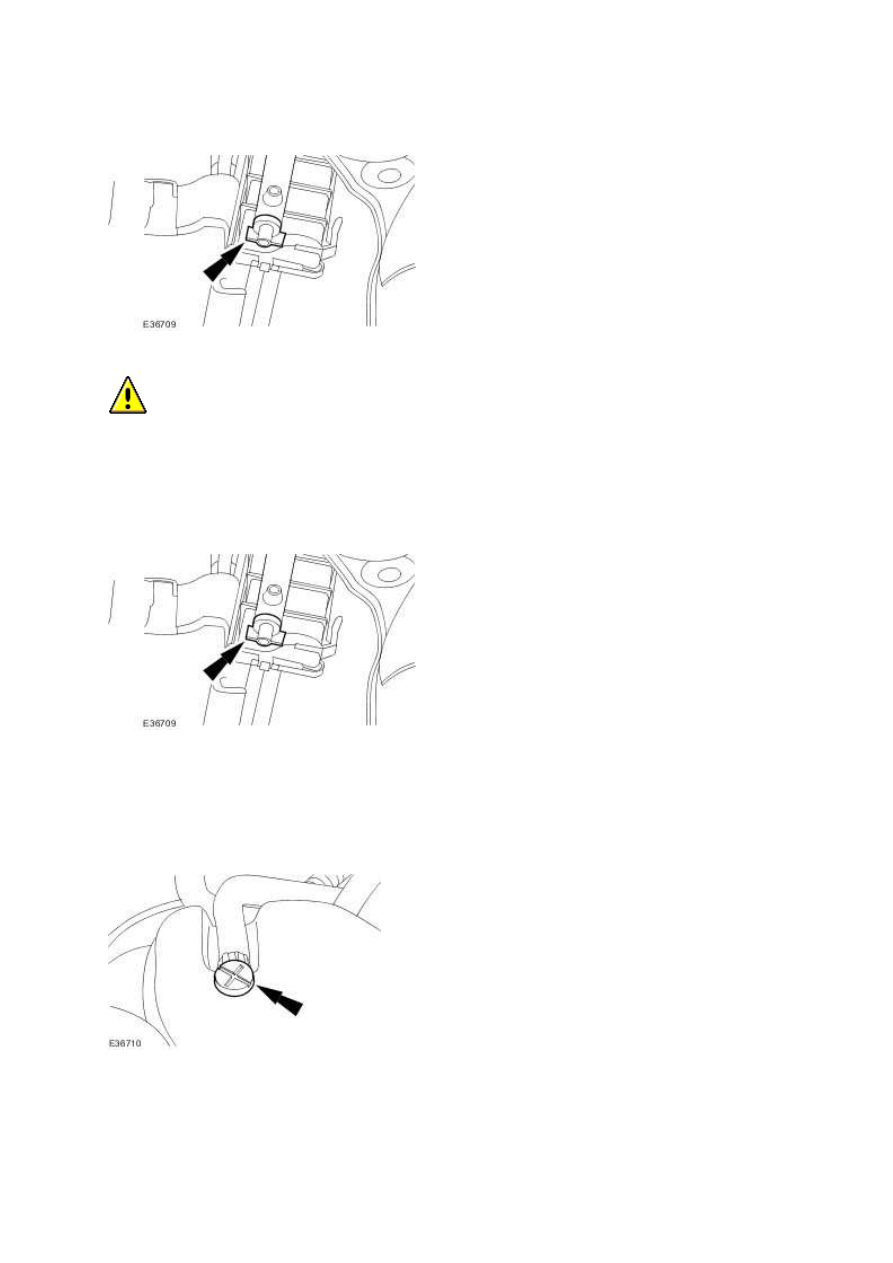
Drain the coolant into a suitable container.
4.
CAUTION: Do not over tighten the drain plug. Failure to follow this instruction
may cause damage to the vehicle.
Install the drain plug when all coolant has drained.
•
Tighten to 1 Nm.
Remove the drain tray.
5. Install the radiator splash shield.
Radiator Splash Shield (76.22.90)
6. Remove the coolant expansion tank bleed screw.
7. Fill the cooling system up to the MAX mark on the coolant expansion tank using a fifty
percent mixture of Jaguar Premium Cooling System Fluid or equivalent, meeting Jaguar
specification WSS M97B44-D and fifty percent water.
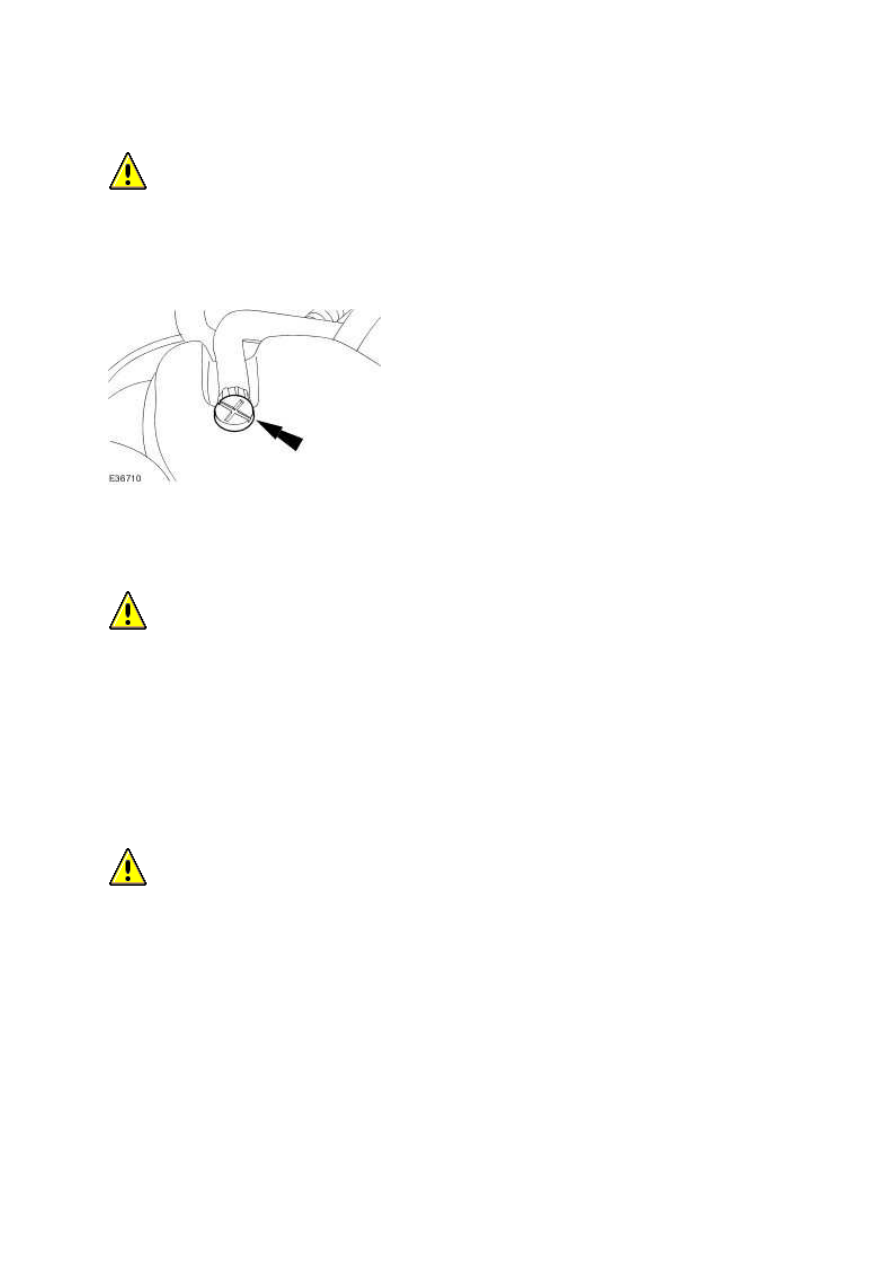
8.
CAUTION: Do not over tighten the coolant expansion tank bleed screw. Failure
to follow this instruction may cause damage to the vehicle.
Install the coolant expansion tank bleed screw.
•
Tighten to 3 Nm.
9. Install the coolant expansion tank pressure cap.
10.
CAUTION: Do not RUN the engine with the coolant expansion tank pressure cap
removed. Failure to follow this instruction may cause damage to the vehicle.
START and RUN the engine.
11. SET the heating system to MAX heat, the blower motor to MAX speed and the air
distribution to instrument panel registers.
12.
CAUTION: Observe the engine temperature gauge. If the engine starts to over-
heat switch off immediately and allow to cool. Failure to follow this instruction may
cause damage to the vehicle.
Allow the engine to RUN until hot air is emitted from the instrument panel registers, while
observing the engine temperature gauge.
13. Switch off the engine.
14. Allow the engine to cool.
www.
15. Release the cooling system pressure.
•
Remove the coolant expansion tank pressure cap.
16. Fill the cooling system up to the MAX mark on the coolant expansion tank using a fifty
percent mixture of Jaguar Premium Cooling System Fluid or equivalent, meeting Jaguar
specification WSS M97B44-D and fifty percent water.
17. Install the coolant expansion tank pressure cap.

Cooling System Draining and Vacuum
Filling
WARNING: To avoid having scalding hot coolant or steam blow out of the
cooling system, use extreme care when removing the coolant pressure cap from a hot
cooling system. Wait until the engine has cooled, then wrap a thick cloth around the
coolant pressure cap and turn it slowly until the pressure begins to release. Step back
while the pressure is released from the system. When certain all the pressure has been
released (still with a cloth) turn and remove the coolant pressure cap from the coolant
expansion tank. Failure to follow these instructions may result in personal injury.
WARNING: Remove fuse 14 from the engine compartment fuse box prior to
performing any under hood service in the area of the cooling fan when the engine is hot,
since the cooling fan motor could operate if the engine has been switched OFF. Failure
to follow this instruction may result in personal injury.
NOTE:
The engine cooling system must be maintained with the correct concentration and type of
anti-freeze solution to prevent corrosion and frost damage. Failure to follow this
instruction may result in damage to the vehicle.
NOTE:
Engine coolant will damage paint finished surfaces. If spilled, immediately remove
coolant and clean area with water.
NOTE:
Vehicles fitted with supercharged engines shown, V8 NA and V6 engines similar.
1. Set the heater controls to maximum HOT.
2.
WARNING: Since injury such as scalding could be caused by escaping steam or
coolant, do not remove the filler cap from the coolant expansion tank while the system is
hot.
Remove coolant expansion tank filler cap.
3.
WARNING: Do not work on or under a vehicle supported only by a jack. Always
support the vehicle on safety stands.
www.
Нет комментариевНе стесняйтесь поделиться с нами вашим ценным мнением.
Текст