Jaguar XJ (X350). Manual — part 1142
WARNING: After carrying out repairs, the fuel system must be checked visually for leaks.
Failure to follow these instructions may result in personal injury.
WARNING: This procedure involves fuel handling. Be prepared for fuel spillage at all times
and always observe fuel handling precautions. Failure to follow these instructions may result in
personal injury.
WARNING: If taken internally do not induce vomiting, seek immediate medical attention.
Failure to follow these instructions may result in personal injury.
WARNING: If fuel contacts the eyes, flush the eyes with cold water or eyewash solution and
seek medical attention.
WARNING: Wash hands thoroughly after handling, as prolonged contact may cause
irritation. Should irritation develop, seek medical attention.
NOTE:
Federal market vehicles, refer to step 12.
NOTE:
Non federal market vehicles, refer to step 13.
1 . NOTE:
All vehicles.
Open the fuel tank filler pipe flap.
2 . Disconnect the battery ground cable.
For additional information, refer to Battery Disconnect and Connect
3 . Detach the fuel tank filler pipe cap.
4
.
Release the pressure in the fuel system.
For additional information, refer to Fuel System Pressure Release - 4.2L NA V8 - AJV8/4.2L SC
V8 - AJV8/3.0L NA V6 - AJ27/3.5L NA V8 - AJV8 (19.50.02)
5 . Drain the fuel system.
For additional information, refer to Fuel Tank Draining - VIN Range: G45704->G99999
6 . Remove the rear seat cushion.
For additional information, refer to Rear Seat Cushion (76.70.37)
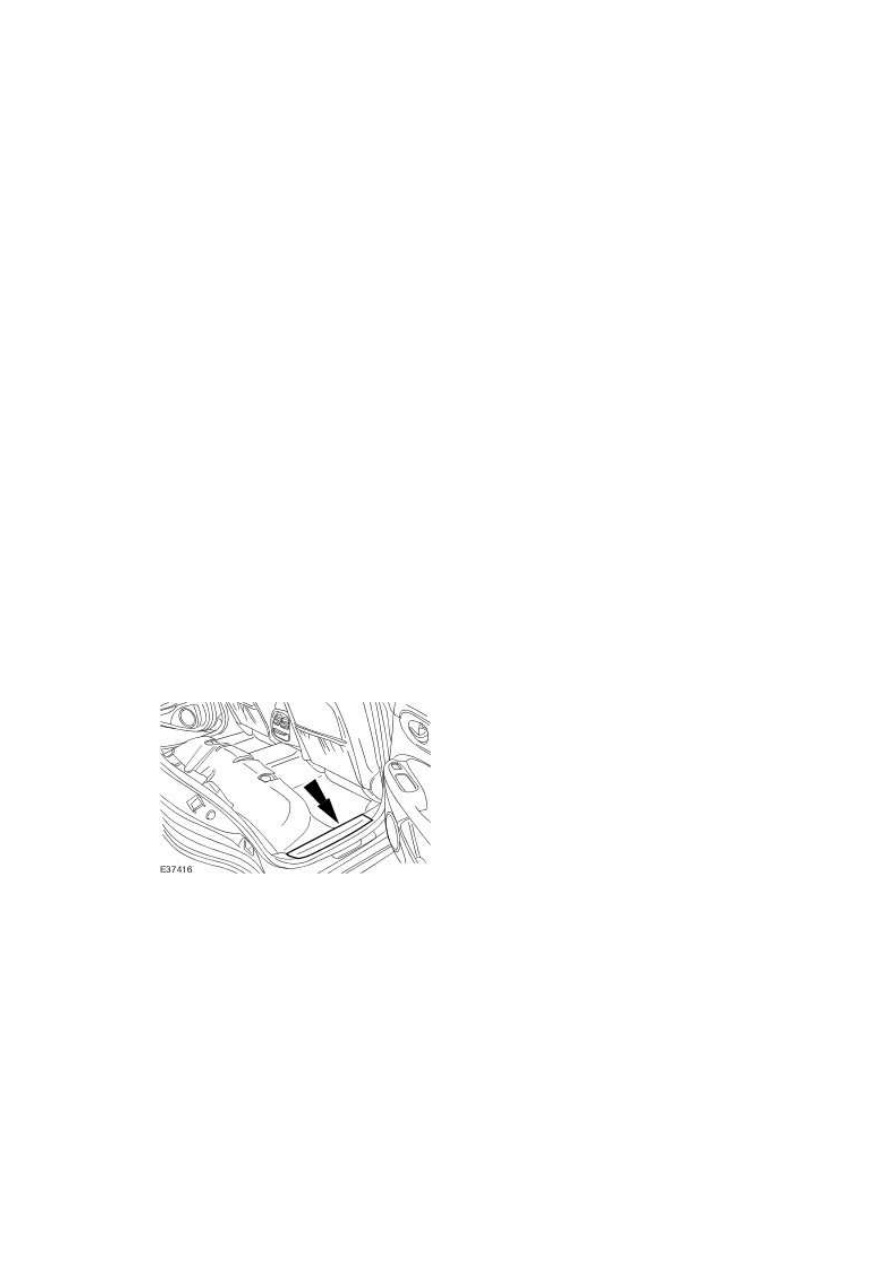
7 . Remove the scuff plate trim panel.
8 . Detach and reposition the floor covering.
www.
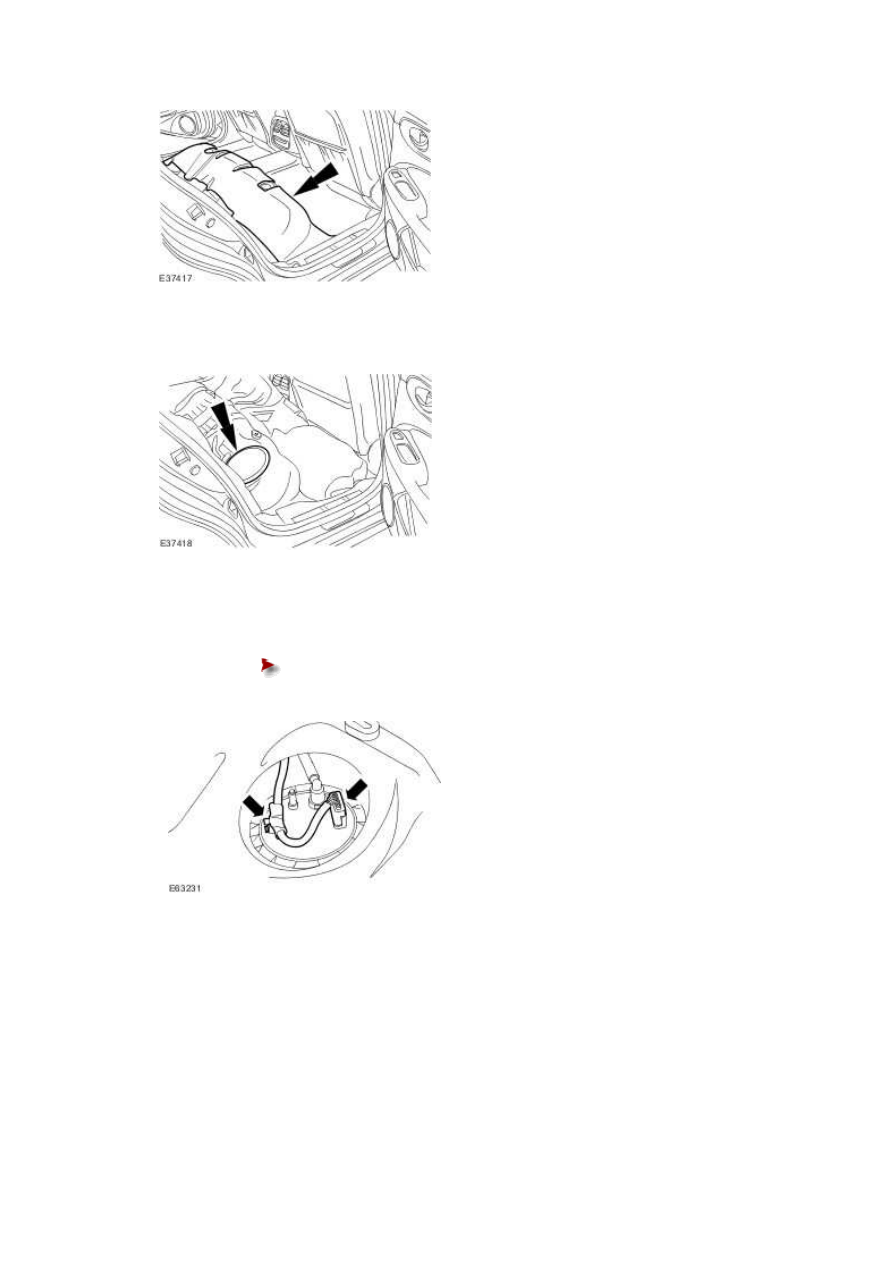
9 . Remove the floor aperture cover.
10 . Disconnect the fuel pump module electrical connector.
Detach the fuel pump module wiring harness from the retaining bracket.
11 . Disconnect the fuel pump module quick release coupling.
Federal market vehicles only.
Remove the fuel pump module locking ring.
Remove and discard the O-ring seal.
13 . NOTE:
Non federal market vehicles only.
Using the special tool, remove the fuel pump module locking ring.
Remove and discard the O-ring seal.
14 . NOTE:
All vehicles.
Disconnect the fuel transfer module transfer feed tube.
15 . Disconnect the left-hand fuel sender gauge electrical connector.
16 . Disconnect the fuel transfer module transfer return tube.
12 . NOTE:
www.
Нет комментариевНе стесняйтесь поделиться с нами вашим ценным мнением.
Текст