Jaguar XJ (X350). Manual — part 538
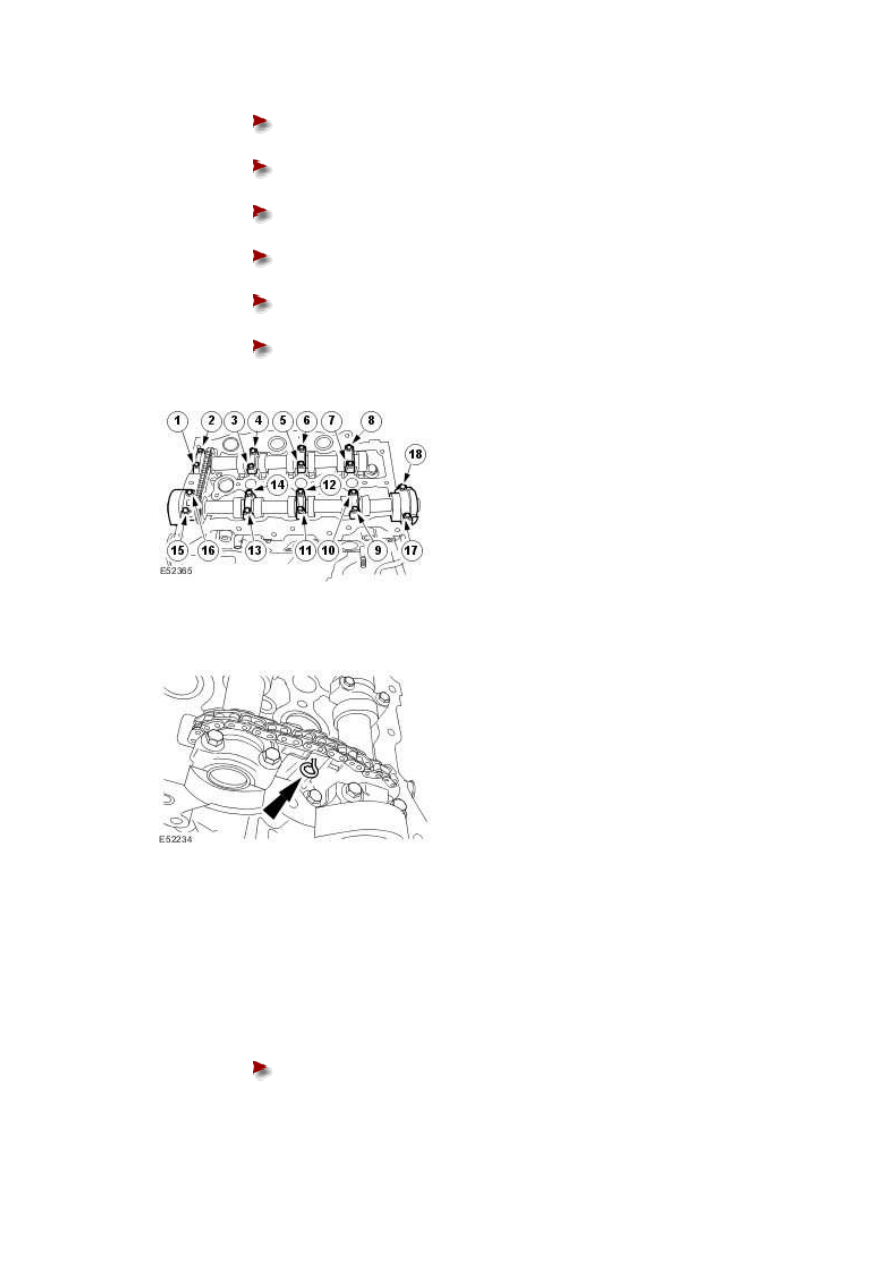
Stage 1: Bolts 1 to 14, 1 Nm.
Stage 2: Bolts 1 to 14, 5 Nm.
Stage 3: Bolts 1 to 14, 10 Nm.
Stage 4: Bolts 15 to 18, 1 Nm.
Stage 5: Bolts 15 to 18, 5 Nm.
Stage 6: Bolts 15 to 18, 10 Nm.
7 . Remove the secondary timing chain tensioner retaining pin.
8 . NOTE:
Install a new valve cover gasket.
Install the left-hand valve cover.
Tighten to 10 Nm.
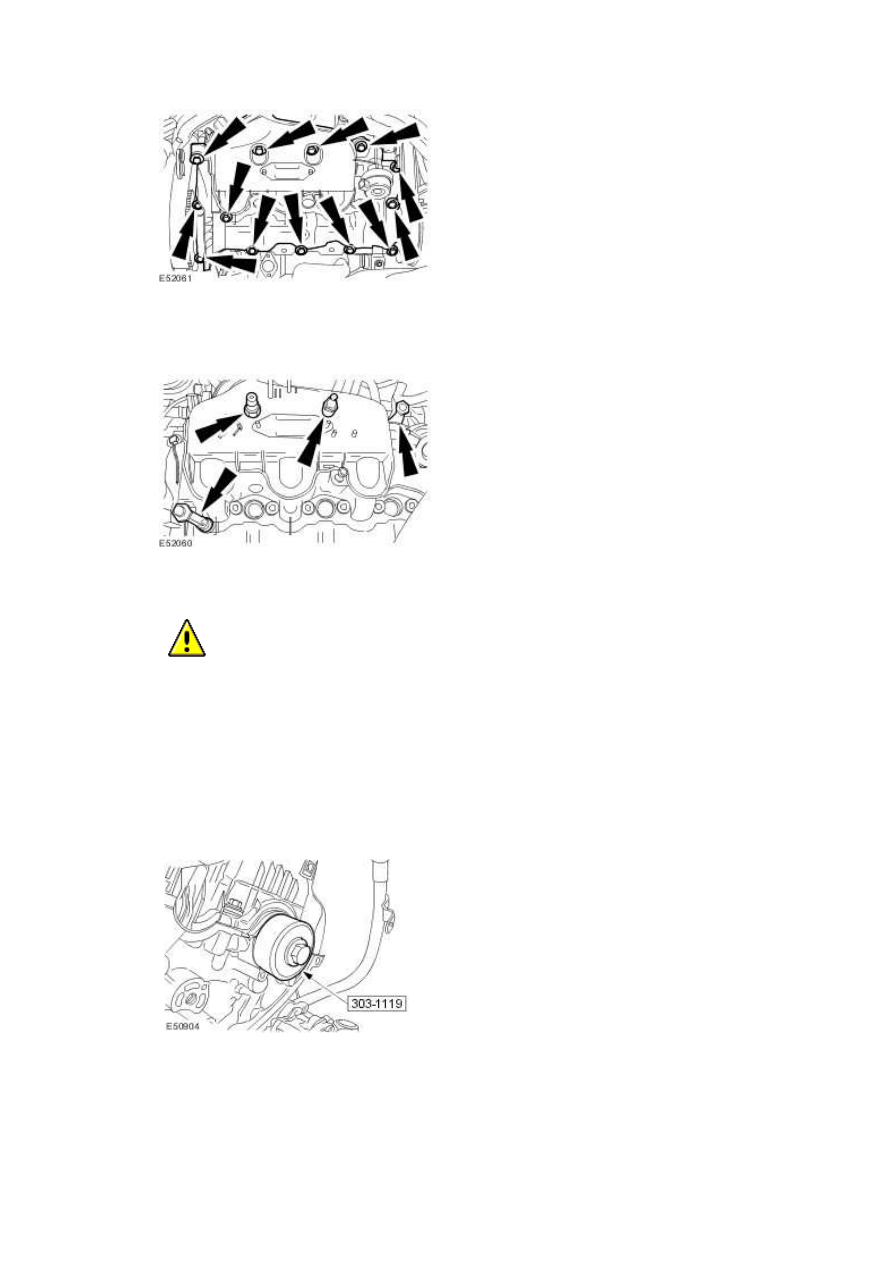
9 . Install the engine cover and wiring harness retainers.
10
.
CAUTION: Do not use any lubricant on the seal or the camshaft. Failure to follow
this instruction may result in damage to the vehicle.
NOTE:
Make sure all components are clean and dry.
Using the special tool, install the camshaft front seal.
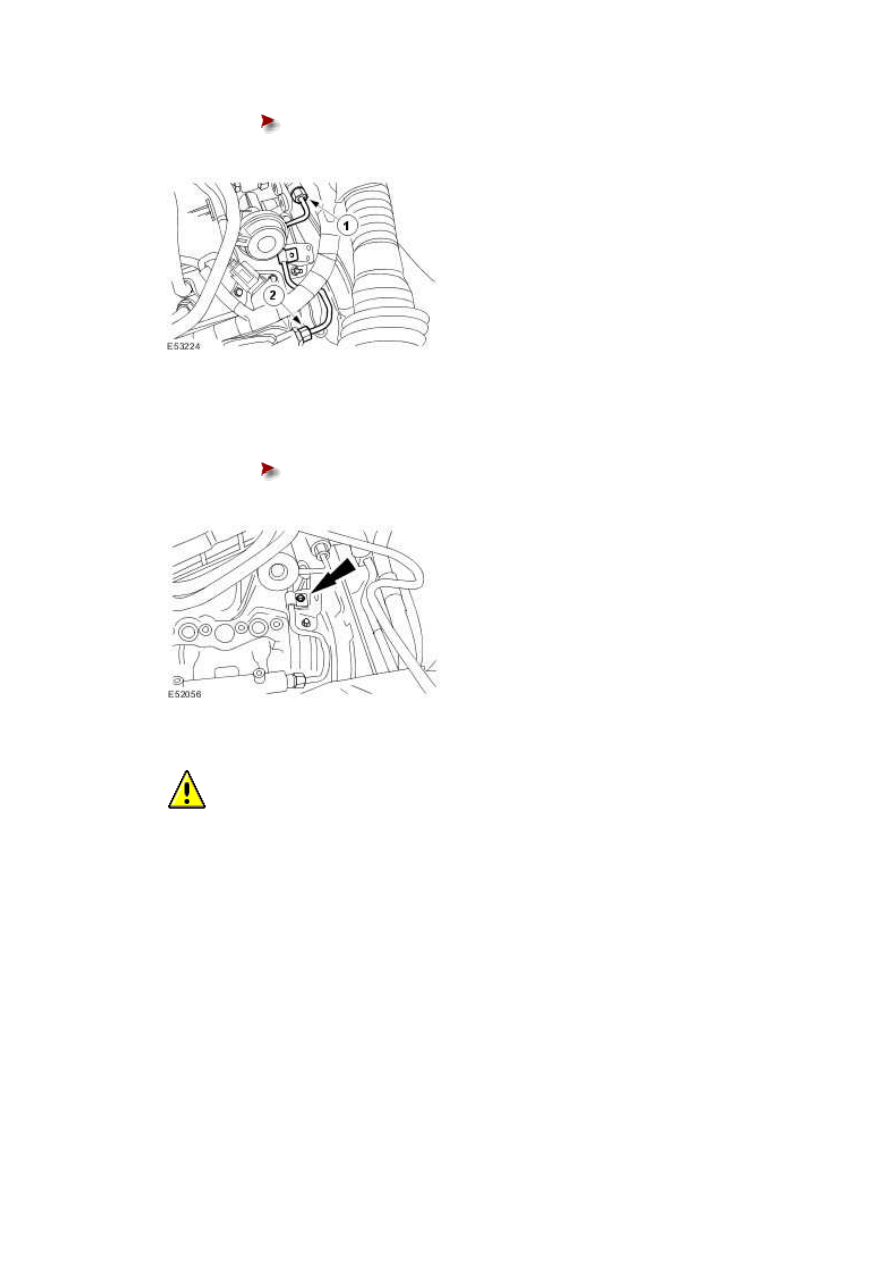
11 . Install the fuel rail securing bracket.
www.

Tighten to 24 Nm.
12 . Install the fuel rail.
Tighten to 24 Nm.
13
.
NOTE:
Remove the blanking caps.
Install a new high-pressure fuel supply line.
Tighten the high-pressure fuel supply line in the sequence shown:
Tighten the high-pressure fuel supply line union 1 to fuel injector to 15
Nm.
Tighten the high-pressure fuel supply line union 2 to fuel rail to 15 Nm.
Tighten the high-pressure fuel supply line union 1 to fuel injector to 30
Nm.
Tighten the high-pressure fuel supply line union 2 to fuel rail to 30 Nm.
14 . Install the high-pressure fuel supply line retaining bolt.
Tighten to 10 Nm.
15
.
CAUTION: Do not use tools to install the new fuel return line retaining clip. Failure
to follow this instruction may result in damage to the retaining clip.
NOTE:
Install a new fuel return line retaining clip.
NOTE:
Install a new fuel injector sealing washer.
Install a new fuel injector retaining clamp.
www.
Нет комментариевНе стесняйтесь поделиться с нами вашим ценным мнением.
Текст