Jaguar XJ (X350). Manual — part 1099
10.
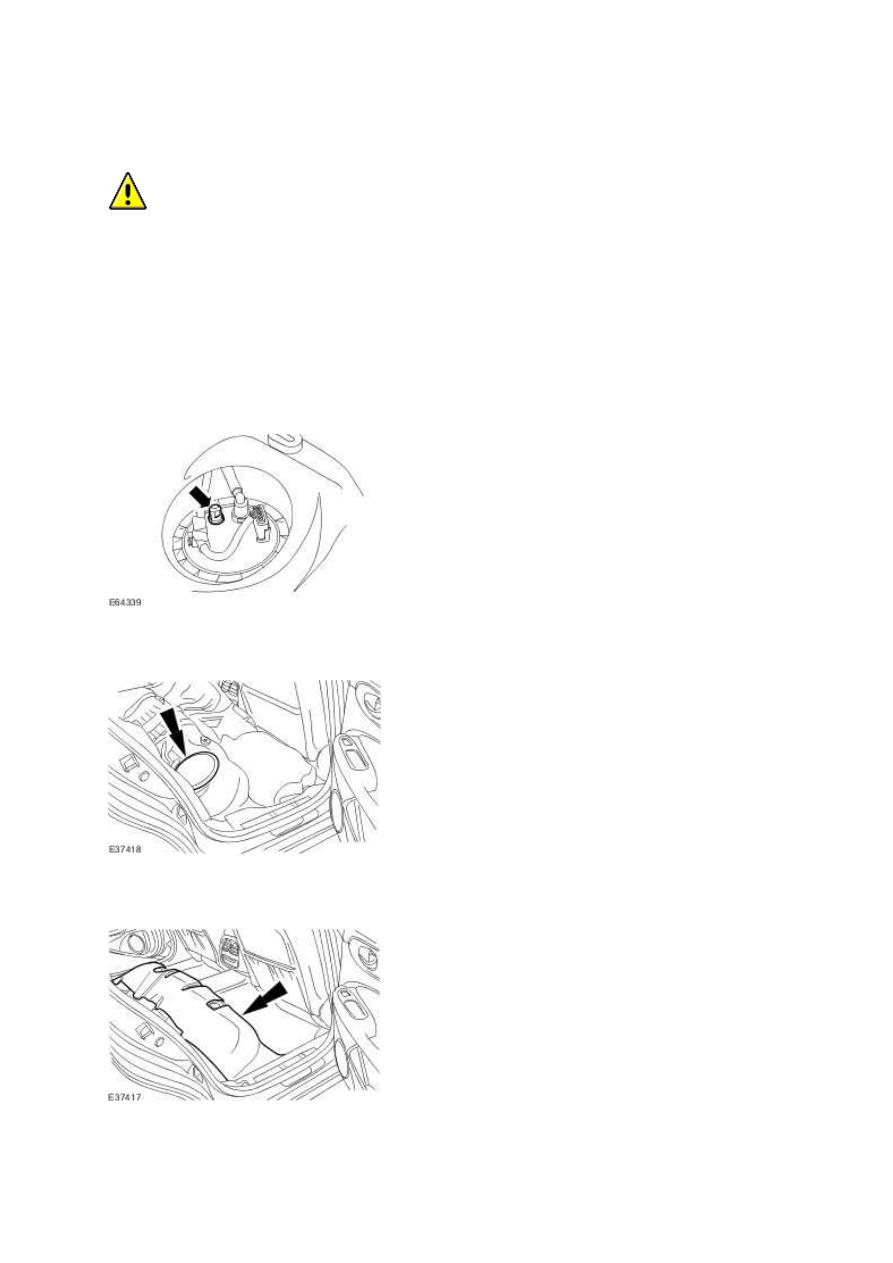
CAUTION: Make sure the new fuel tank drain port sealing cap is correctly installed. Failure
to follow this instruction may result in damage to the vehicle.
NOTE:
Vehicles without Diesel engine shown, vehicles with Diesel engine similar.
Install a new fuel tank drain port sealing cap.
11. Install the floor aperture cover.
12. Attach the floor covering.
13. Install the scuff plate trim panel.
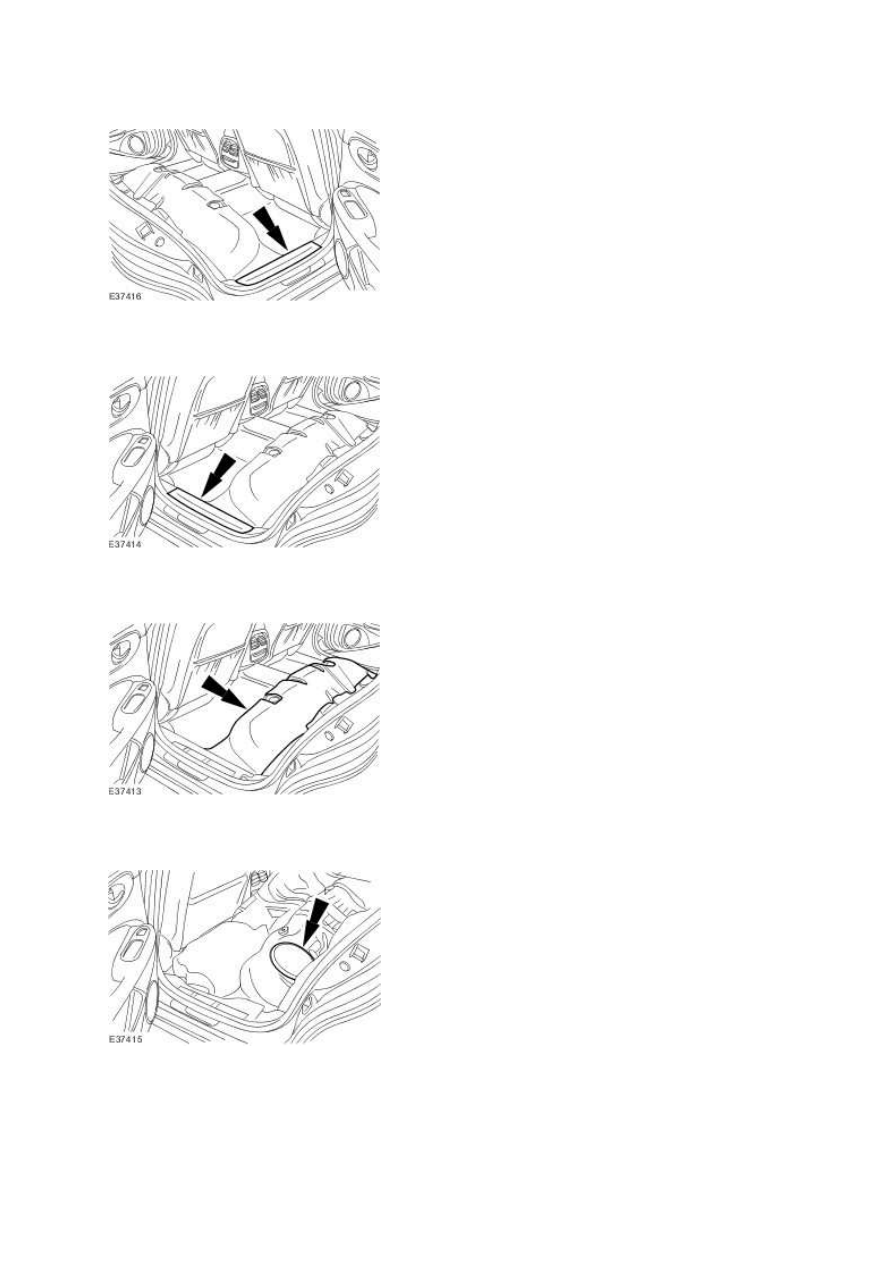
14. Remove the scuff plate trim panel.
15. Detach and reposition the floor covering.
16. Remove the floor aperture cover.
www.
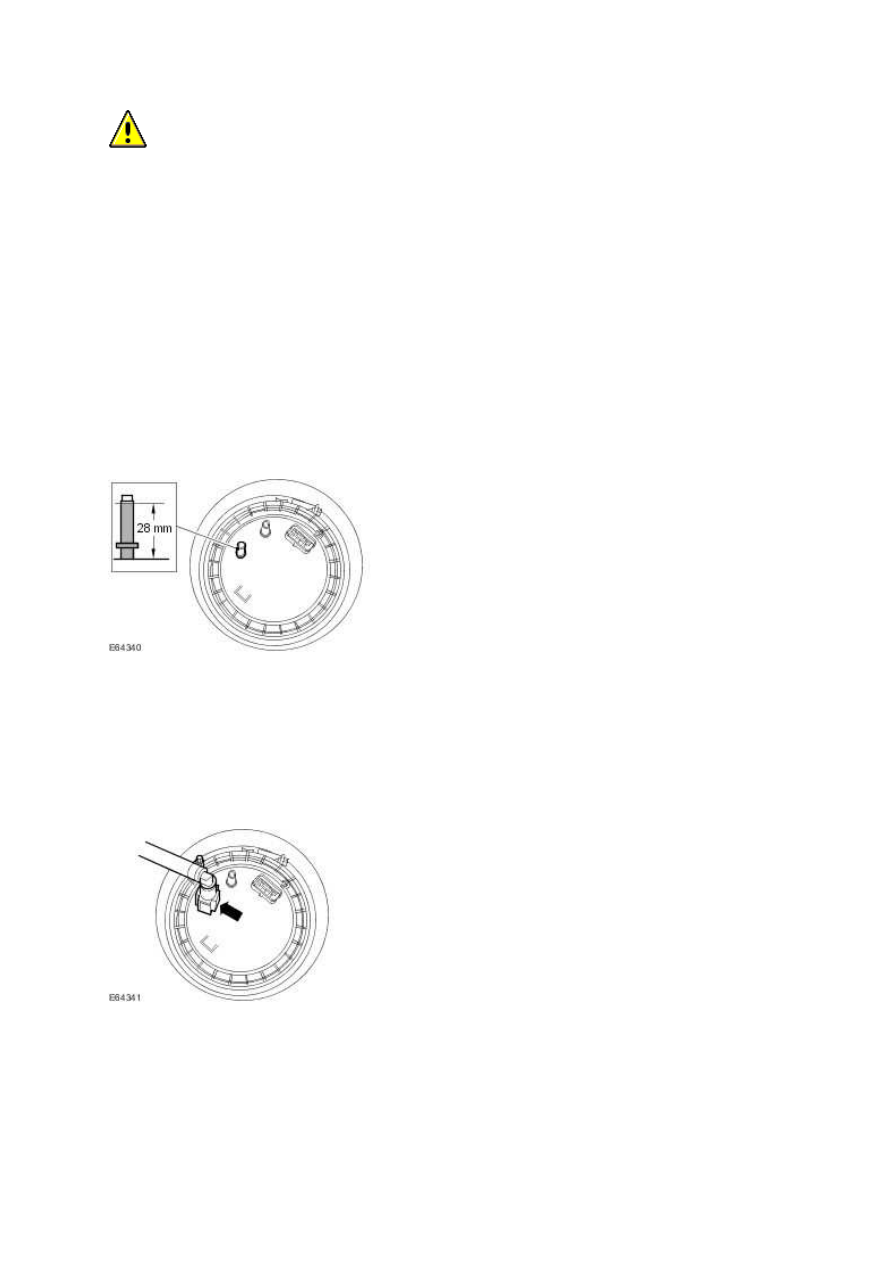
CAUTION: The correct measurement must be used to remove the fuel tank drain port top.
Failure to follow this instruction may result in damage to the vehicle.
NOTE:
The fuel tank drain port is marked with DRAIN.
NOTE:
Vehicles without Diesel engine shown, vehicles with Diesel engine similar.
Using a suitable tool, remove the top of the fuel tank drain port.
18. NOTE:
Vehicles without Diesel engine shown, vehicles with Diesel engine similar.
Install the special tool to the left-hand side of the fuel tank.
19. Using a suitable fuel vacuum drainer, remove the fuel from the left-hand side of the fuel tank.
17.
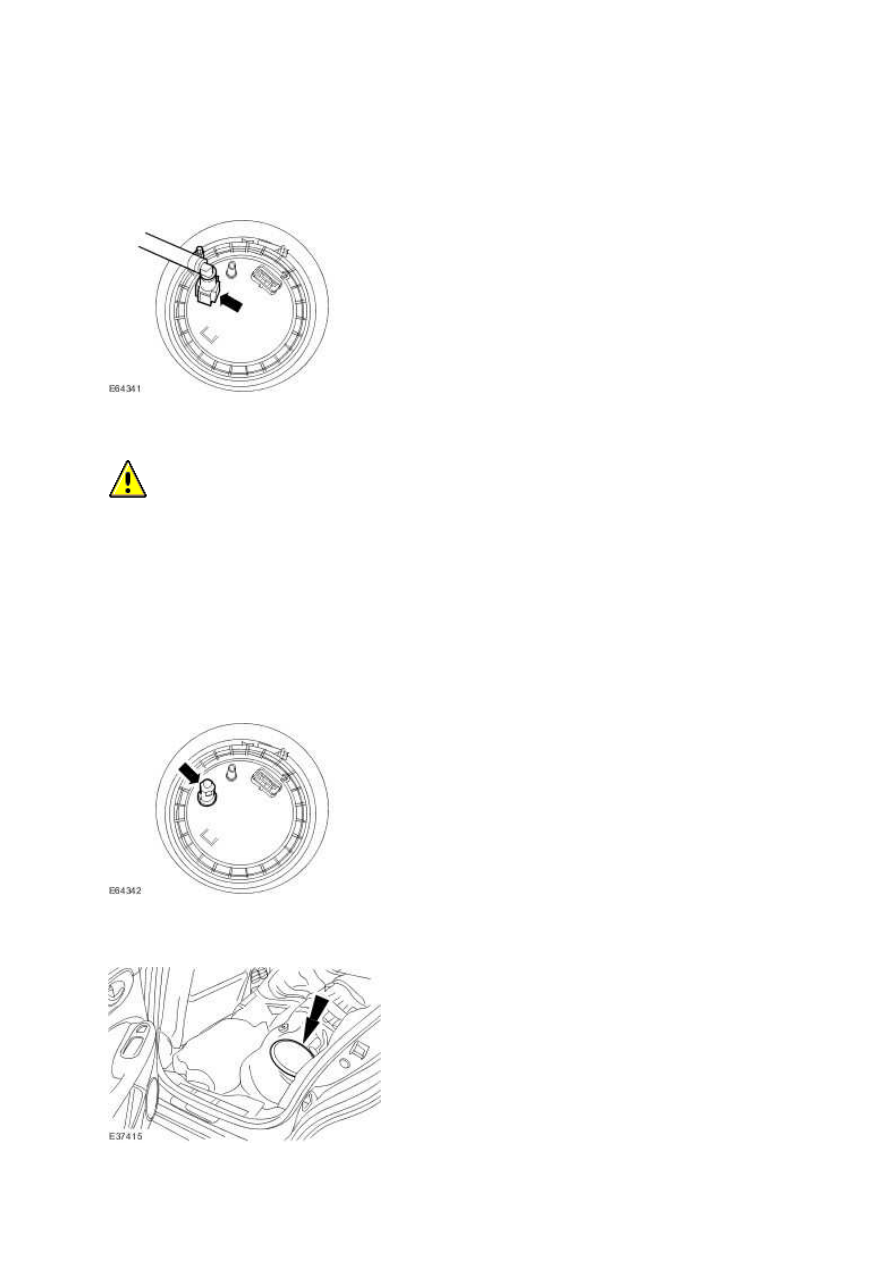
Vehicles without Diesel engine shown, vehicles with Diesel engine similar.
Remove the special tool.
21.
CAUTION: Make sure the new fuel tank drain port sealing cap is correctly installed. Failure
to follow this instruction may result in damage to the vehicle.
NOTE:
Vehicles without Diesel engine shown, vehicles with Diesel engine similar.
Install a new fuel tank drain port sealing cap.
22. Install the floor aperture cover.
20. NOTE:
www.
Нет комментариевНе стесняйтесь поделиться с нами вашим ценным мнением.
Текст