Jaguar XJ (X350). Manual — part 1544
19 . Install the overhead console.
For additional information, refer to Overhead Console (76.13.69)
20 . Install the auto dimming interior mirror.
For additional information, refer to Auto-Dimming Interior Mirror (76.10.56)
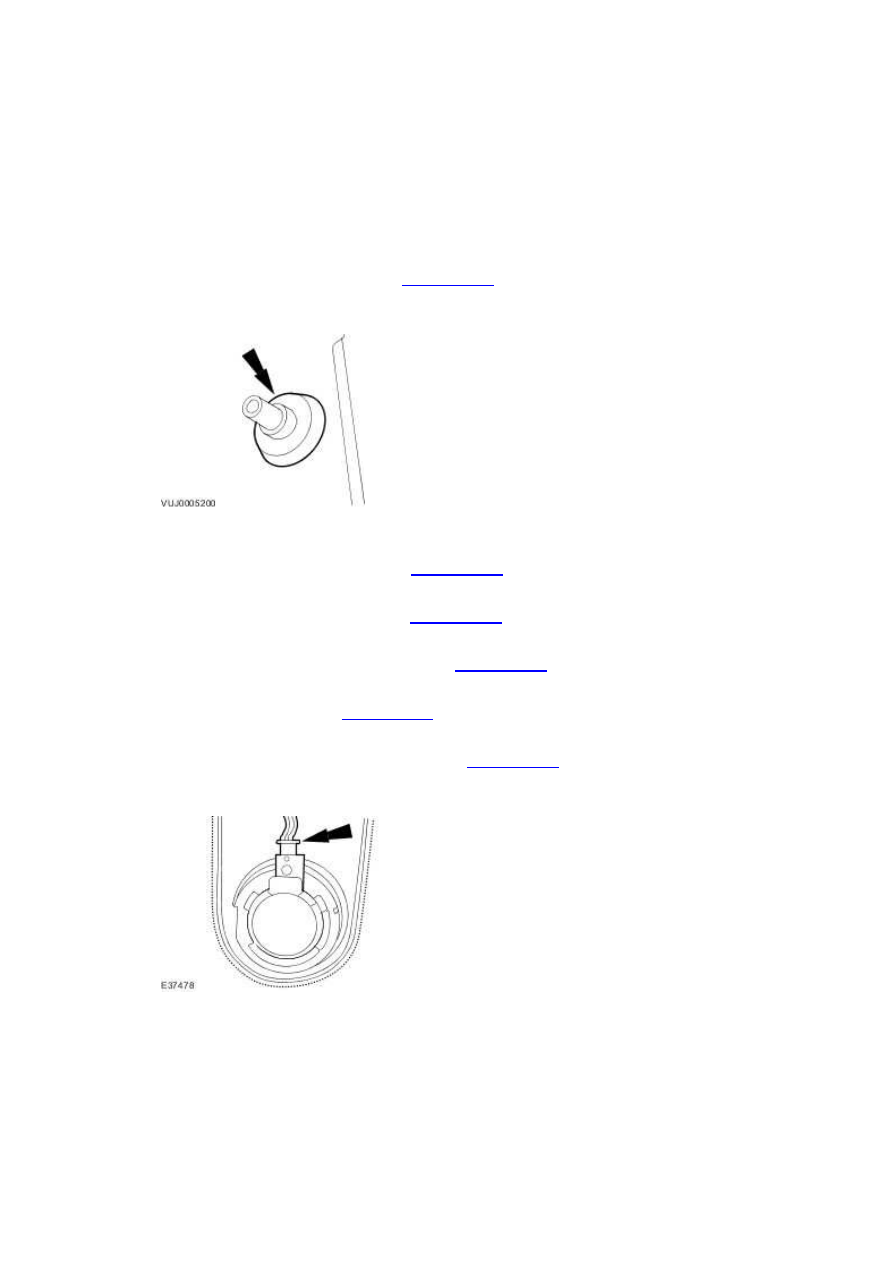
21 . NOTE:
Left-hand shown, right-hand similar.
Install the sun visor retaining clip.
22 . Install both sun visors.
For additional information, refer to Sun Visor (76.10.48)
23 . Install both C-pillar upper trims panels.
For additional information, refer to C-Pillar Upper Trim Panel
24 . Install both B-pillar trim panels.
For additional information, refer to B-Pillar Upper Trim Panel (76.13.28)
25 . Install both A-pillar trim panels.
For additional information, refer to A-Pillar Trim Panel (76.13.31)
www.
Roof Opening Panel Front Drain Hose
(76.82.21)
Removal
1 . Remove the fender splash shield. <<501-02>>
2 . Remove the roof opening panel front drain hose lower grommet.
3 . Remove both A-pillar trim panels. <<501-05>>
4 . Remove both B-pillar trim panels. <<501-05>>
5 . Remove both C-pillar upper trim panels. <<501-05>>
6 . Remove both sun visors. <<501-05>>
7 . Remove the auto dimming interior mirror. <<501-09>>
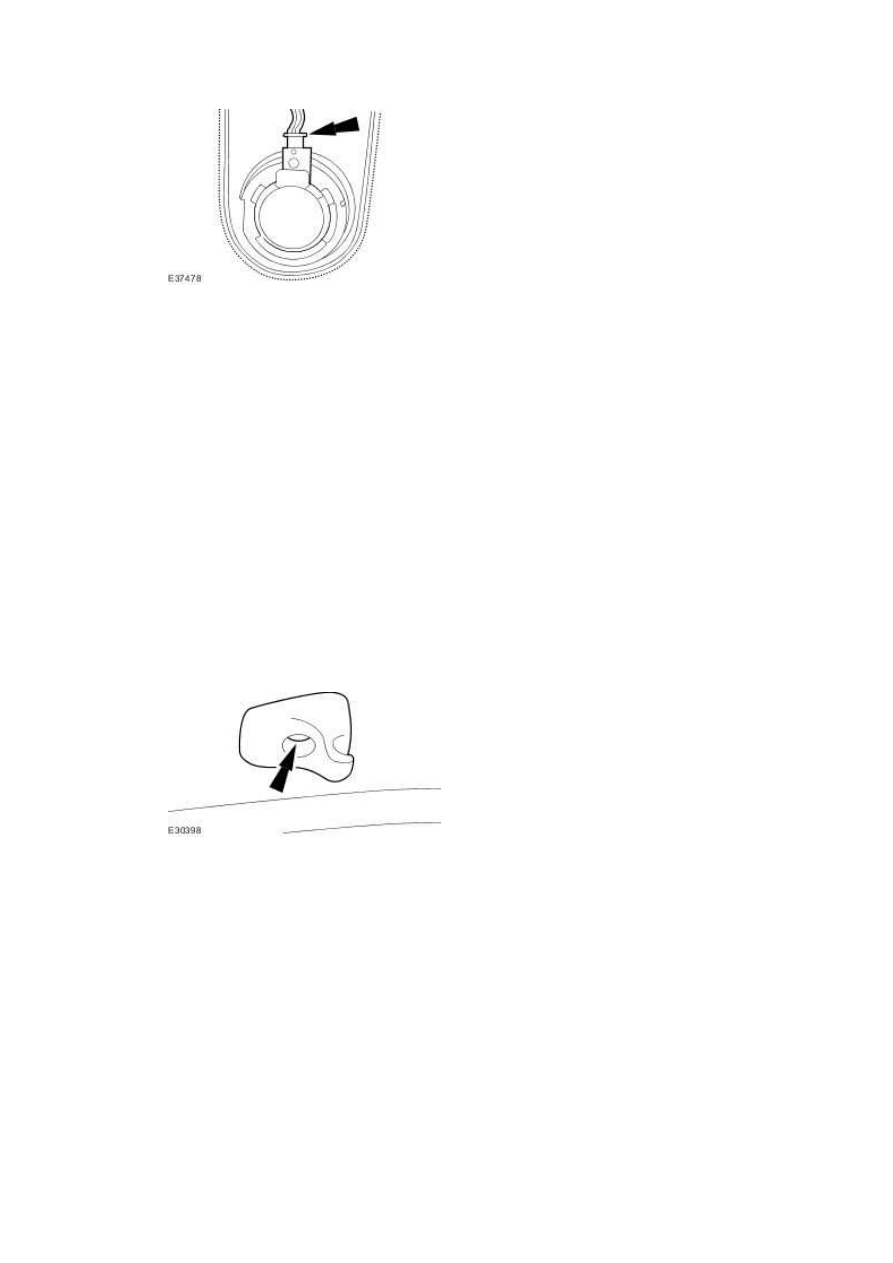
8 . Disconnect the rain sensor electrical connector.
9 . NOTE:
Left-hand shown, right-hand similar.
Disconnect the headlining wiring harness front electrical connector.
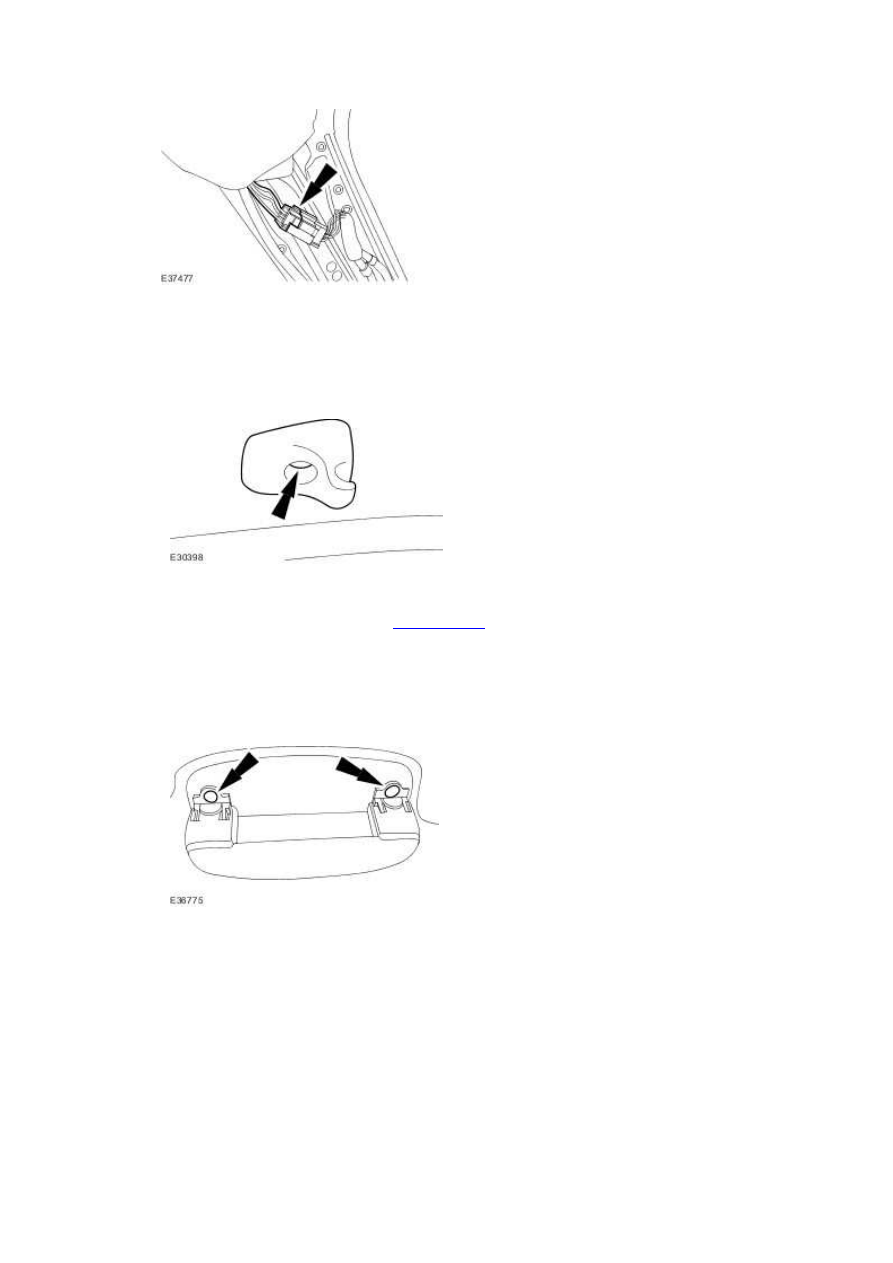
10 . NOTE:
Left-hand shown, right-hand similar.
Remove the sun visor retaining clip.
11 . Remove the overhead console. <<501-12>>
12 . NOTE:
Left-hand shown, right-hand similar.
Detach the front passenger assist handle retaining screw covers.
13 . NOTE:
Left-hand shown, right-hand similar.
Remove the front passenger assist handle.
www.
Нет комментариевНе стесняйтесь поделиться с нами вашим ценным мнением.
Текст