Jaguar XJ (X350). Manual — part 1109
Diagnosis and testing
Fuel Tank and Lines - 4.2L NA V8 -
AJV8/4.2L SC V8 - AJV8/3.0L NA V6 -
AJ27/3.5L NA V8 - AJV8, VIN Range:
G00442->G45703
Inspection and Verification
1 . Verify the customer concern.
2 . Visually inspect for obvious signs of mechanical or electrical damage.
Mechanical
Electrical
Damaged fuel lines
Fuses (see table)
Damaged push connect fittings
Loose or corroded electrical connectors
Fuel leaks
Fuel pump module
Damaged fuel tank filler pipe cap Rear electronic module
Damaged fuel tank filler pipe
Fuel pump relay
3 . Verify the following systems are working correctly:
Air intake system
Cooling system
Charging system
Ignition system
4 . If an obvious cause for an observed or reported concern is found, correct the cause (if possible)
before proceeding to the next step.
5 . If the cause is not visually evident and the Jaguar approved diagnostic system is not available, use
a fault code reader to retrieve the fault codes before proceeding to the diagnostic trouble code (DTC)
index.

6 . Where the Jaguar approved diagnostic system is available, complete the S93 report before
clearing any or all fault codes from the vehicle.
NOTE:
If a DTC cannot be cleared, then there is a permanent fault present that flags again as soon as it
is cleared (the exception to this is P1260, which will only clear following an ignition OFF/ON cycle
after rectification).
7 . Using the Jaguar approved diagnostic system where available, and a scan tool where not, check
the freeze frame data for information on the conditions applicable when the fault was flagged. The
format of this will vary, depending on the tool used, but can provide information useful to the
technician in diagnosing the fault.
Control module Power and Ground supplies
DTCs can be set if a module's power or ground supply is interrupted.
Check the fuses listed in the table below, and check the power and ground circuit pinpoint tests
before condemning components.
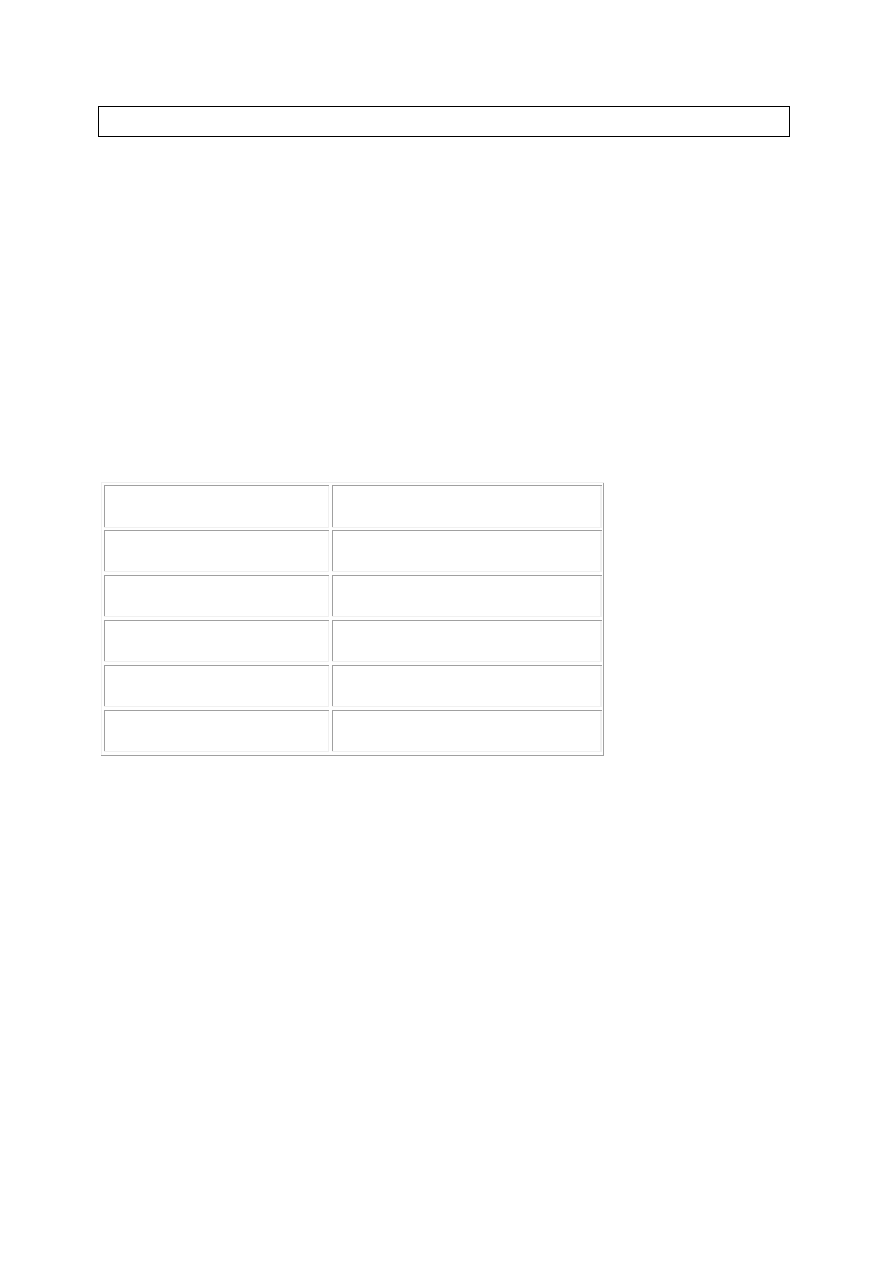
Fuse Rating
Circuit
Location
33
20 Amp Rear electronic module (from fuel pump relay) Rear power distribution box
19
5 Amp
Rear electronic module (ignition)
Primary junction box
24
20 Amp Fuel pump driver module
Rear power distribution box
For REM power and ground supply tests, GO to Pinpoint Test G251562p6.
.
For fuel pump driver module power and ground supply tests, GO to Pinpoint Test G251562p7.
.
For ECM power and ground supply tests, <<303-14>>
DTC index
DTC
Description
Possible Source
Action
P0460
Fuel level sensor circuit
range/performance
Fuel level sensor to rear electronic
module (REM) circuits;
intermittent short or open
circuit, high resistance
For fuel level sensor
circuit tests, GO to
Pinpoint Test
G251562p1.
www.

Fuel level sensor failure
REM fault (incorrect fuel level data)
.
P1233
Fuel pump 2 drive circuit
fault
ECM to fuel pump 2 module
control drive circuit; open
circuit, short circuit, high
resistance
Fuel pump 2 module failure
For fuel pump 2 module
tests, GO to Pinpoint
Test G251562p2.
.
P1234
No fuel pump commands
received by ECM
ECM to rear electronic module
(REM) drive circuit; open
circuit, short circuit, high
resistance
REM failure
For ECM to REM circuit
tests, GO to Pinpoint
Test G251562p3.
.
P1236
Fuel pump not activated
when requested by ECM
ECM to rear electronic module
(REM) drive circuit; open
circuit, short circuit, high
resistance
REM failure
For ECM to REM circuit
tests, GO to Pinpoint
Test G251562p3.
.
P1338
Fuel pump drive circuit
low/high voltage
REM to fuel pump drive circuit;
open circuit, short circuit, high
resistance
REM failure
Fuel pump failure
For fuel pump drive
circuit tests, GO to
Pinpoint Test
G251562p4.
.
P1339
Fuel pump 2 drive circuit
low/high voltage
Fuel pump 2 module to fuel pump
drive circuit; open circuit, short
circuit, high resistance
Fuel pump 2 module to ECM
monitor circuit; open circuit,
short circuit, high resistance
Fuel pump 2 module failure
Fuel pump 2 failure
For fuel pump 2 module
tests, GO to Pinpoint
Test G251562p5.
.
Power and Ground Pinpoint tests
PINPOINT TEST G251562p6 : CHECK
THE POWER AND GROUND SUPPLIES
TO THE REM
G251562t31 : CHECK THE IGNITION POWER SUPPLY TO THE REM
1. Disconnect the REM electrical connector, CR12. 2. Turn the ignition switch to the ON position. 3.
Measure the voltage between CR12, pin 08 (GU) and GROUND.
Is the voltage less than 10 volts?
-> Yes
REPAIR the circuit between the battery and the REM. This circuit includes the primary junction box
(fuse 19). For additional information, refer to the wiring diagrams.
-> No
GO to Pinpoint Test G251562t32.
G251562t32 : CHECK THE POWER SUPPLY FROM THE FUEL PUMP RELAY TO
THE REM
1. Reconnect the REM electrical connector, CR12. 2. Disconnect the REM electrical connector, CR73
3. Make sure the fuel pump relay is energized. 4. Measure the voltage between CR73, pin 01 (N) and
GROUND.
Is the voltage less than 10 volts?
-> Yes
REPAIR the circuit between the battery and the REM. This circuit includes the fuel pump relay and
the rear power distribution box (fuse 33). For additional information, refer to the wiring diagrams.
-> No
GO to Pinpoint Test G251562t33.
G251562t33 : CHECK THE GROUND TO THE REM
1. Measure the resistance between CR73, pins 02 and 15 (B) and GROUND.
Is the resistance greater than 5 ohms?
-> Yes
REPAIR the high resistance circuit. For additional information, refer to the wiring diagrams.
-> No
CHECK for DTCs. Continue to pinpoint test indicated by the DTC.
www.
Нет комментариевНе стесняйтесь поделиться с нами вашим ценным мнением.
Текст