Jaguar XJ (X350). Manual — part 142
Mark the position of the balance nut in relation to the differential flange (if
fitted).
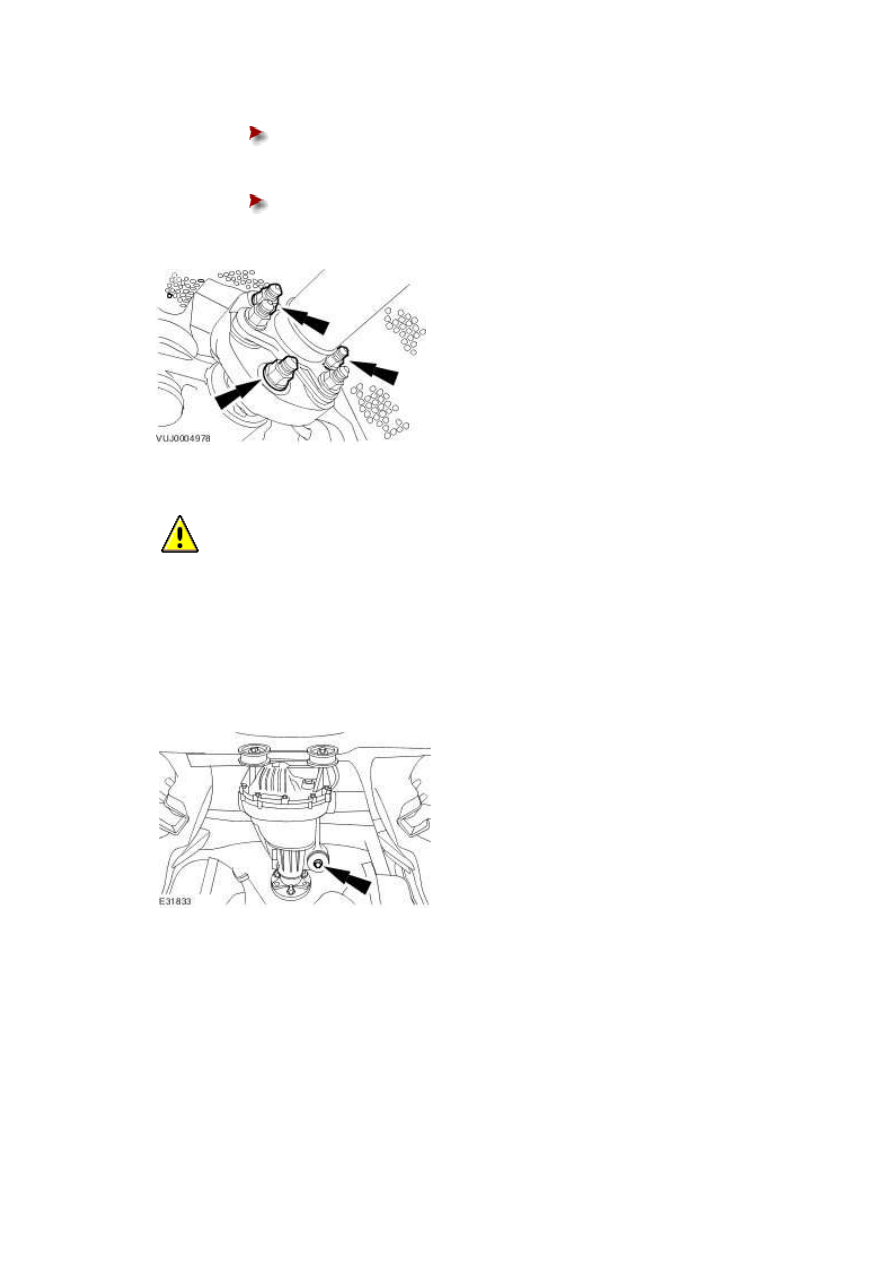
Mark the position of each nut and bolt in relation to the driveshaft flexible
joint.
4
.
CAUTION: When supporting the axle assembly, use a suitable packing material to
prevent damage to the axle assembly.
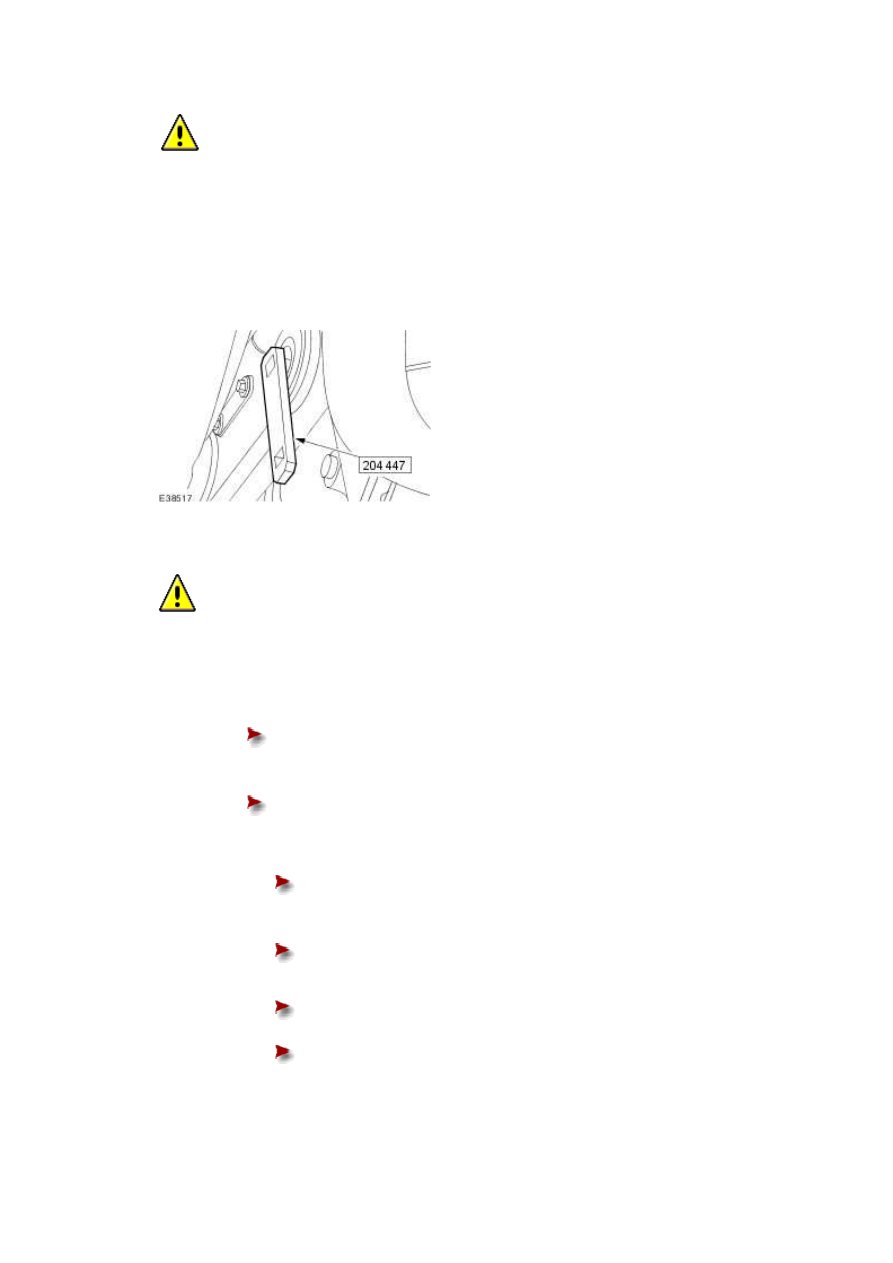
Using the special tool HTJ1200-02, support the axle assembly.
5 . Remove the axle assembly front retaining bolt.
6
.
NOTE:
The axle assembly rear retaining bolts do not have to be fully removed for the axle
assembly to be removed, slacken the rear retaining bolts alternately until the rear axle
assembly is released.
Remove the axle assembly.

Installation
1 . NOTE:
Loosely tighten the axle assembly rear retaining bolts.
Install the axle assembly.
2 . NOTE:
Make sure the axle front retaining bolt washer and spacer are correctly installed.
Install the axle assembly front retaining bolt.
www.
3
.
CAUTION: When supporting the axle assembly, use a suitable packing material to
prevent damage to the axle assembly.
Remove the special tool HTJ1200-02, supporting the axle assembly.
4 . Install the special tool.
5
.
CAUTION: Make sure the axle rear retaining bolts are tightened to the correct
torque specification. Failure to follow this instruction may result in damage to the vehicle.
Using the special tool and a torque wrench, tighten the axle rear retaining bolts.
Tighten to 200 Nm.
To make sure the axle rear retaining bolts are torqued to the correct
specification, using the special tool and a torque wrench the following
calculation steps must be followed.
Step 1. Multiply 200 Nm by the effective length of the torque wrench
(1).
Step 2. Add the effective length of the special tool (2) to the effective
length of the torque wrench (1).
Step 3. Divide the total of step 1 by the total of step 2.
Step 4. Set the torque wrench to the figure arrived at in step 3.
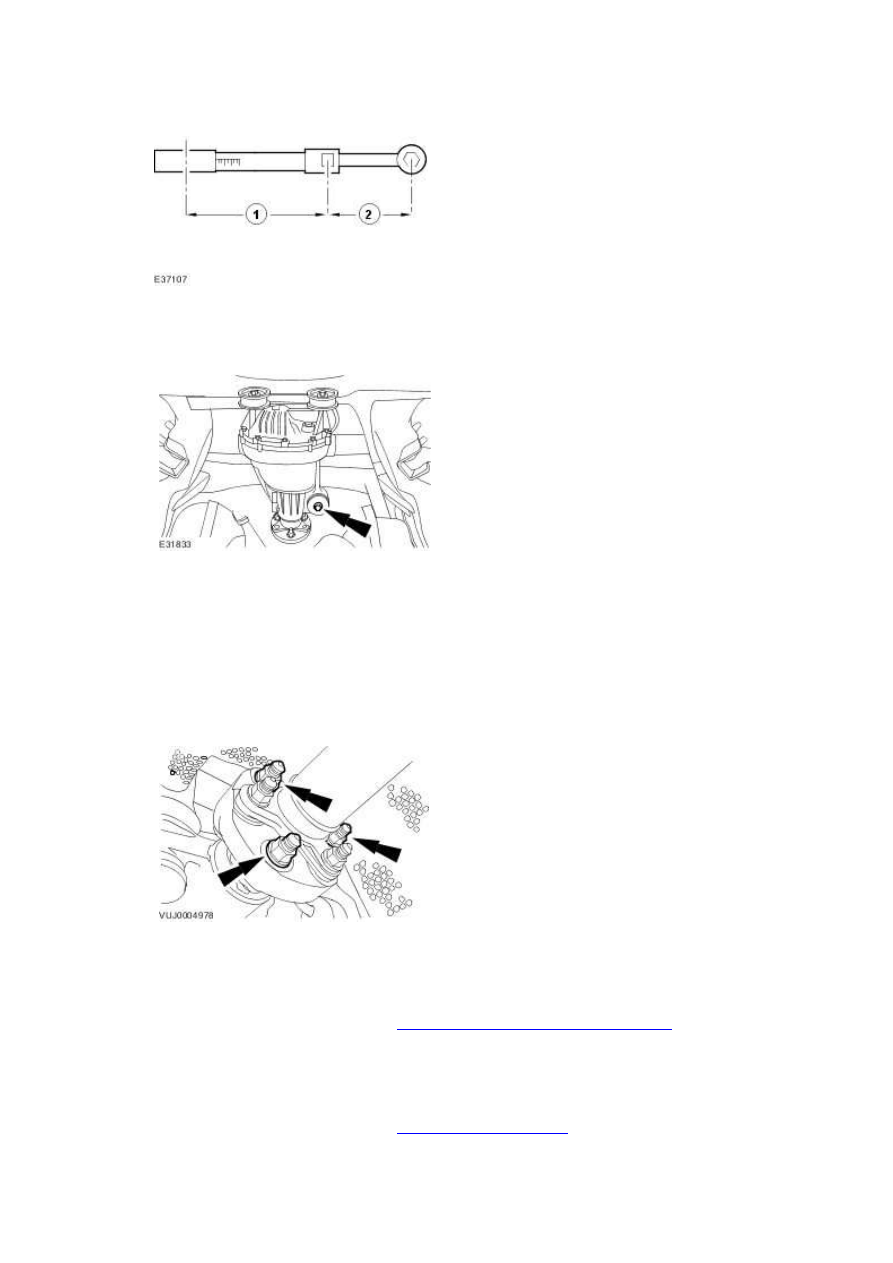
6 . Tighten to 90 Nm.
7 . NOTE:
Make sure the driveshaft nuts and bolts are correctly installed.
Tighten to 88 Nm.
8 . Install the exhaust system.
For additional information, refer to
Front Muffler - 3.0L/3.5L/4.2L (30.10.18)
9 . Install both halfshafts.
For additional information, refer to
Rear Halfshaft (47.10.13)
www.
Нет комментариевНе стесняйтесь поделиться с нами вашим ценным мнением.
Текст