Jaguar XJ (X350). Manual — part 1614
Removal
1
.
Remove the front subframe. For additional information, refer to
For additional information, refer to Front Subframe - 3.0L NA V6 - AJ27 (76.10.05) or
For additional information, refer to Front Subframe - 4.2L NA V8 - AJV8/4.2L SC V8 - AJV8/3.5L
NA V8 - AJV8 (76.10.05) in this section.
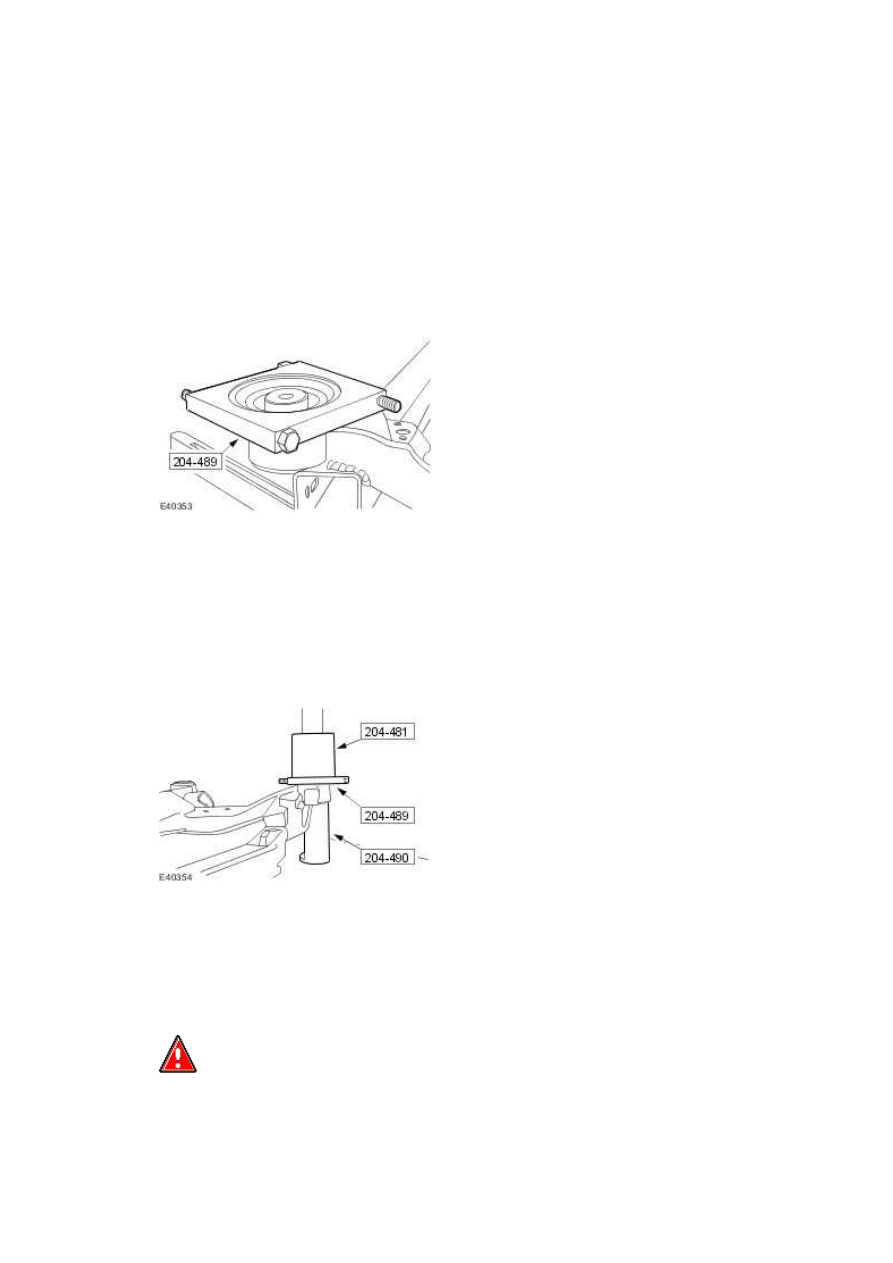
2 . Install the special tool.
3 . NOTE:
Note the orientation of the bushing before removal.
Using the special tools, remove the front subframe rear bushing.
Installation
1
.
WARNING: Make sure the front subframe rear bushing is fully installed into the
front subframe. Failure to follow this instruction may result in personal injury.
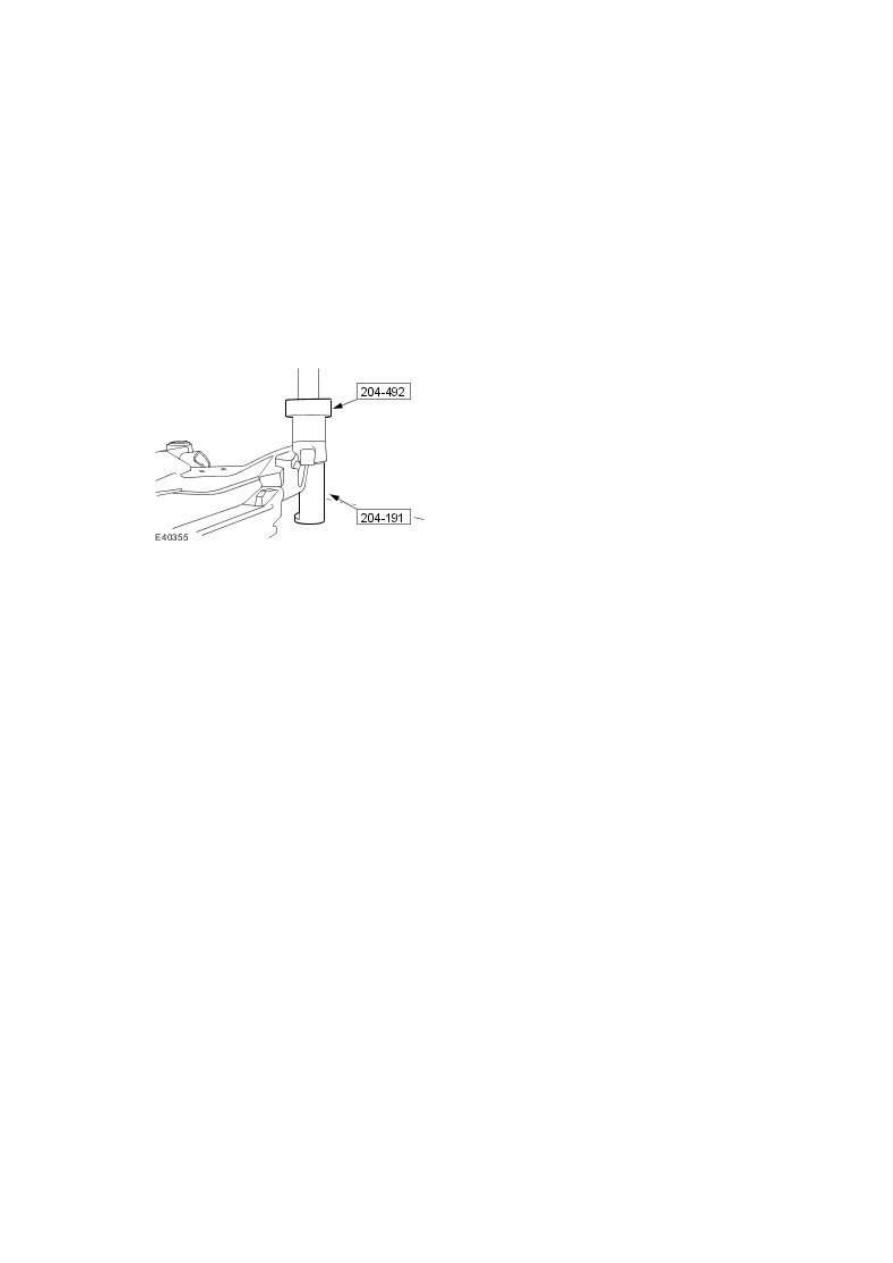
NOTE:
Make sure the bushing is correctly orientated.
NOTE:
On installation, make sure the front subframe rear bushing upper lip contacts the front
subframe.
Using the special tools, install the front subframe rear bushing.
2
.
Install the front subframe. For additional information, refer to
For additional information, refer to Front Subframe - 3.0L NA V6 - AJ27 (76.10.05) or
For additional information, refer to Front Subframe - 4.2L NA V8 - AJV8/4.2L SC V8 - AJV8/3.5L
NA V8 - AJV8 (76.10.05) in this section.
www.
Rear Subframe (64.25.01)
Special Service Tools
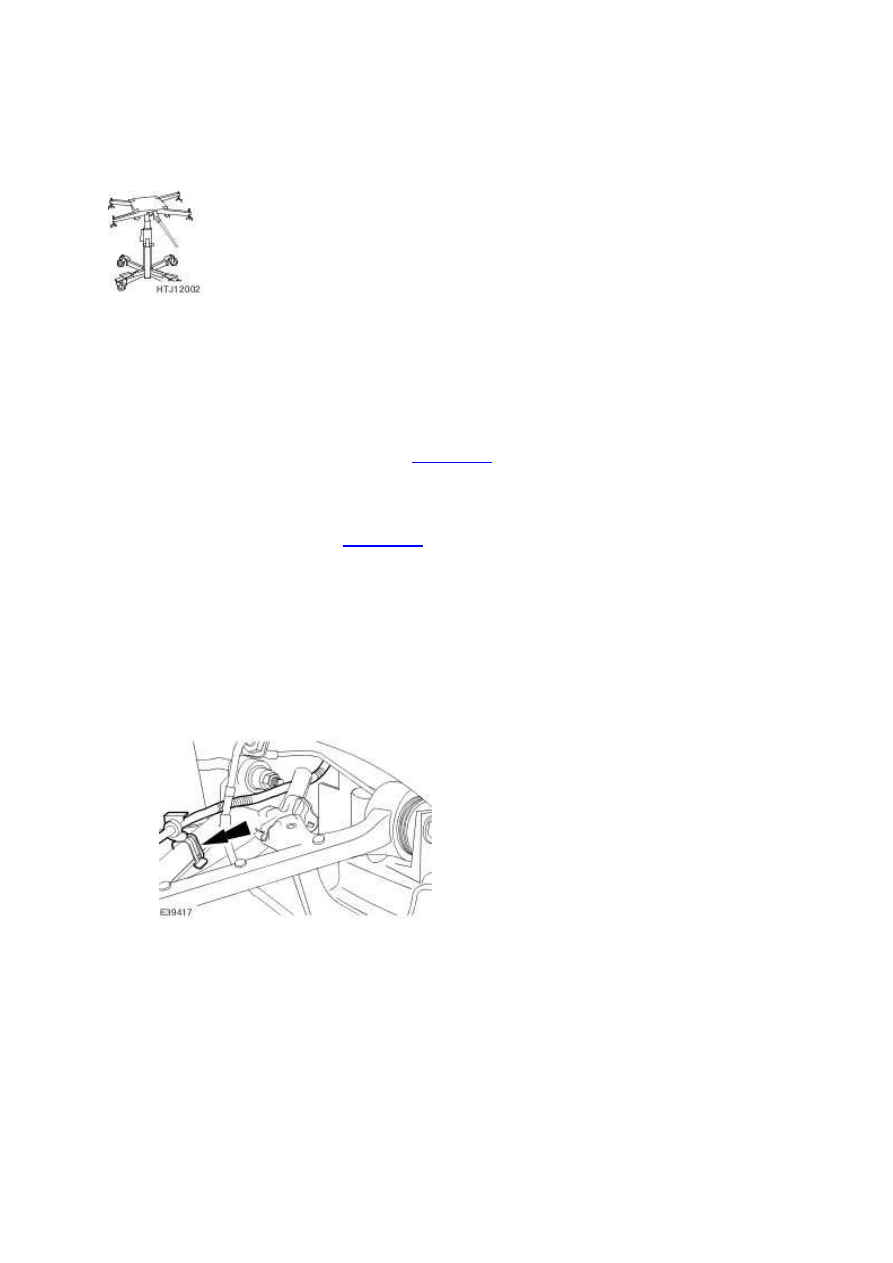
Powertrain Assembly Jack
HTJ1200-2
Removal
1 . Drain the right-hand fuel tank saddle. <<310-00>>
2 . Remove the axle assembly. <<205-02>>
3 . NOTE:
Right-hand shown, left-hand similar.
Detach the rear wheel speed sensor wiring harness from the upper arm
4 . NOTE:
Right-hand shown, left-hand similar.
Detach the headlamp leveling sensor retaining clip.
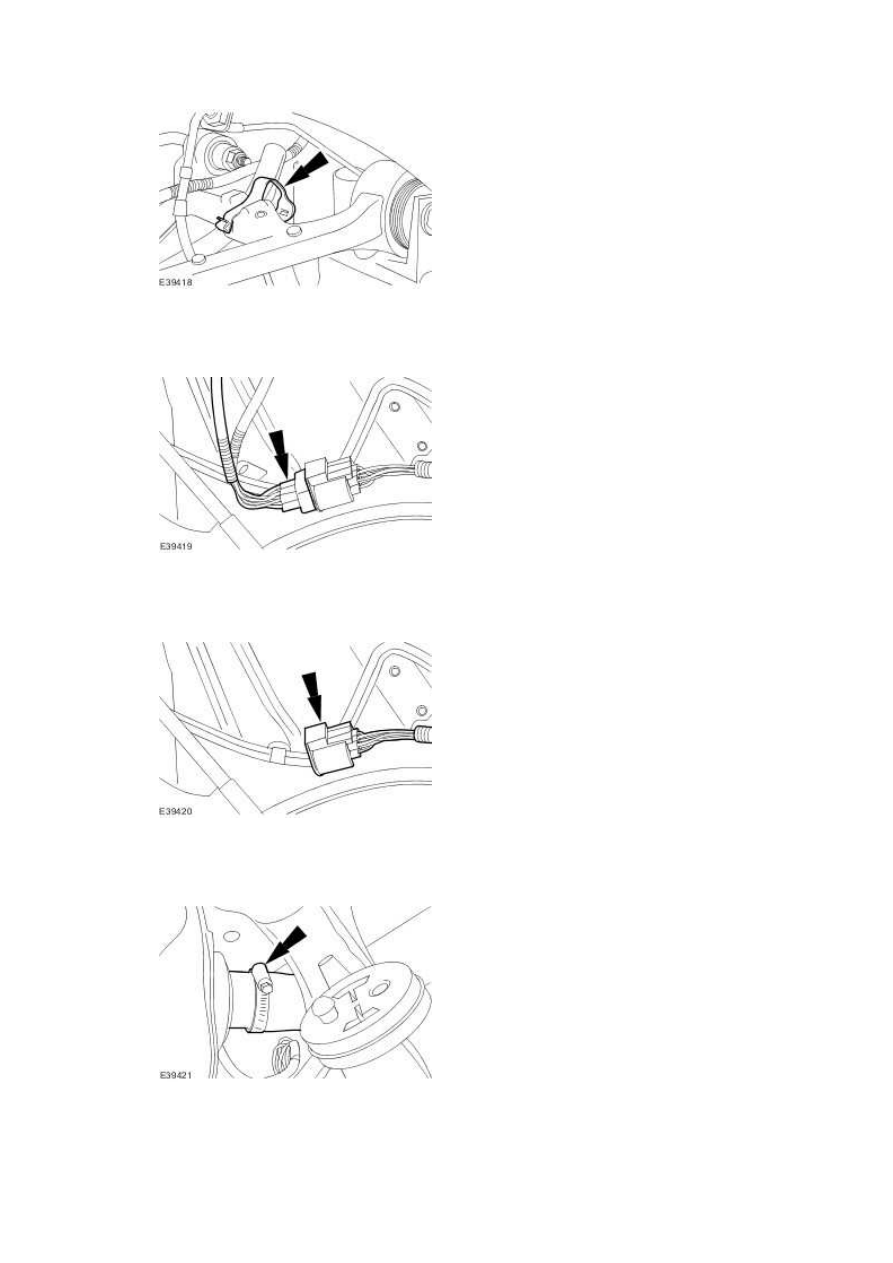
5 . Disconnect the electric parking brake electrical connector.
6 . Detach the electric parking brake wiring harness.
7 . Disconnect the fuel filler hose.
www.
Нет комментариевНе стесняйтесь поделиться с нами вашим ценным мнением.
Текст