DAF 95XF. Manual — part 493
3
DRIVE SHAFTS
Disassembly and assembly
4-6
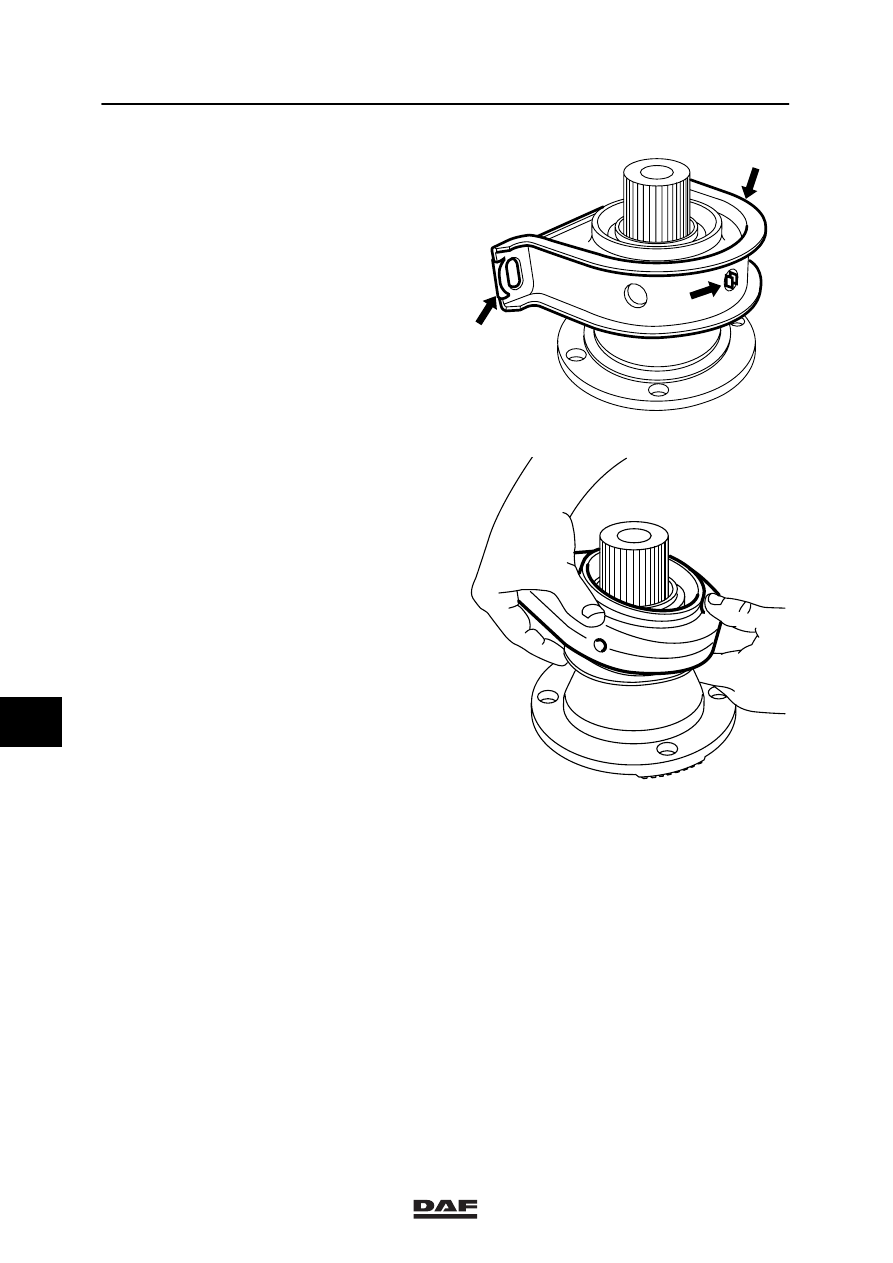
7.
Remove the steel bracket including the
circlip of the silentblock.
8.
Remove the silentblock from the centre
bearing.
W 3 06 007
W 3 06 006
8
ǹ 0002

3
Disassembly and assembly
DRIVE SHAFTS
4-7
9.
Use the puller to pull the bearing from the
drive flange.
10. Remove the steel dust ring from the drive
flange.
W 3 06 004
W 3 06 005
8
ǹ 0002

3
DRIVE SHAFTS
Disassembly and assembly
4-8
Assembling the “GWB” centre bearing
Note:
In case of damage, always replace the entire
centre bearing.
1.
Use the special tool (DAF no. 1329375
∅45, DAF no. 1329364 ∅55, or
DAF no. 1329376
∅70) to install the steel
dust rings, without sealing rubber, onto the
drive flange and auxiliary shaft.
2.
Install the sealing rubbers into the steel
dust rings.
V300170
V300171
8
ǹ 0002
3
Disassembly and assembly
DRIVE SHAFTS
4-9
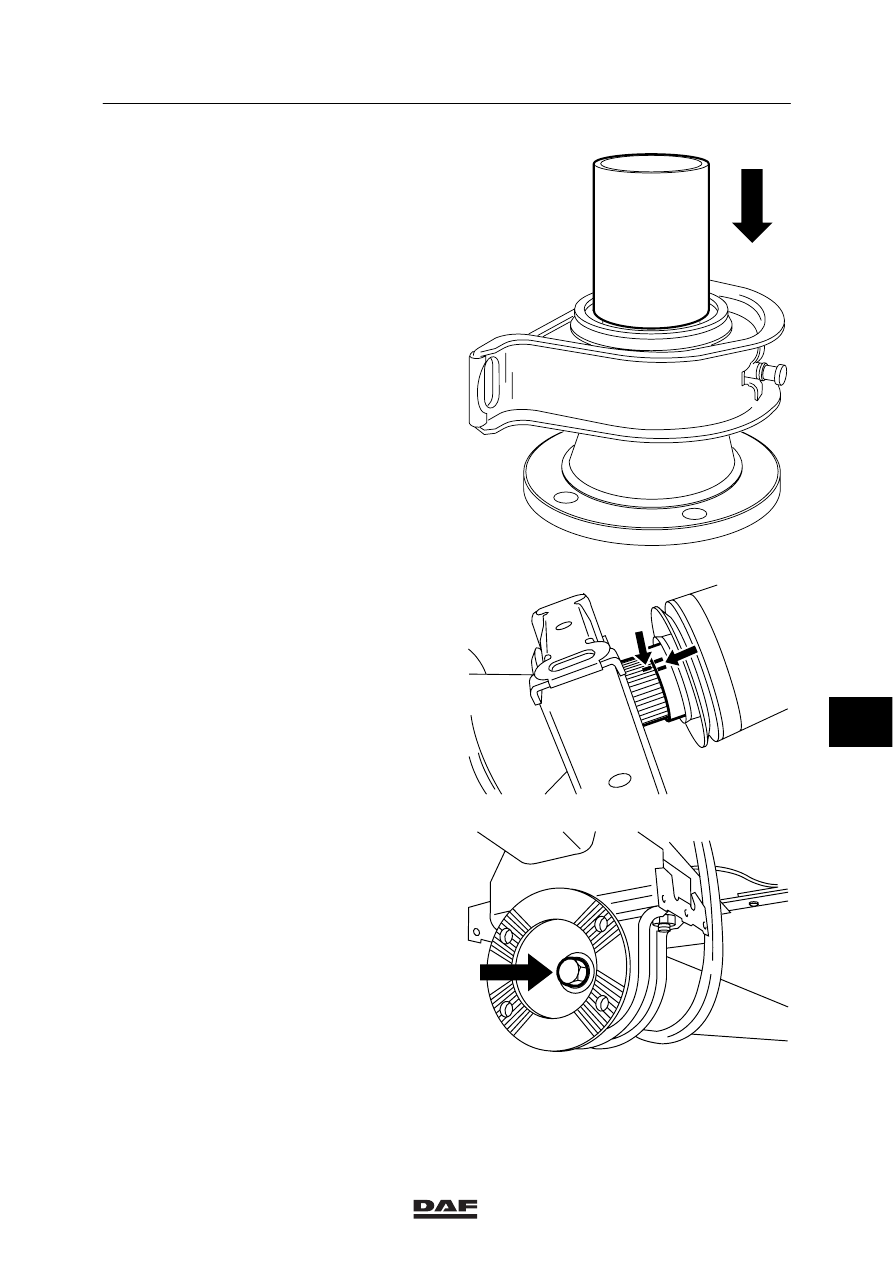
3.
Use the special tool (DAF no. 1329375
∅45, DAF no. 1329364 ∅55, or
DAF no. 1329376
∅70) to install the centre
bearing assembly on the drive flange.
4.
When the drive flange and centre bearing
are installed, ensure that the marks you
made earlier line up.
5.
Install the drive flange and centre bearing in
the auxiliary shaft.
6.
Hand-tighten the centre bearing to the
chassis with the fixing bolts.
7.
Tighten the central fixing bolt to the
specified tightening torque, see main group
“Technical Data”.
8.
Tighten the fixing bolts of the centre bearing
to the chassis to the specified tightening
torque, see main group “Technical Data”.
9.
If the centre bearing is provided with a
lubricating nipple, it must be lubricated.
10. Fit the drive shaft.
V300172
A
B
W 3 06 008
W 3 06 002
8
ǹ 0002
Нет комментариевНе стесняйтесь поделиться с нами вашим ценным мнением.
Текст