DAF 95XF. Manual — part 546
EXPLANATORY NOTES ON THE MAINTENANCE ACTIVITIES
Inspection and adjustment
3-60
3.47 CHECKING THE WHEEL HUB AND WHEEL BEARINGS
1.
Inspect the bearings for damage at the
following points:
-
the roller bearing race,
-
the bearing cage,
-
the raceways of the inner and outer
race.
If damage is found, the entire bearing (inner
race/bearing cage and outer race) should
be replaced.
2.
When the outer race of the bearing is loose
in the hub or has turned in the hub, the hub
should be replaced.
3.
The following points of the axle journal
should be inspected for damage: the screw
thread, the bearing surfaces of the inner
bearing races and the running surface of
the seal.
4.
Check the sensor ring for damage. If even
the slightest damage is found on this ring, it
should be replaced.
3.48 CHECKING THE SUPERSTRUCTURE ATTACHMENT
1.
Check that all attachment bolts are present.
2.
Visually check the attachment of the
superstructure for faults.
3.49 CHECKING THE ATTACHMENT AND CONDITION OF SPRING LEAVES,
SPRING CLAMPS AND U-BOLTS
1.
Visually inspect the condition and
attachment of the U-bolts.
2.
When retightening the U-bolt nuts, the
attachment nut must not be slackened
first and then tightened to a specific torque,
see “Technical data”.
5
200424

Removal and installation
EXPLANATORY NOTES ON THE MAINTENANCE ACTIVITIES
4-1
4. REMOVAL AND INSTALLATION
4.1 REMOVAL AND INSTALLATION, INTERIOR FILTER ELEMENT
Removing the interior filter element
1.
Open the grille.
2.
Remove the attachment bolts (1) at the
bottom of the filter.
3.
Remove the filter (2).
4.
If required, clean the filter, see chapter
“Cleaning”.
In case of excessive fouling or damage, the
filter should be replaced.
Installing the interior filter element
1.
Fit the filter (2) in the correct position.
The arrows on the filter indicate the air flow
direction.
2.
Insert the attachment bolts (1).
2
1
1
K100355
K100386
5
200424
EXPLANATORY NOTES ON THE MAINTENANCE ACTIVITIES
Removal and installation
4-2
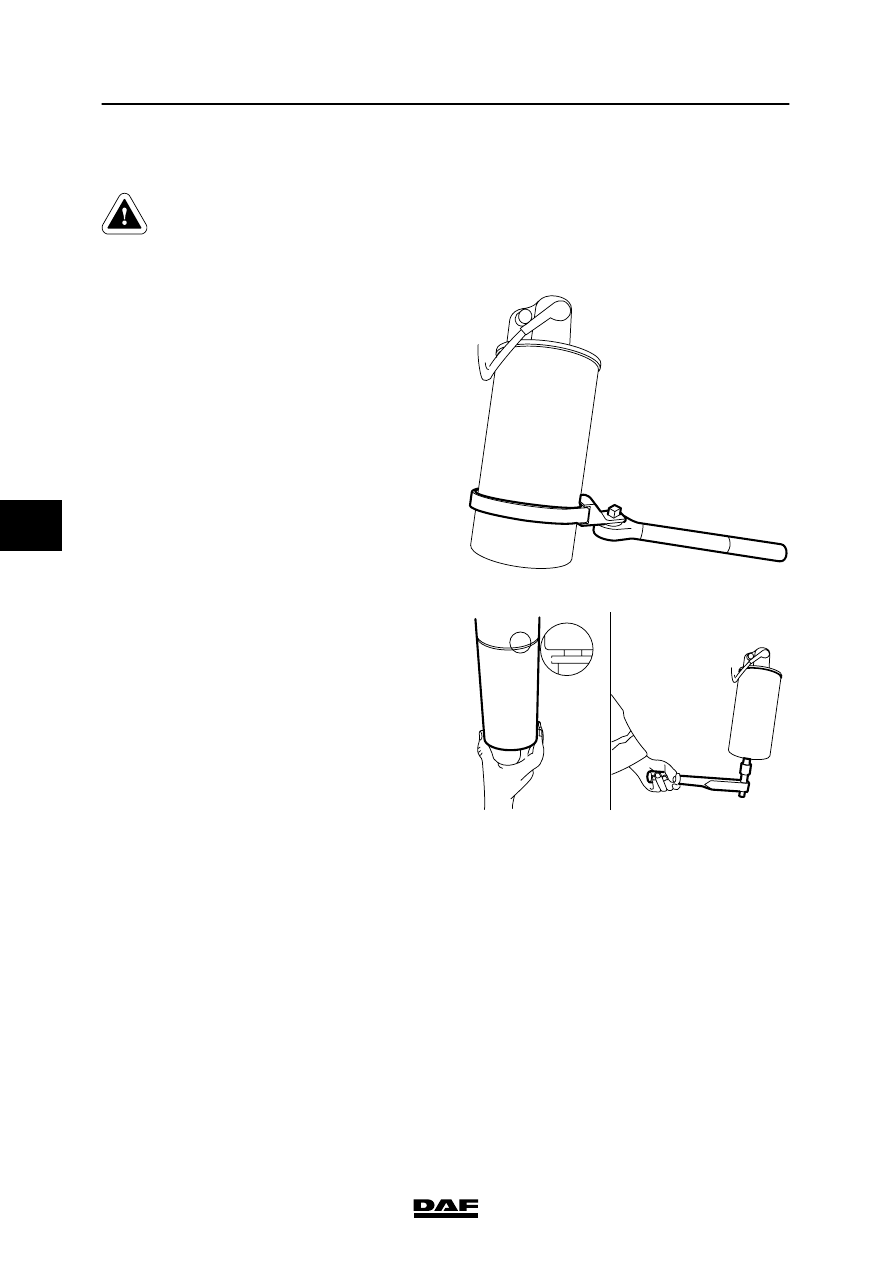
4.2 REMOVAL AND INSTALLATION, OIL FILTER
To prevent skin injury, avoid
unnecessary contact with the
drained oil.
XF/XE engine
Removing the oil filter
1.
Place a tray beneath the filter.
2.
Remove the filter by turning it
counter-clockwise using a strap wrench.
Note:
The oil filter is a disposable filter, and may
not be cleaned and reused.
M200370
Installing the oil filter
1.
Fill the new oil filter before fitting using the
specified oil grade.
2.
Lightly lubricate the sealing ring with engine
oil.
3.
Fit the filter so that the seal makes contact.
Then tighten the filter to the specified
tightening torque, see “Technical data”.
4.
Start the engine, and run it at idling speed
for a short time. Check whether the oil filter
is correctly sealed.
5.
Then check the oil level.
M200371
5
200424
Removal and installation
EXPLANATORY NOTES ON THE MAINTENANCE ACTIVITIES
4-3
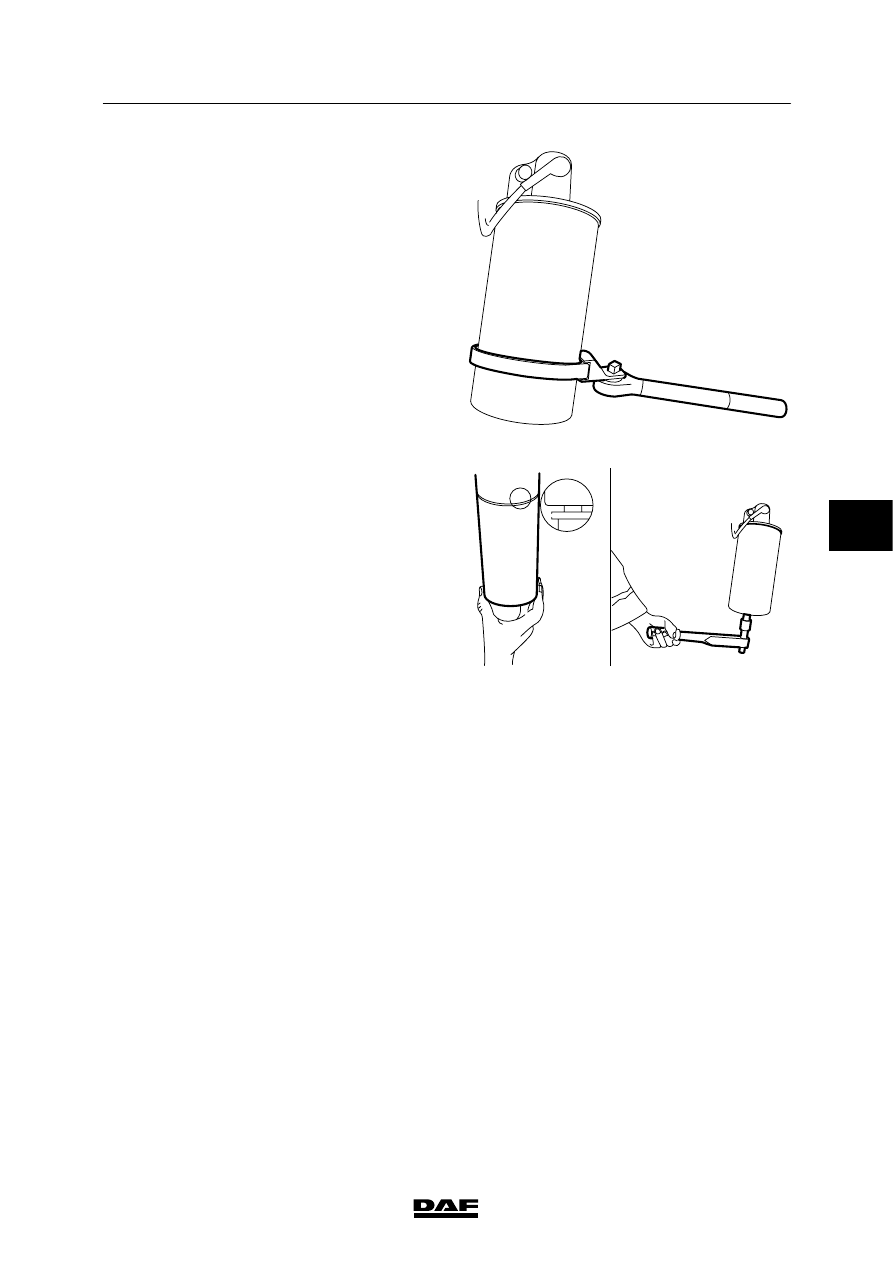
VF engine
Removing the oil filter
1.
Place a tray beneath the filter.
2.
Remove the filter by turning it
counter-clockwise using special tool
(DAF no. 1240115).
Note:
The oil filter is a disposable filter, and may
not be cleaned and reused.
M200370
Installing the oil filter
1.
Fill the new oil filter before fitting using the
specified oil grade.
2.
Lightly lubricate the sealing ring with engine
oil.
3.
Fit the filter so that the seal makes contact.
Then tighten the filter to the specified
tightening torque, see “Technical data”.
4.
Start the engine, and run it at idling speed
for a short time. Check whether the oil filter
is correctly sealed.
5.
Then check the oil level.
M200371
5
200424
Нет комментариевНе стесняйтесь поделиться с нами вашим ценным мнением.
Текст