DAF 95XF. Manual — part 587
8
SINGLE REAR AXLE 1354
Removal and installation
3-18
A800026
3
ǹ 0001
8
Removal and installation
SINGLE REAR AXLE 1354
3-19
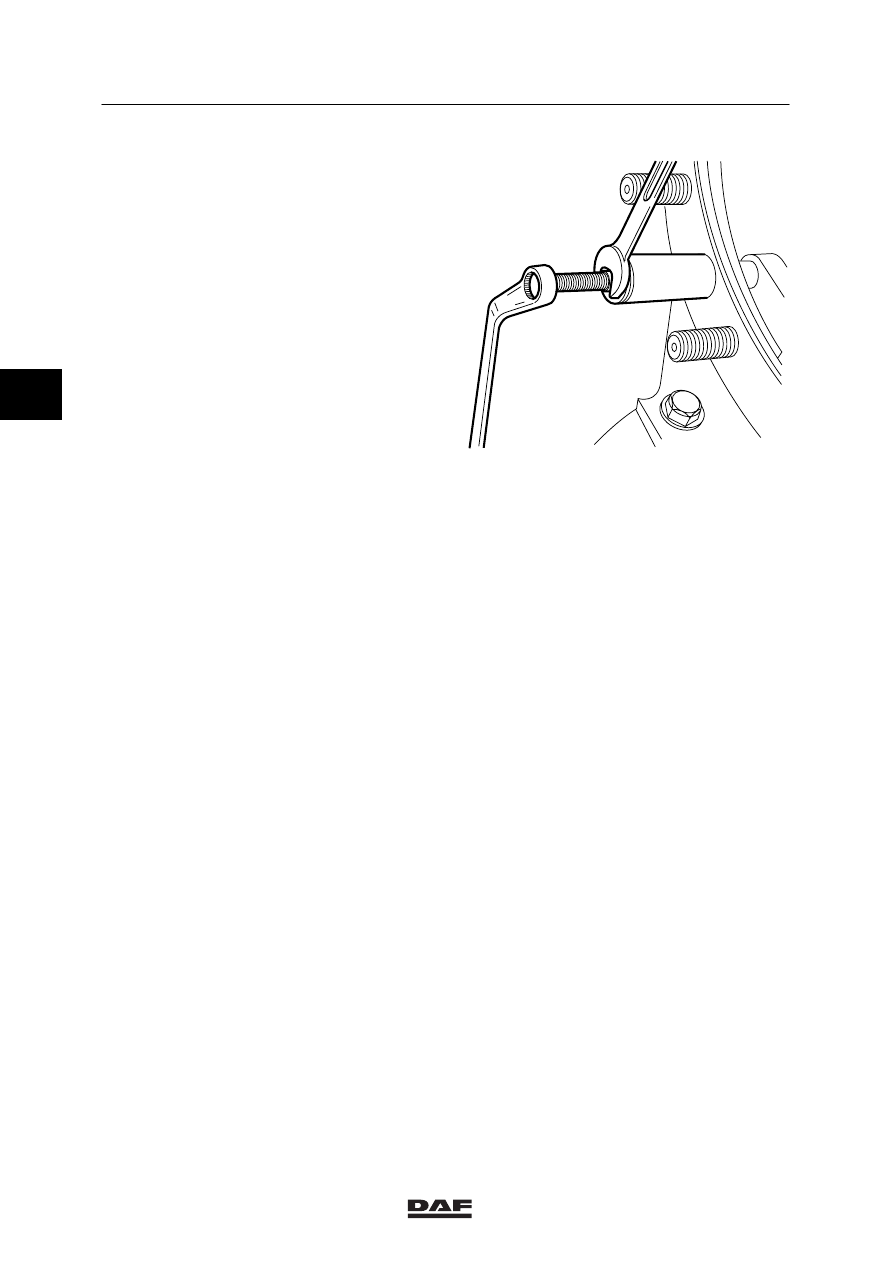
Installation of the differential lock
1.
Turn the engaging cylinder with lock nut
fully into the axle housing.
2.
Fit the fork (6) with heads (2), ring (3) and
split pin (4) to the cylinder control rod.
A800028
1
5
2
7
8
A800021
6
9
3
4
ǹ 0001
3
8
SINGLE REAR AXLE 1354
Removal and installation
3-20
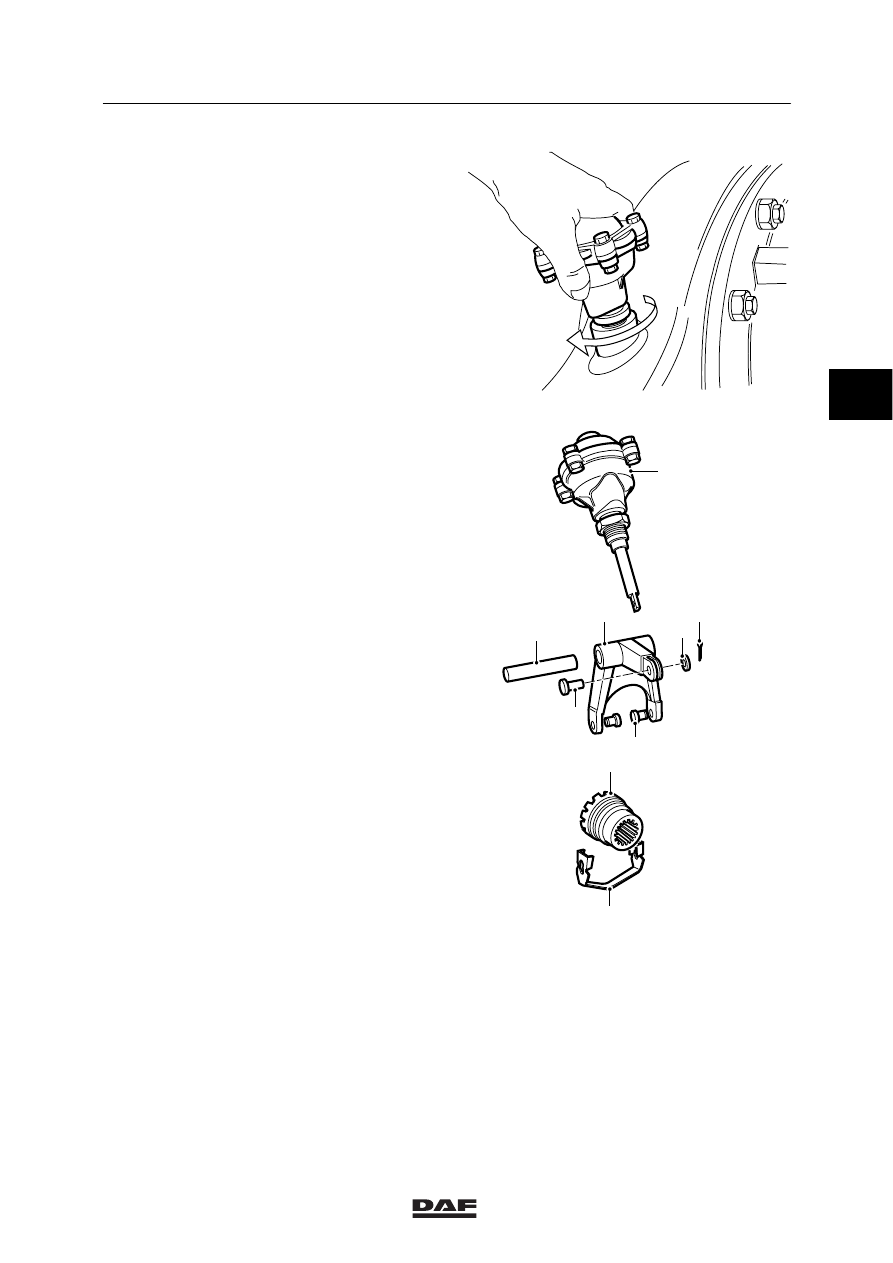
3.
Install the shaft into the differential housing
and the fork with the threaded hole pointing
outward (see arrow).
4.
Tap the shaft into the axle housing using a
plastic mallet or copper driving tool, until the
shaft end is equal to or just below the
contact surface of the axle housing and
differential.
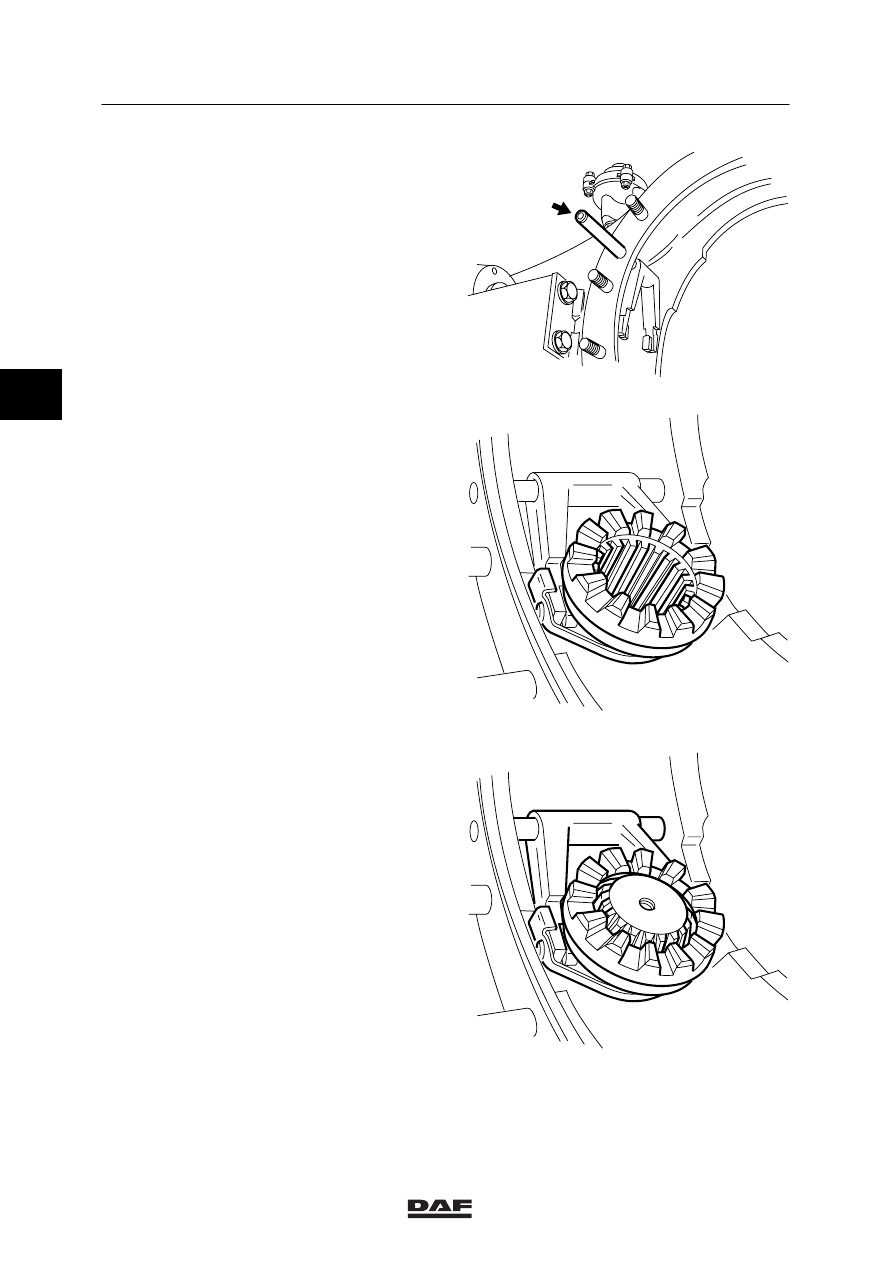
5.
Fit the sliding blocks (7) into the fork (6) and
fit the selector sleeve with the spring clip in
the fork. Pull the spring clip down somewhat
on both sides so that the smallest part of
the key-shaped holes falls behind the edges
of the sliding blocks.
6.
Fit the right axle shaft and slide it into the
selector sleeve.
7.
Subsequently turn the engaging cylinder
until the sliding blocks fall into the rim of the
axle housing. Make sure that the axle-shaft
end is equal to the upper side of the
selector-sleeve toothing.
8.
Install the differential.
A800030
A800031
A800032
3
ǹ 0001
8
Draining and filling
SINGLE REAR AXLE 1354
4-1
4. DRAINING AND FILLING
4.1 DRAINING AND FILLING, HUB
To prevent skin injury, avoid
unnecessary contact with the
drained oil.
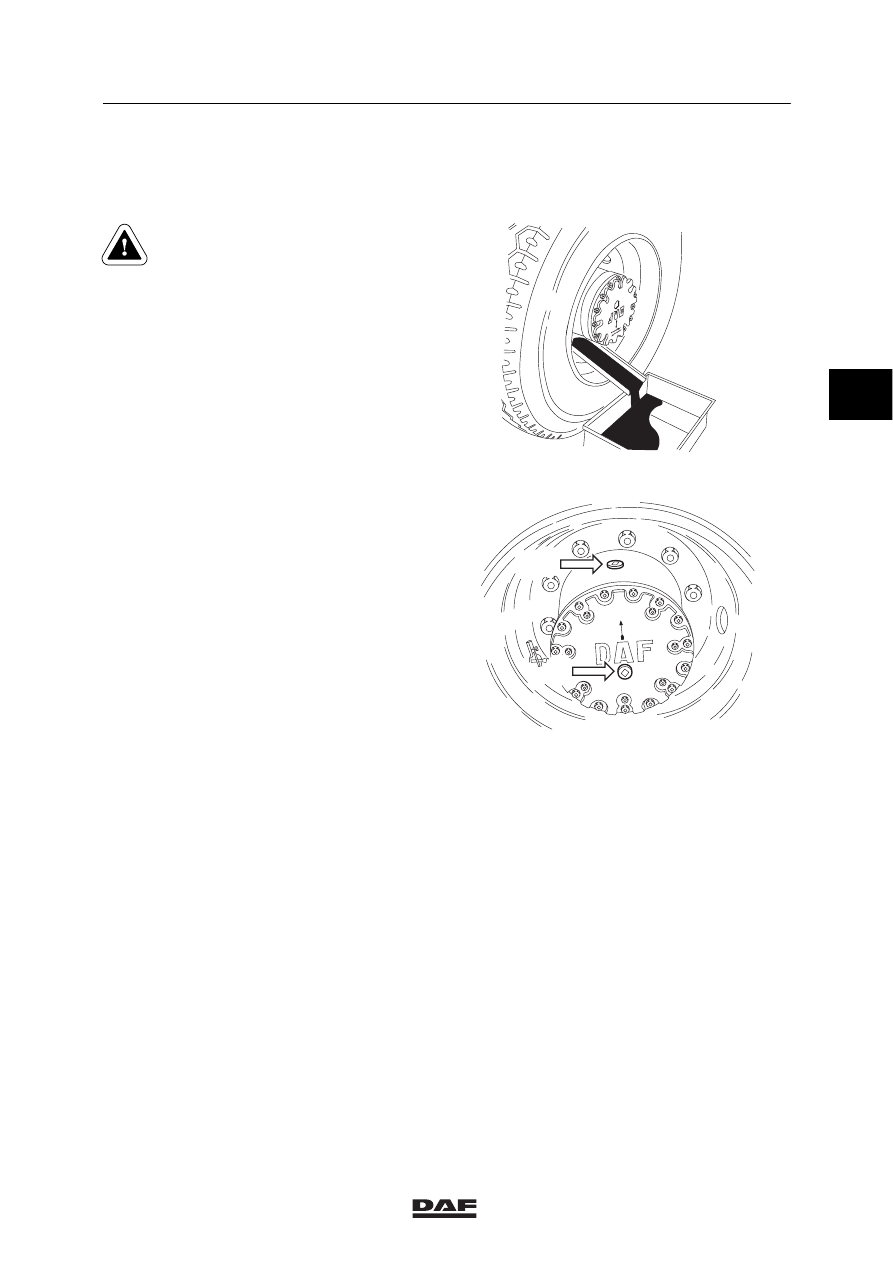
Draining the hub
1.
Position the vehicle on a level surface.
2.
Position the wheels so that the drain/filler
plug (A) is at the underside.
3.
Remove the drain/filler plug A and drain the
oil.
Filling the hub
1.
Position the vehicle on a level surface.
2.
Position the wheels so that the drain/filler
plug A is at the top side.
3.
Fill the hub with the specified quantity of oil.
4.
Fit the plug.
In the case of a Torx plug, use a special
Torx wrench (DAF no. 1329422) and the
specified tightening torque to fit the plug.
See main group “Technical data”.
5.
Check the oil level after approximately
5 minutes. See chapter “Inspection and
adjustment”.
M8037
M8036
AFTAPPEN
VULLEN
A
B
ǹ 0001
3
Нет комментариевНе стесняйтесь поделиться с нами вашим ценным мнением.
Текст