DAF LF45, LF55 Series. Manual — part 199
©
200505
4-27
Removing and installing
CE ENGINE
ΛΦ45/55 series
2
5
4.19 REMOVAL AND INSTALLATION, CRANKSHAFT SENSOR RING
Removing the crankshaft sensor ring
1.
Remove the attachment bolts from the
viscous fan clutch and place the fan in the
wind tunnel.
2.
Remove the poly-V-belt.
3.
Remove the attachment bolts from the
vibration damper.
4.
Remove the vibration damper and the
crankshaft sensor ring.
Installing the crankshaft sensor ring
1.
Fit the crankshaft sensor ring with vibration
damper and tighten the attachment bolts to
the specified torque. See "Technical data".
Note:
There is only one way of fitting the crankshaft
sensor ring. For this purpose, a pin has been
fitted which fits into a bore in the crankshaft
sensor ring.
2.
Fit the poly-V-belt.
3.
Fit the fan and tighten the attachment bolts to
the specified torque. See "Technical data".
CE ENGINE
4-28
©
200505
Removing and installing
5
ΛΦ45/55 series
2
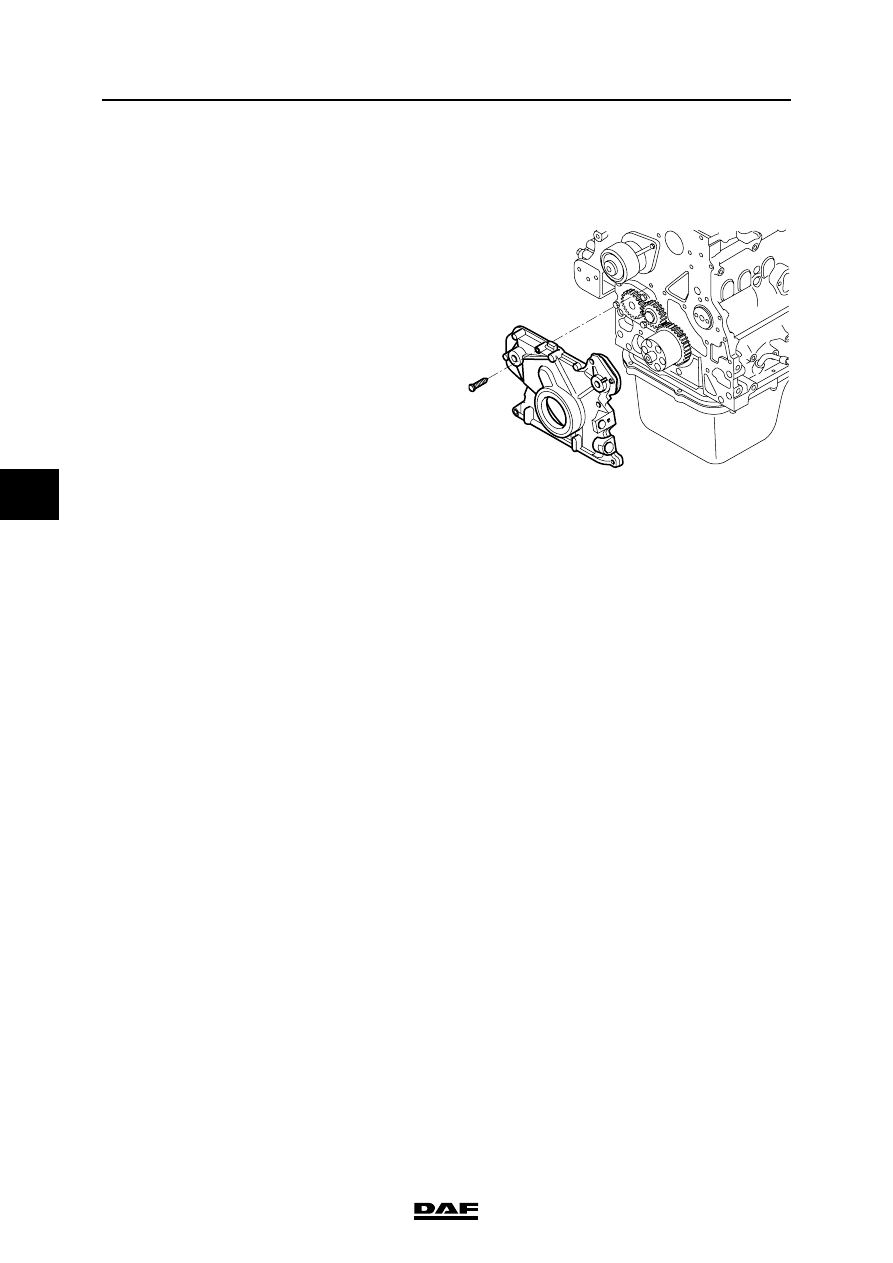
4.20 REMOVING AND INSTALLING FRONT ENGINE PANEL
Removing front engine panel
1.
Remove the poly-V-belt.
2.
Remove the attachment bolts from the
vibration damper and remove the damper
along with the crankshaft pulley.
3.
Remove the front crankshaft seal.
4.
Remove the attachment bolts from the front
engine panel and remove it.
Installing front engine panel
1.
Remove any gasket remnants from the
contact areas.
2.
Check the sealing surfaces for damage.
3.
Check the engine panel for cracks.
4.
Apply a sealant to the sealing surface of the
cylinder block. See "Technical data". Apply
the sealant with a roller or brush evenly over
the entire sealing surface.
5.
Fit the engine panel and tighten the
attachment bolts to the specified torque. See
"Technical data".
6.
Fit a new front crankshaft seal.
7.
Fit the crankshaft pulley and the vibration
damper. Tighten the attachment bolts to the
specified torque. See "Technical data".
8.
Fit the poly-V-belt.
M201157
©
200505
4-29
Removing and installing
CE ENGINE
ΛΦ45/55 series
2
5
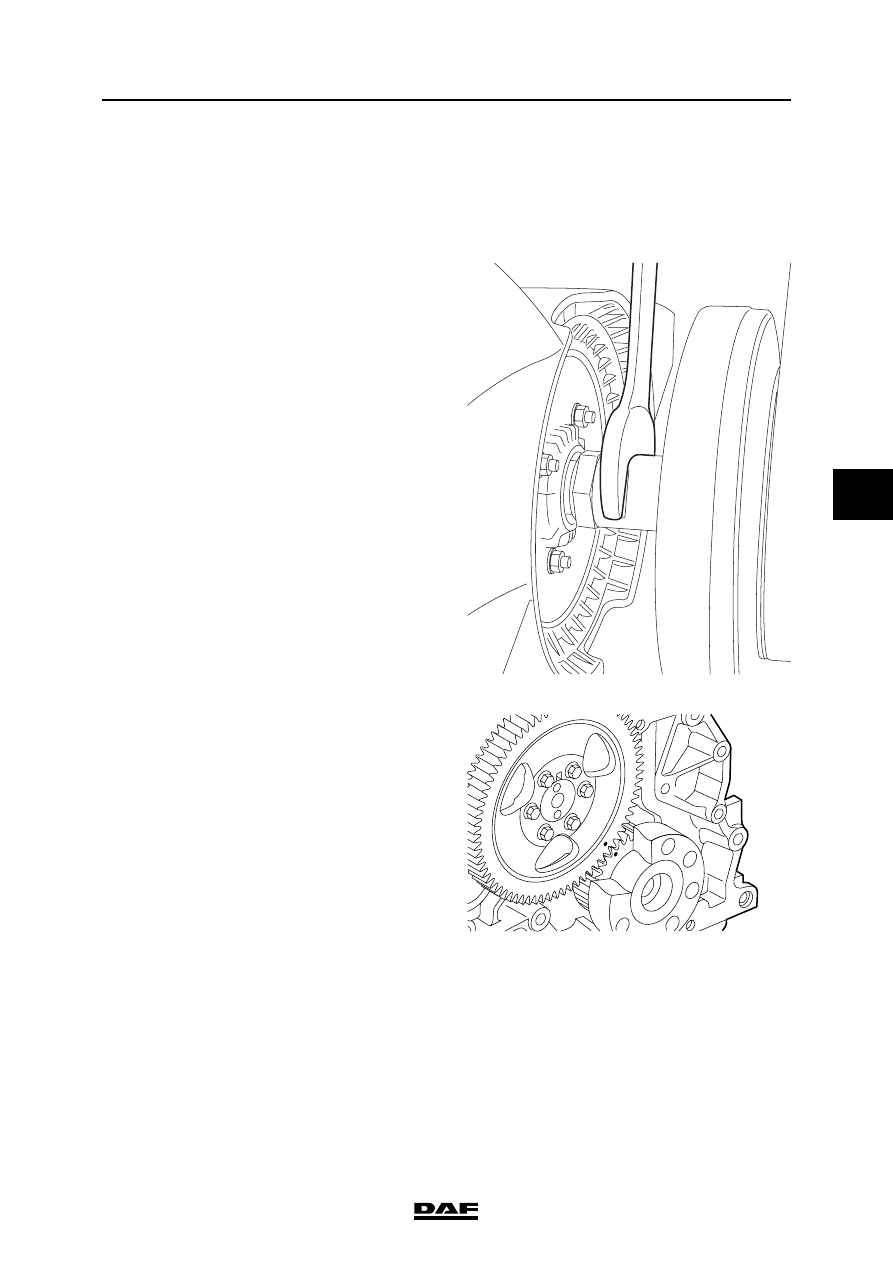
4.21 REMOVAL AND INSTALLATION, CAMSHAFT GEAR
Removing the camshaft gear
1.
Remove the flywheel housing.
2.
Use an open-end spanner on the fan shaft to
crank the crankshaft until the marks in the
crankshaft gear and camshaft gear match.
The crankshaft gear has a punched hole in
the tooth which has to fall into the tooth depth
of the camshaft gear marked with a punched
hole.
3.
Remove the air compressor.
4.
Remove the attachment bolts from the
camshaft gear and remove it.
M201318
M201146
CE ENGINE
4-30
©
200505
Removing and installing
5
ΛΦ45/55 series
2
Installing the camshaft gear
1.
Fit the camshaft gear making sure that the
timing gear is properly set. See 'Inspection
and adjustment'.
Note:
There is only one way of fitting the camshaft
gear. For this purpose, a recess has been
made which falls over a pin on the camshaft.
2.
Tighten the attachment bolts to the specified
torque. See 'Technical data'.
3.
Fit the air compressor.
4.
Fit the flywheel housing.
Нет комментариевНе стесняйтесь поделиться с нами вашим ценным мнением.
Текст