SsangYong Korando II (1996-2006 year). Manual — part 441
SSANGYONG MY2002
9H-4 SEATS
KAA9H070
FRONT SEAT GUIDE RAIL
Removal and Installation Procedure
1. Remove the front seat from the vehicle. Refer to
in this section.
2. Remove the front seat trim. Refer to “front seat
trim” in this section.
3. Remove the bolts and the guide rail.
Installation Notice
KAA9H050
6. Remove the bolts and the seatback.
Installation Notice
•
Dissimilar metals in direct contact with each
other may corrode rapidly. Make sure to use
the correct fasteners to prevent premature
corrosion.
7. Installation should follow the removal procedure
in the reverse order.
Tightening Torque
34.3 - 55.9 N•m
(25 - 41 lb-ft)
•
Dissimilar metals in direct contact with each
other may corrode rapidly. Make sure to use
the correct fasteners to prevent premature
corrosion.
4. Installation should follow the removal procedure
in the reverse order.
Tightening Torque
17.6 - 25.5 N•m
(12 - 18 lb-ft)
KAA9H040
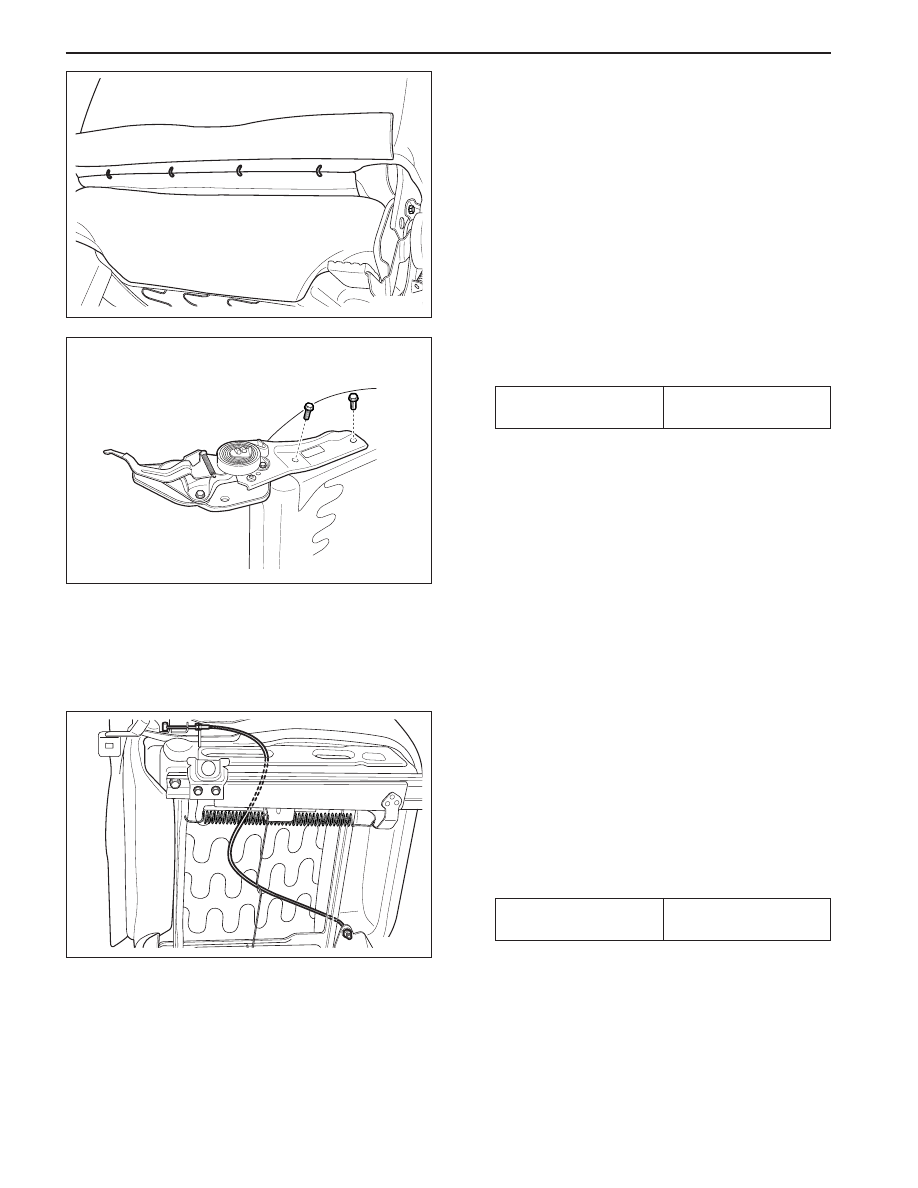
FRONT SEATBACK
Removal and Installation Procedure
1. Remove the front seat from the vehicle. Refer to
“front seat” in this section.
2. Remove the head restraint. Refer to “head
restraint” in this section.
3. Remove the seat recliner lever. Refer to “seat
recliner lever” in this section.
4. Remove the seat trim. Refer to “seat trim” in this
section.
5. Remove the seatback cover.
SEATS 9H-5
SSANGYONG MY2002
KAA9H100
KAA9H080
KAA9H090
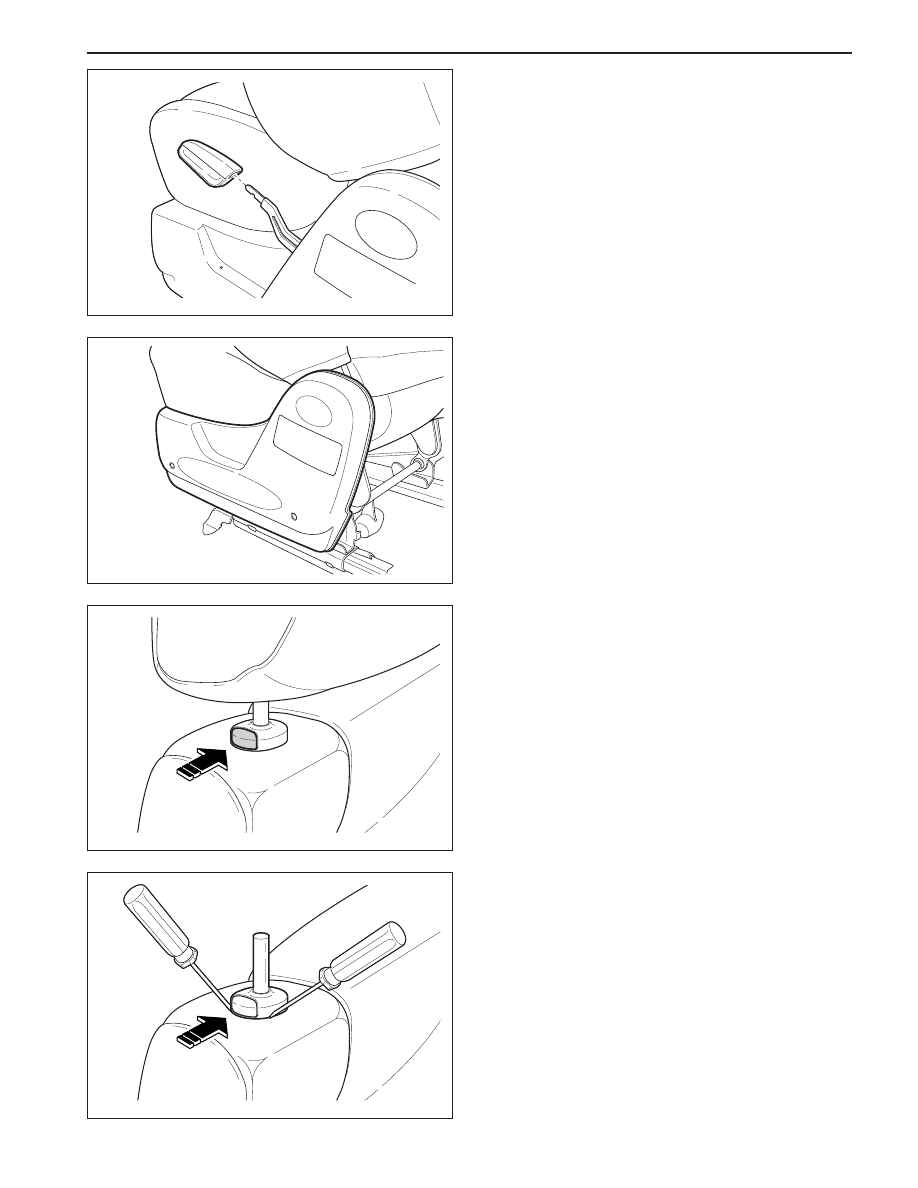
FRONT SEAT TRIM
Removal and Installation Procedure
1. Remove the recliner lever by rubber hammer. Refer
to “seat recliner lever” in this section.
2. Remove the screws and the seat trim.
3. Installation should follow the removal procedure
in the reverse order.
FRONT SEAT RECLINER LEVER
Removal and Installation Procedure
1. Remove the seat recliner lever by rubber hammer.
2. Installation should follow the removal procedure
in the reverse order.
HEAD RESTRAINT
Removal and Installation Procedure
1. Press in the head restraint adjust button and
remove the head restraint from the seatback.
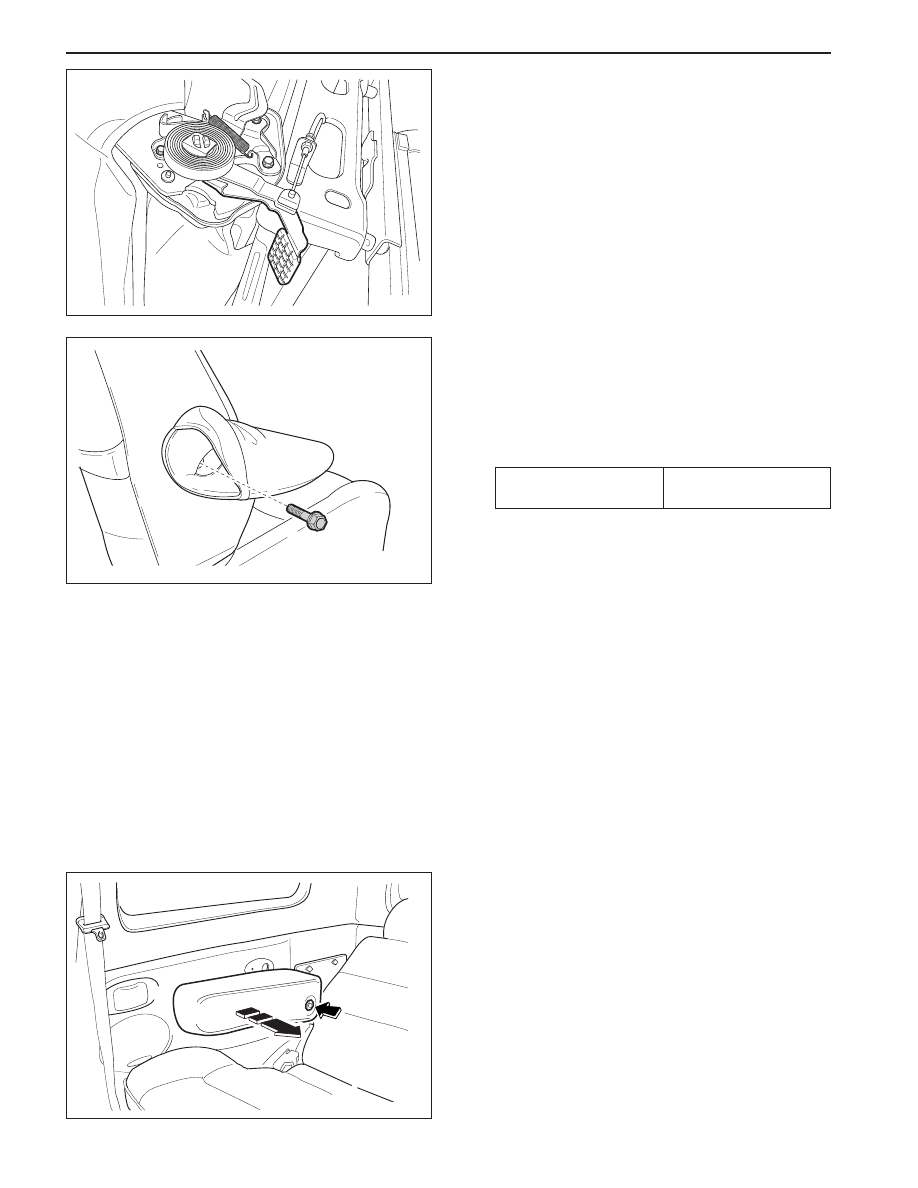
KAA9H110
2. Insert two flat head screwdrivers down the front
and back side of the guide sleeves.
3. With the screwdrivers, press in the retaining
latches and remove the guide sleeves.
4. Installation should follow the removal procedure
in the reverse order.
SSANGYONG MY2002
9H-6 SEATS
KAA9H120
KAA9H130
WALK IN DEVICE
Removal and Installation Procedure
1. Remove the front seat. Refer to “front seat” in this
section.
2. Remove the seat recliner. Refer to “seat recliner”
in this section.
3. Remove the seat trim. Refer to “seat trim” in this
section.
4. Remove the walk in device assembly.
5. Installation should follow the removal procedure
in the reverse order.
FRONT SEAT ARMREST
Removal and Installation Procedure
1. Remove the arm rest cover.
2. Remove the arm rest mounting bolt.
Installation Notice
•
Dissimilar metals in direct contact with each
other may corrode rapidly. Make sure to use
the correct fasteners to prevent premature
corrosion.
3. Remove the arm rest.
4. Installation should follow the removal procedure
in the reverse order.
Tightening Torque
17.6 - 25.5 N•m
(12 - 18 lb-ft)
KAA9H180
REAR SEAT ARMREST
Removal and Installation Procedure
1. Push the button in the arm rest.
2. Turn and remove from the side quarter trim panel.
3. Installation should follow the removal procedure
in the reverse order.
SEATS 9H-7
SSANGYONG MY2002
;;;;
;;;;
;;;;
yyyy
yyyy
yyyy
KAA9H150
KAA9H160
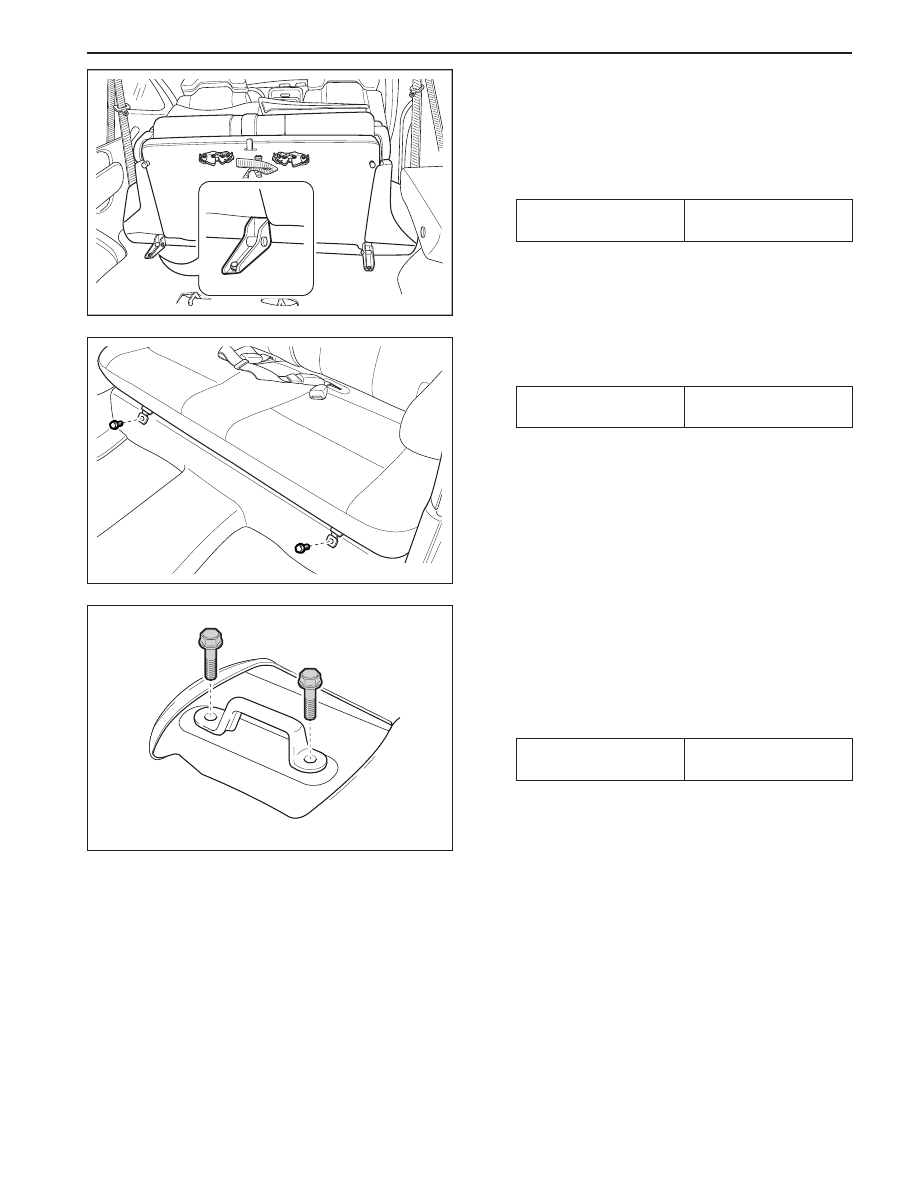
3. Remove the bolts and the rear seat.
Installation Notice
•
Dissimilar metals in direct contact with each
other may corrode rapidly. Make sure to use
the correct fasteners to prevent premature
corrosion.
4. Installation should follow the removal procedure
in the reverse order.
KAA9H140
REAR SEAT
Removal and Installation Procedure
1. Lift up the rear seat from the floor.
2. Remove the bolts.
Installation Notice
•
Dissimilar metals in direct contact with each
other may corrode rapidly. Make sure to use
the correct fasteners to prevent premature
corrosion.
50/50 SPLIT REAR SEAT CUSHION
HINGE
Removal and Installation Procedure
1. Remove the bolts and the rear seat cushion hinge.
Installation Notice
•
Dissimilar metals in direct contact with each
other may corrode rapidly. Make sure to use
the correctfasteners to prevent premature
corrosion.
2. Installation should follow the removal procedure
in the reverse order.
Tightening Torque
19.6 - 31.4 N•m
(14.5 - 23.2 lb-ft)
Tightening Torque
19.6 - 31.4 N•m
(14.5 - 23.2 lb-ft)
Tightening Torque
34.3 - 53.9 N•m
(25 - 39 lb-ft)
Нет комментариевНе стесняйтесь поделиться с нами вашим ценным мнением.
Текст