SsangYong Musso. Manual — part 213
1F-436 ENGINE CONTROLS
SSANGYONG Y158
KAA1F006
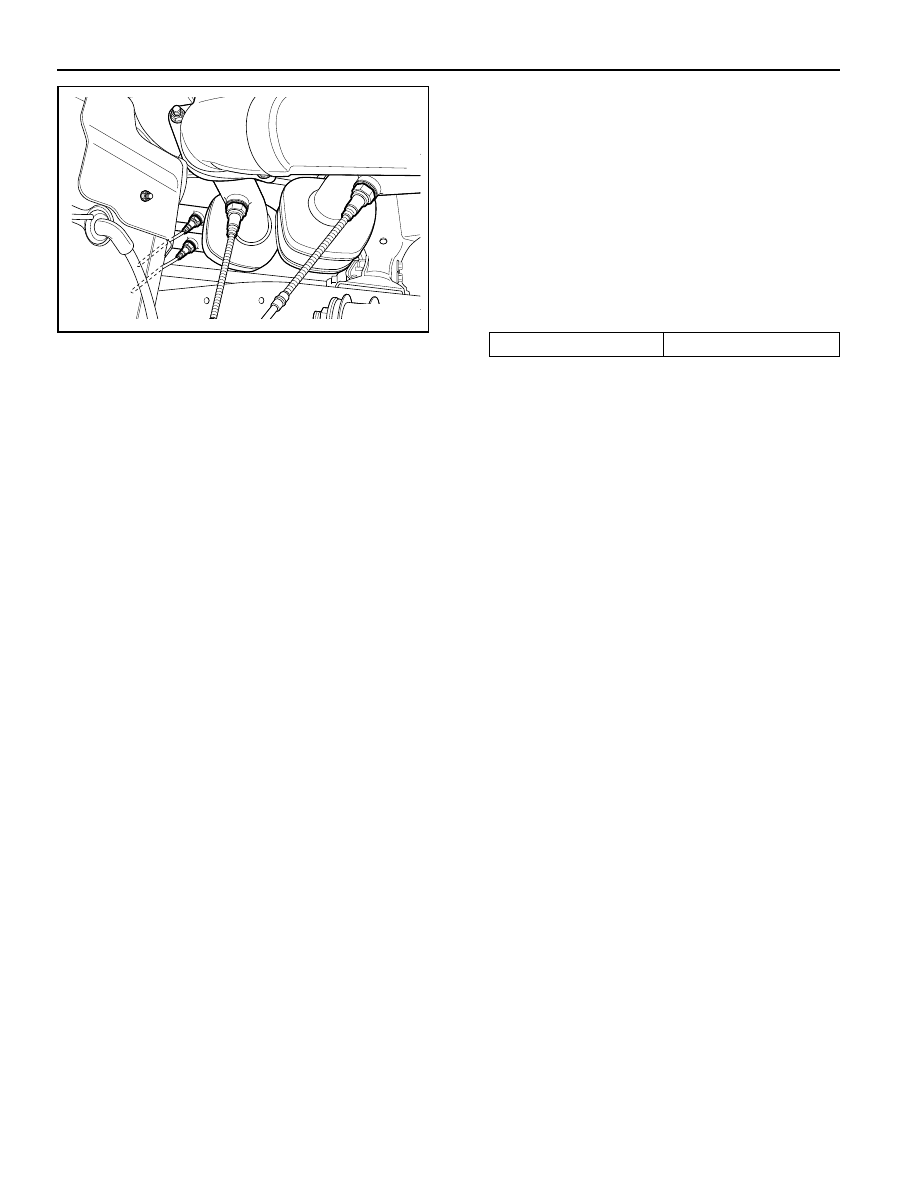
OXYGEN SENSOR (3.2L DOHC)
Removal and Installation Procedure
1. Disconnect the negative battery cable.
Notice: The Oxygen (O2) sensor uses a permanently
attached pigtail and connector. This pigtail should not be
removed from the O2 sensor. Damage or removal of the
pigtail or the connector could affect proper operation of the
O2 sensor. Do not drop the O2 sensor.
2. Disconnect the electrical connector.
3. Carefully remove the O2 from the exhaust pipe.
Installation Notice
Important: a special anti-seize compound is used on the
O2 sensor threads. This compound consists consists of a
liquid graphite and glass beads. The graphite will burn
away, but the glass beads will remain, making the sensor
easier to remove. New or serviced sensors will already
have the compound applied to the threads. If a sensor is
removed from any engine and is to be reinstalled, the
threads must have an anti-seize compound applied before
reinstallation.
4. Coat the threads of the O2 sensor with an anti-seize
compound, if needed.
5. Installation should follow the removal procedure in
the reverse order.
Tightening Torque
55 N•m (41 lb-ft)
KAC1F300
ENGINE CONTROLS 1F-437
SSANGYONG Y158
YAB1F250
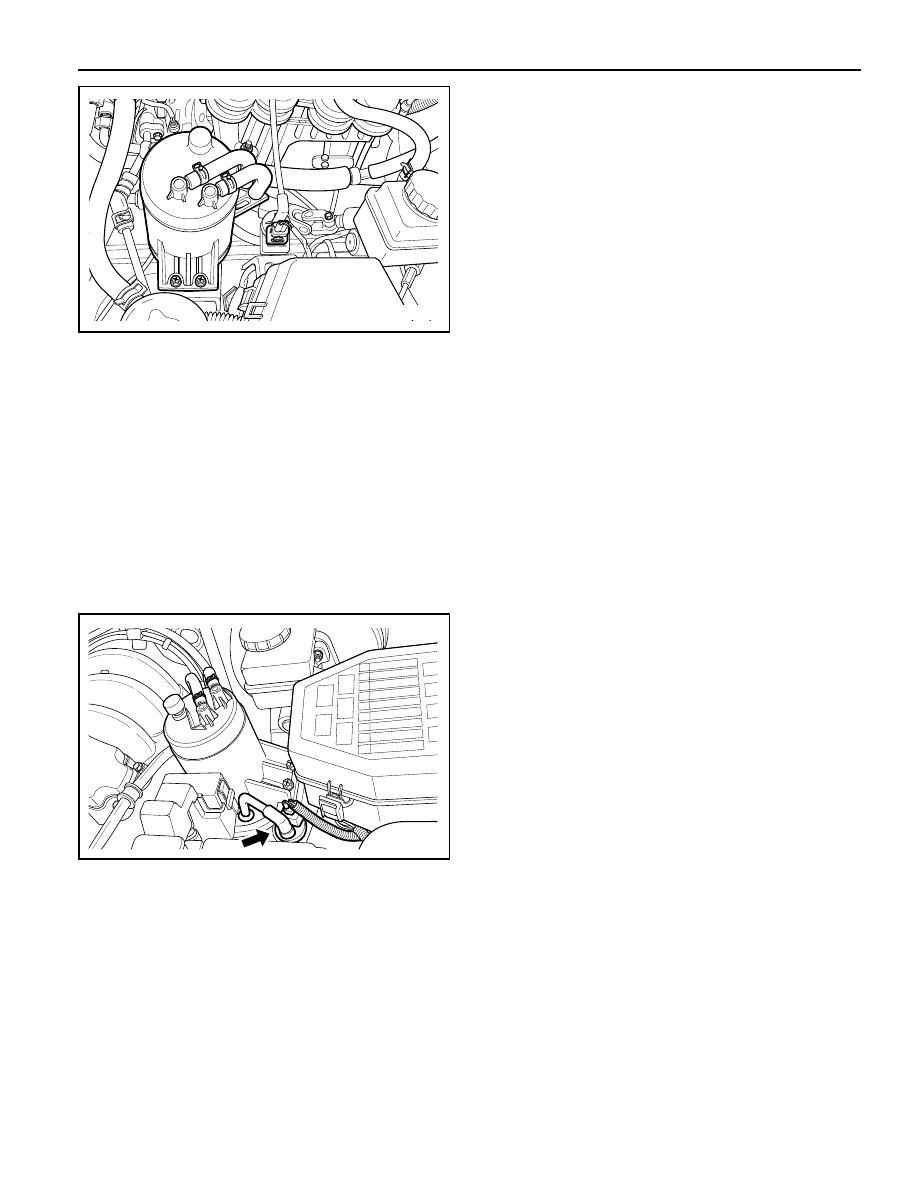
PURGE CONTROL VALVE
(2.3L DOHC)
Removal and Installation Procedure
1. Disconnect the negative battery cable.
2. Disconnect the purge control valve connector.
3. Disconnect the throttle body-to-purge control valve
hose from the purge control valve.
4. Disconnect the canister-to-purge control valve hose
from the purge control valve.
5. Remove the purge control valve.
6. Installation should follow the removal procedure in
the reverse order.
YAB1F250
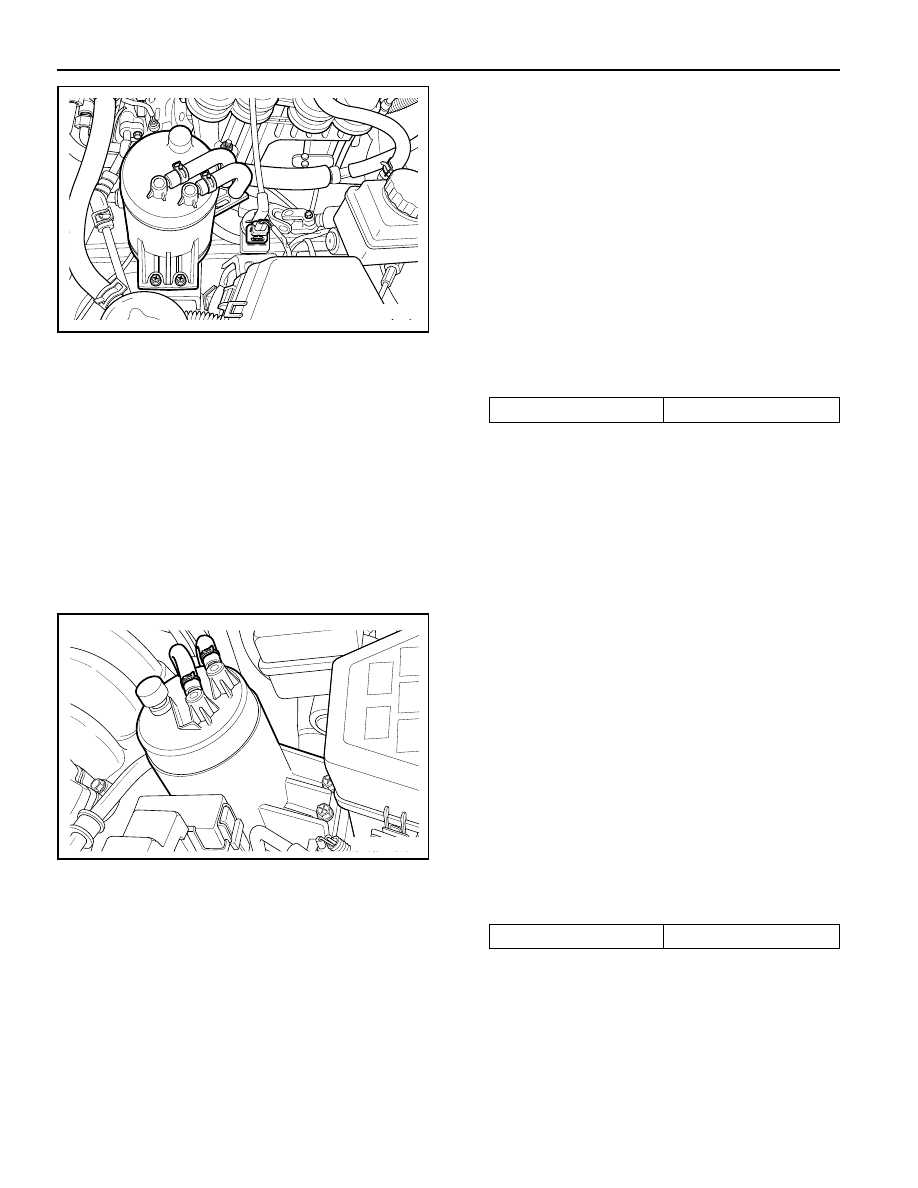
PURGE CONTROL VALVE
(3.2L DOHC)
Removal and Installation Procedure
1. Disconnect the negative battery cable.
2. Disconnect the purge control valve connector.
3. Disconnect the throttle body-to-purge control valve
hose from the purge control valve.
4. Disconnect the canister-to-purge control valve hose
from the purge control valve.
5. Remove the purge control valve.
6. Installation should follow the removal procedure in
the reverse order.
YAA1F210
1F-438 ENGINE CONTROLS
SSANGYONG Y158
YAB1F250
3. Remove the canister mounting bolts.
Installation Notice
4. Remove the canister.
5. Installation should follow the removal procedure in
the reverse order.
CANISTER (3.2L DOHC)
Removal and Installation Procedure
Caution: Canister and vacuum hoses contain fuel
vapors. Do not smoke in the area or permit an open
flame.
1. Disconnect the fuel tank-to-canister hose form the
canister.
2. Disconnect the canister-to-purge control valve hose
form the canister.
Tightening Torque
6 N•m (53 lb-in)
YAA1F200
3. Remove the canister mounting bolts.
Installation Notice
4. Remove the canister.
5. Installation should follow the removal procedure in
the reverse order.
CANISTER (2.3L DOHC)
Removal and Installation Procedure
Caution: Canister and vacuum hoses contain fuel
vapors. Do not smoke in the area or permit an open
flame.
1. Disconnect the fuel tank-to-canister hose form the
canister.
2. Disconnect the canister-to-purge control valve hose
form the canister.
Tightening Torque
6 N•m (53 lb-in)
YAB1F250
ENGINE CONTROLS 1F-439
SSANGYONG Y158
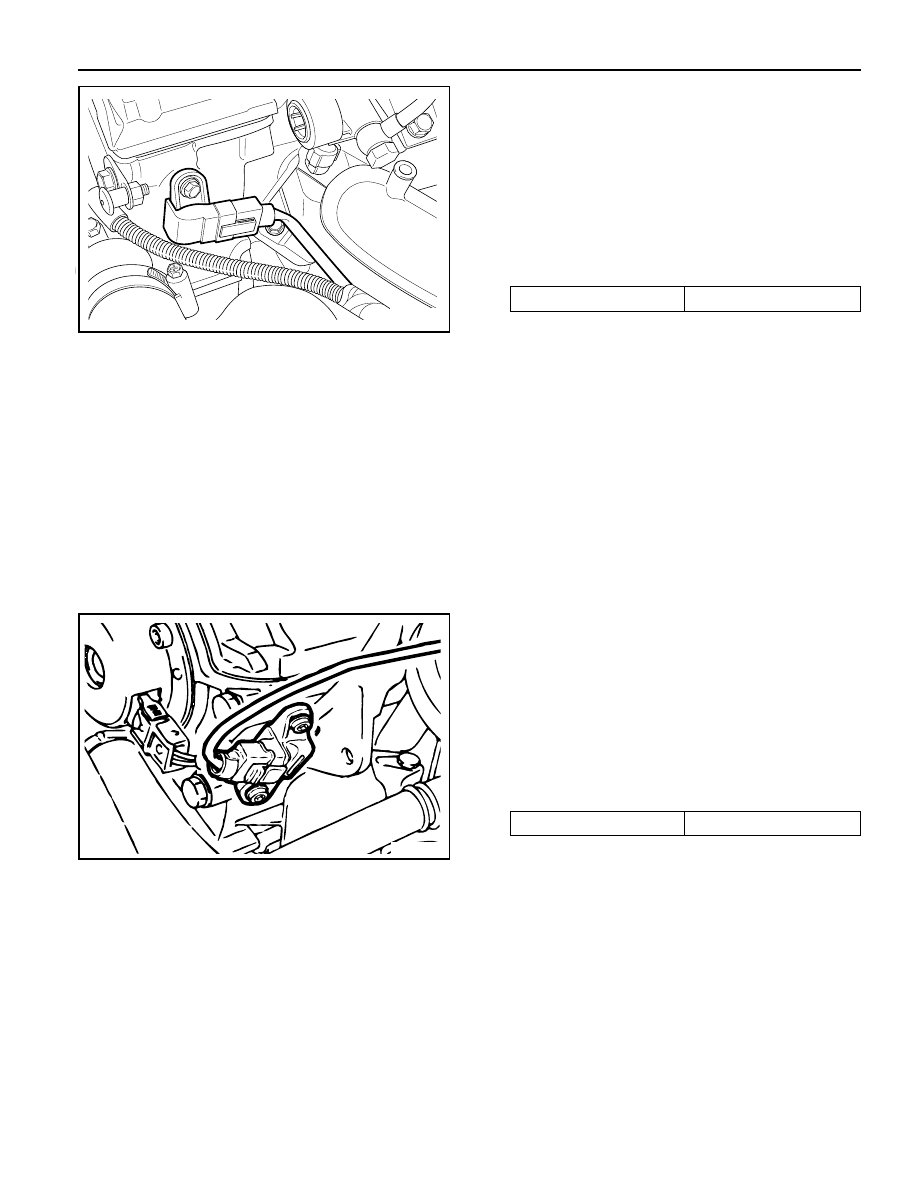
CAMSHAFT POSITION SENSOR
(2.3L DOHC)
Removal and Installation Procedure
1. Disconnect the negative battery cable.
2. Disconnect the electrical connector from the
Camshaft Position (CMP) sensor.
3. Remove the CMP sensor retaining bolt.
Installation Notice
4. Check the O-ring for damage and replace it if
necessary
5. Installation should follow the removal procedure in
the reverse order.
Tightening Torque
10 N•m (89 lb-in)
YAA1F810
CAMSHAFT POSITION SENSOR
(3.2L DOHC)
Removal and Installation Procedure
1. Disconnect the negative battery cable.
2. Disconnect the electrical connector from the
Camshaft Position (CMP) sensor.
3. Remove the CMP sensor retaining bolt.
Installation Notice
4. Check the O-ring for damage and replace it if
necessary
5. Installation should follow the removal procedure in
the reverse order.
Tightening Torque
10 N•m (89 lb-in)
KAA1C170
Нет комментариевНе стесняйтесь поделиться с нами вашим ценным мнением.
Текст