SsangYong Musso. Manual — part 400

1B3-162 OM600 ENGINE MECHANICAL
Notice
If the max. length ‘L’ of the stretch bolt exceeds 53.6mm,
replace it.
5. Fit the oil pump chain (9) on the crankshaft sprocket (12)
and insert the oil pump sprocket (8) into the oil pump chain
and then install it on the oil pump.
Notice
The curved side of the oil pump sprocket should face the
oil pump.
6. Insert the woodruff key (15).
7. Install the guide rail (16). Attach the spring (17) to guide rail
and to tensioning lever together onto the bearing pins (5,6).
Notice
Ensure that the spring is correctly located in the guide rail
(arrow).

OM600 ENGINE MECHANICAL 1B3-163
PISTON
Preceding Work : Removal of the cylinder head
Removal of the oil pump
1 Oil Ring
2 2nd Ring
3 Top Ring
4 Snap Ring . . . . . . . . . . . .. Replace
5 Piston Pin
6 Piston
7 Connecting Rod Bushing . . . . . . .. Check
8 Connecting Rod
9 Connecting Rod Upper Bearing Shell
10 Connecting Rod Lower Bearing Shell
11 Connecting Rod Bearing Cap
12 Connecting Rod Bolt . . . . . . . 35Nm + 90°
13 Crankcase
14 Cylinder Bore
Notice
There are two kinds of connecting rods (for machining) and they are different in weight approx. 15g. When replacing
the connecting rod, measure its weight and ensure that a engine has the same weight of connecting rods. If not, there
would be a unbalancing of engine.
1B3-164 OM600 ENGINE MECHANICAL
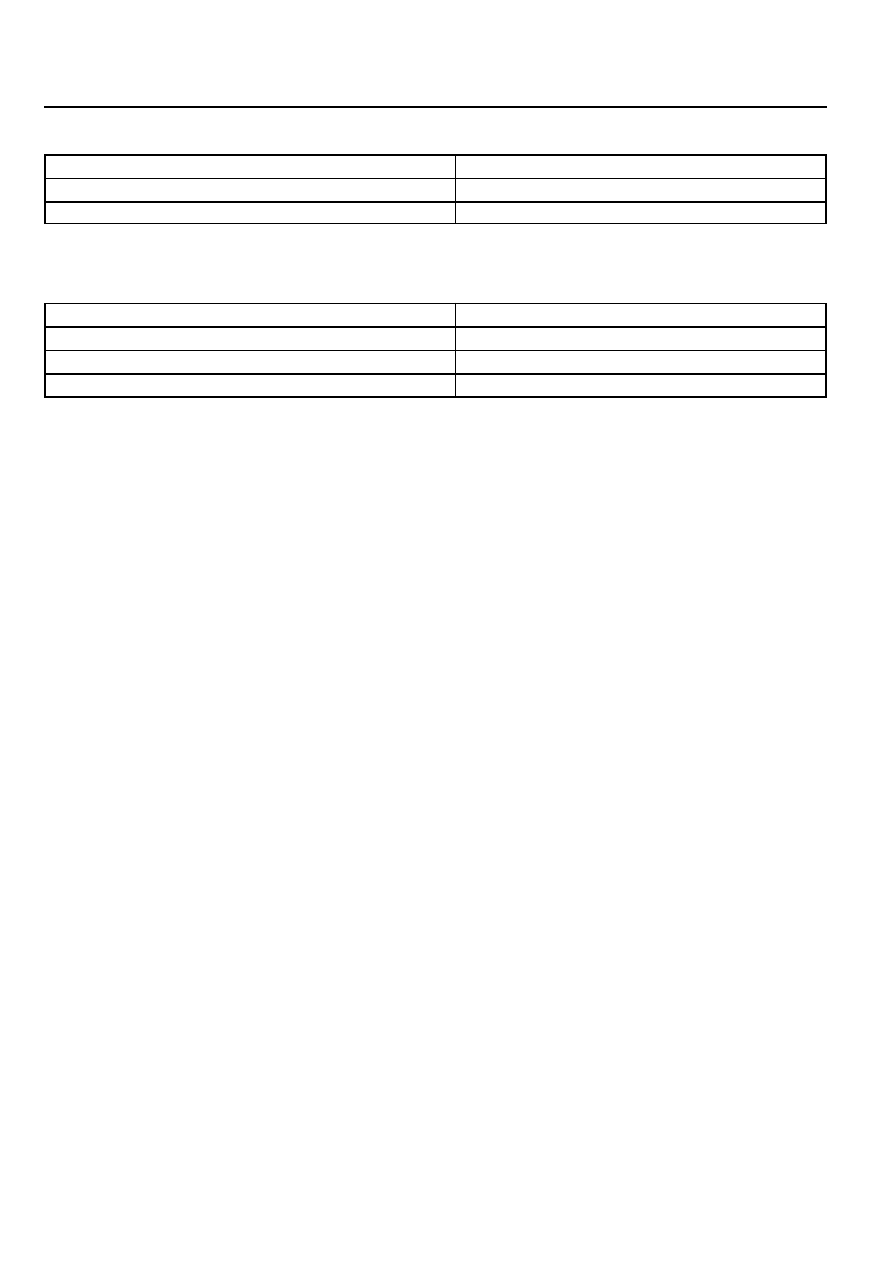
Service Data
Piston clearance
Piston crown protrusion in TDC position
Connecting rod bushing diameter
Max. 0.12 mm
0.735 - 0.965 mm
26.012 - 26.018 mm
Connecting Rod Bolt Dimensions
Thread
Stretch shaft(C) diameter (new)
Minimum stretch shaft diameter (C)
Length(L)(new)
Tools Required
000 589 04 14 00 Tensioning Strap
001 589 53 21 00 Dial Gauge
363 589 02 21 00 Dial Gauge Holder
M9 x 1
7.4
-0.1
mm
7.1 mm
52
-0.3
mm
OM600 ENGINE MECHANICAL 1B3-165
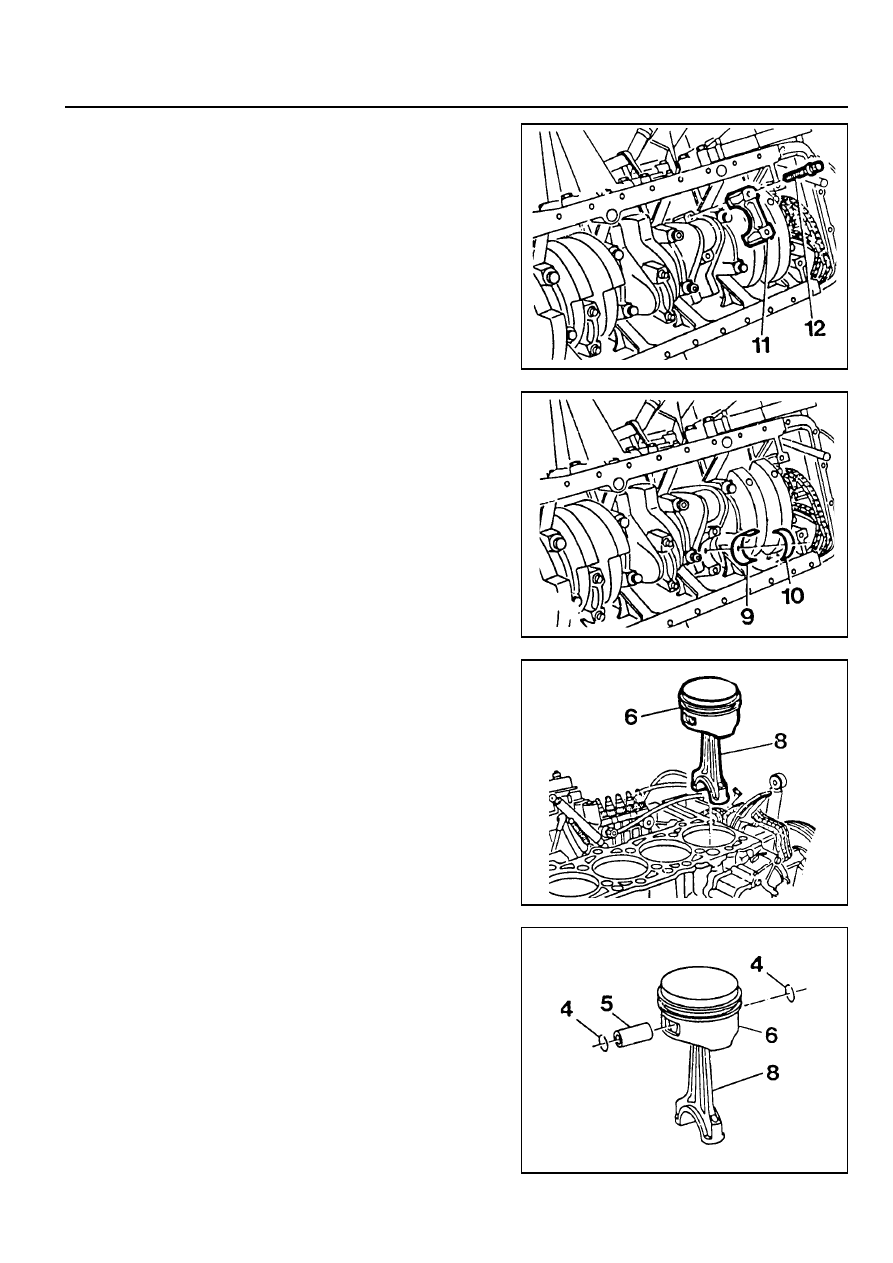
Removal Procedure
1. Remove combustion residues from the cylinder bores.
2. Remove the connecting rod bolts (12) and then remove
the connecting rod bearing caps(11).
3. Remove the connecting rod bearing shells (9, 10).
Notice
Be careful not mix the bearing caps and shells each other.
4. Remove the piston (6) and connecting rod (8).
5. Remove the snap ring (4) and pull out the piston pin (5).
6. Separate the piston and connecting rod.
Нет комментариевНе стесняйтесь поделиться с нами вашим ценным мнением.
Текст