Isuzu KB P190. Manual — part 299

6E-162 Engine Control System (4JH1)
Step Action
Value(s)
Yes
No
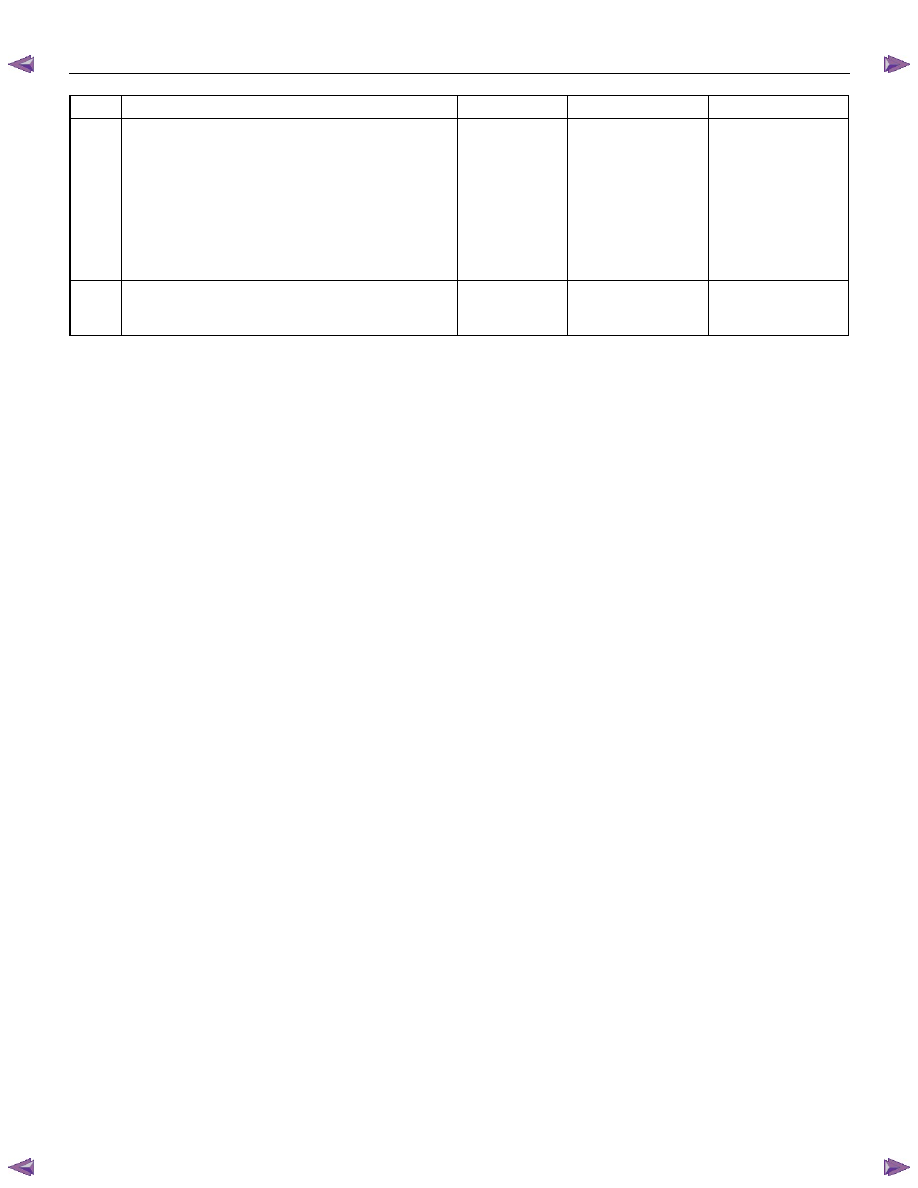
11
Replace the IPC (meter assembly). Refer to Meter
Replacement in electrical section.
Did you complete the replacement?
Go to Step 14
12
Important: Replacement TCM must be
programmed.
Replace the TCM. Refer to Transmission Control
Module (TCM) Replacement in the transmission
section.
Did you complete the replacement?
Go to Step 14
13
Important: Replacement ECM must be
programmed.
Replace the ECM. Refer to Engine Control Module
(ECM) Replacement in this section.
Did you complete the replacement?
Go to Step 14
14
1. Reconnect all previously disconnected harness
connector(s).
2. Clear the DTCs with the scan tool.
3. Turn OFF the ignition for 30 seconds.
4. Drive the vehicle.
5. Observe the Vehicle Speed parameter with the
scan tool.
Does the Vehicle Speed parameter indicate correct
vehicle speed?
Go to Step 15
Go to Step 2
15
Observe the DTC Information with the scan tool.
Are there any DTCs that you have not diagnosed?
Go to Diagnostic
Trouble Code (DTC)
List System
OK
Chart for except 2WD with A/T
Step Action
Value(s)
Yes
No
1
Did you perform the Diagnostic System Check-
Engine Controls?
Go to Step 2
Go to Diagnostic
System Check-
Engine Controls
2
1. Install the scan tool.
2. Drive the vehicle.
3. Observe the Vehicle Speed parameter with the
scan tool.
Does the Vehicle Speed parameter indicate correct
vehicle speed?
Go to Diagnostic
Aids
Go to Step 3
3
1. Turn OFF the ignition.
2. Inspect the Meter (15A) fuse (C-14) in the cabin
fuse block.
Is the Meter (15A) fuse (C-14) open?
Go to Step 4
Go to Step 5
4
Replace the Meter (15A) fuse (C-14). If the fuse
continues to open, repair the short to ground on one
of the circuits that fed by the Meter (15A) fuse (C-14)
or replace the shorted attached component fed by
the Meter (15A) fuse (C-14).
Did you complete the repair?
Go to Step 20

Engine Control System (4JH1) 6E-163
Step Action
Value(s)
Yes
No
5
1. Remove the vehicle speed sensor (VSS). Refer
to Vehicle Speed Sensor (VSS) Replacement in
this section.
2. Visually inspect the VSS for the following
conditions:
• Physical
damage
• Being
loose
• Improper
installation
• For transmission output shaft teeth damage
3. Repair or replace as necessary.
Did you find and correct the condition?
Go to Step 20
Go to Step 6
6
1. Turn OFF the ignition.
2. Disconnect the VSS harness connector.
3. Connect a test lamp between the ignition voltage
feed circuit of the VSS harness (pin 1 of E-44
connector) and a known good ground.
4. Turn ON the ignition, with the engine OFF.
Does the test lamp illuminate?
Go to Step 7
Go to Step 9
7
1. Turn ON the ignition, with the engine OFF.
2. Connect a test lamp between the ignition voltage
feed circuit and low reference circuit of the VSS
harness (pins 1 and 2 of E-44 connector).
Does the test lamp illuminate?
Go to Step 8
Go to Step 10
8
1. Turn ON the ignition, with the engine OFF.
2. Intermittently jump the signal circuit of the VSS
(pin 3 of E-44 connector) with a test lamp that is
connected to a known good ground while
monitoring the Vehicle Speed parameter with the
scan tool.
Does the scan tool indicate any vehicle speed when
the circuit is intermittently pulled to ground?
Go to Step 14
Go to Step 11
9
Repair the open or high resistance in the VSS
ignition voltage feed circuit between the Meter (15A)
fuse (C-14) and the VSS (pin 1 of E-44 connector).
Did you complete the repair?
Go to Step 20
10
Repair the open or high resistance in the VSS low
reference circuit between the VSS (pin 2 of E-44
connector) and the chassis ground.
Did you complete the repair?
Go to Step 20
11
1. Turn OFF the ignition.
2. Remove the instrument panel cluster (IPC) in
order to disconnect the B-24 harness connector.
3. Disconnect the IPC B-24 harness connector.
4. Turn ON the ignition, with the engine OFF.
5. Intermittently jump the signal output circuit of the
VSS signal (pin 10 of B-24 connector) with a test
lamp that is connected to a known good ground
while monitoring the Vehicle Speed parameter
with the scan tool.
Does the scan tool indicate any vehicle speed when
the circuit is intermittently pulled to ground?
Go to Step 12
Go to Step 13

6E-164 Engine Control System (4JH1)
Step Action
Value(s)
Yes
No
12
1. Test the VSS signal circuit between the VSS (pin
3 of E-44 connector) and the IPC (pin 9 of B-23
connector) for the following conditions:
• An open circuit
• A short to ground
• A short to battery or ignition voltage
• High
resistance
2. Repair the circuit(s) as necessary.
Did you find and correct the condition?
Go to Step 20
Go to Step 15
13
1. Test the VSS signal circuit between the engine
control module (ECM) (pin 68 of C-56 connector)
and the IPC (pin 10 of B-23 connector) for the
following conditions:
• An open circuit
• A short to ground
• A short to battery or ignition voltage
• High
resistance
2. Repair the circuit(s) as necessary.
Did you find and correct the condition?
Go to Step 20
Go to Step 16
14
1. Turn OFF the ignition.
2. Disconnect the VSS harness connector.
3. Inspect for an intermittent and for poor
connections at the harness connector of the VSS
(pin 1, 2 and 3 of E-44 connector).
4. Repair the connection(s) as necessary.
Did you find and correct the condition?
Go to Step 20
Go to Step 17
15
1. Turn OFF the ignition.
2. Disconnect the IPC B-23 harness connector.
3. Inspect for an intermittent and for poor
connections at the harness connector of the IPC
(pins 9 and 10 of B-23 connector).
4. Repair the connection(s) as necessary.
Did you find and correct the condition?
Go to Step 20
Go to Step 18
16
1. Turn OFF the ignition.
2. Disconnect the ECM harness connector.
3. Inspect for an intermittent and for a poor
connection on the VSS signal circuit at the
harness connector of the ECM (pin 68 of C-56
connector).
4. Repair the connection(s) as necessary.
Did you find and correct the condition?
Go to Step 20
Go to Step 19
17
Replace the VSS. Refer to Vehicle Speed Sensor
(VSS) Replacement in this section.
Did you complete the replacement?
Go to Step 20
18
Replace the IPC (meter assembly). Refer to Meter
Replacement in electrical section.
Did you complete the replacement?
Go to Step 20
19
Important: Replacement ECM must be
programmed.
Replace the ECM. Refer to Engine Control Module
(ECM) Replacement in this section.
Did you complete the replacement?
Go to Step 20
Engine Control System (4JH1) 6E-165
Step Action
Value(s)
Yes
No
20
1. Reconnect all previously disconnected fuse or
harness connector(s).
2. Clear the DTCs with the scan tool.
3. Turn OFF the ignition for 30 seconds.
4. Drive the vehicle.
5. Observe the Vehicle Speed parameter with the
scan tool.
Does the Vehicle Speed parameter indicate correct
vehicle speed?
Go to Step 21
Go to Step 3
21
Observe the DTC Information with the scan tool.
Are there any DTCs that you have not diagnosed?
Go to Diagnostic
Trouble Code (DTC)
List System
OK
Нет комментариевНе стесняйтесь поделиться с нами вашим ценным мнением.
Текст