Suzuki Grand Vitara JB416 / JB420. Manual — part 390
9F-9 Security and Locks:
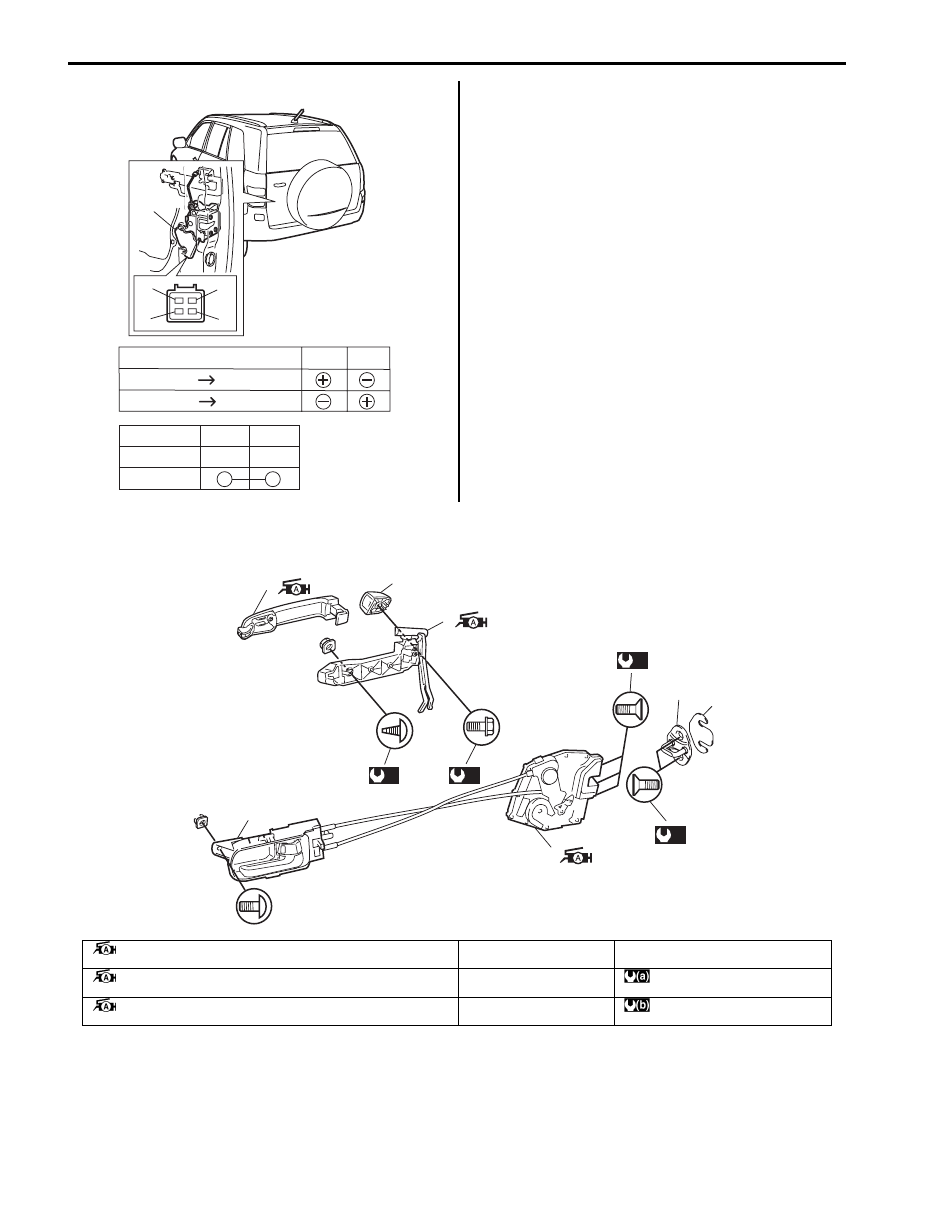
For rear end door
Rear Door Lock Assembly Components
S5JB0A9606007
Lock
Unlock
Unlock
Lock
Terminals
b
a
Lock
Unlock
c
d
Terminals
b
a
c
d
I5JB0A960011-02
(a)
(a)
(a)
(b)
1
7
2
6
3
4
5
I5JB0A960012-03
1. Outside handle
: Apply lithium grease 99000-25010 to sliding part.
4. Latch striker
7. Out side handle cap
2. Outside handle frame
: Apply lithium grease 99000-25010 to sliding part and spring.
5. Shim
: 5.0 N
⋅m (0.5 kgf-m, 4.0 lb-ft)
3. Rear door latch assembly
: Apply lithium grease 99000-25010 to sliding part.
6. Inside handle bezel
: 10 N
⋅m (1.0 kgf-m, 7.5 lb-ft)
Security and Locks: 9F-10
Rear Door Lock Assembly Removal and
Installation
S5JB0A9606008
Removal
1) Remove rear door trim referring to step 1) to 3) of
“Rear Door Glass Removal and Installation in
Section 9E”.
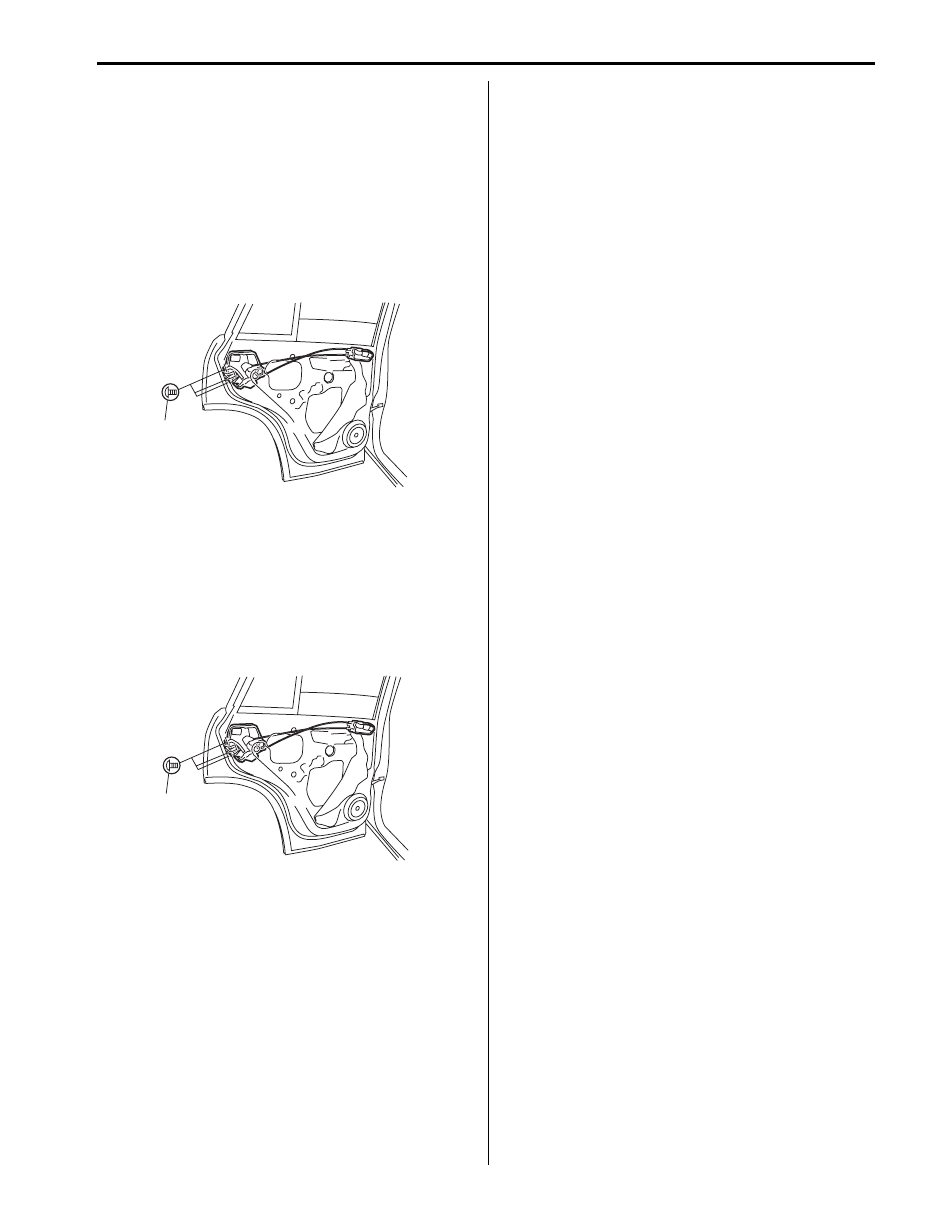
2) Disconnect door lock motor lead wire.
3) Remove door latch mounting screws (1) and remove
door latch assembly (2).
Installation
Reverse removal procedure to install rear door lock
assembly referring to the following instruction and “Front
Door Lock Assembly Removal and Installation”.
• Tighten door latch screw to specified torque.
Tightening torque
Door latch screw (a): 5.0 N·m (0.5 kgf-m, 4.0 lb-ft)
Rear Door Lock Assembly Inspection
S5JB0A9606009
• Check that door opens and closes smoothly and
properly.
• Check that door stops in the secondary latched
position properly (preventing door from opening
freely) and that door closes completely in the fully
latched position.
• Adjust door latch striker position, if necessary.
1
I5JB0A960013-01
(a)
I5JB0A960014-01
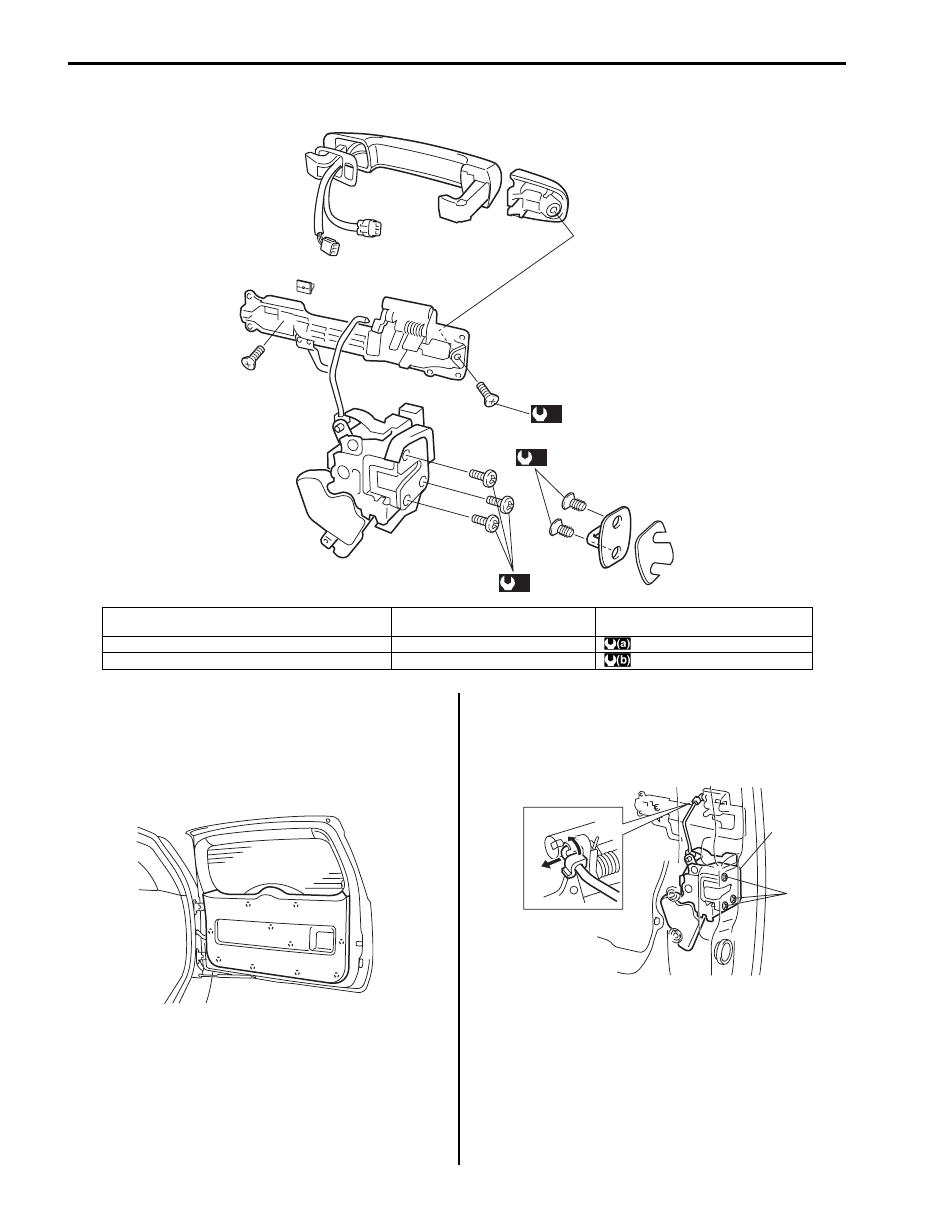
9F-11 Security and Locks:
Rear End Door Lock Assembly Components
S5JB0A9606010
Rear End Door Lock Assembly Removal and
Installation
S5JB0A9606011
Removal
1) Remove door trim (1) from rear end door panel (2).
2) Disconnect door lock motor lead wire and door
opening control rod.
3) Loosen door latch bolts (1) and remove door latch
assembly (2).
(a)
(a)
(b)
I5JB0A960015-01
1. Rear end door latch assembly
(rear end door switch is built in this assembly)
4. Shim
7. Rear end door request switch
2. Rear end door opener switch
5. Door handle
: 10 N
⋅m (1.0 kgf-m, 7.5 lb-ft)
3. Latch striker
6. Emergency lever
: 23 N
⋅m (2.3 kgf-m, 17.0 lb-ft)
I5JB0A960016-01
2
1
I5JB0A960017-01
Security and Locks: 9F-12
Installation
Reverse removal procedure to install rear end door lock
assembly noting the following instruction.
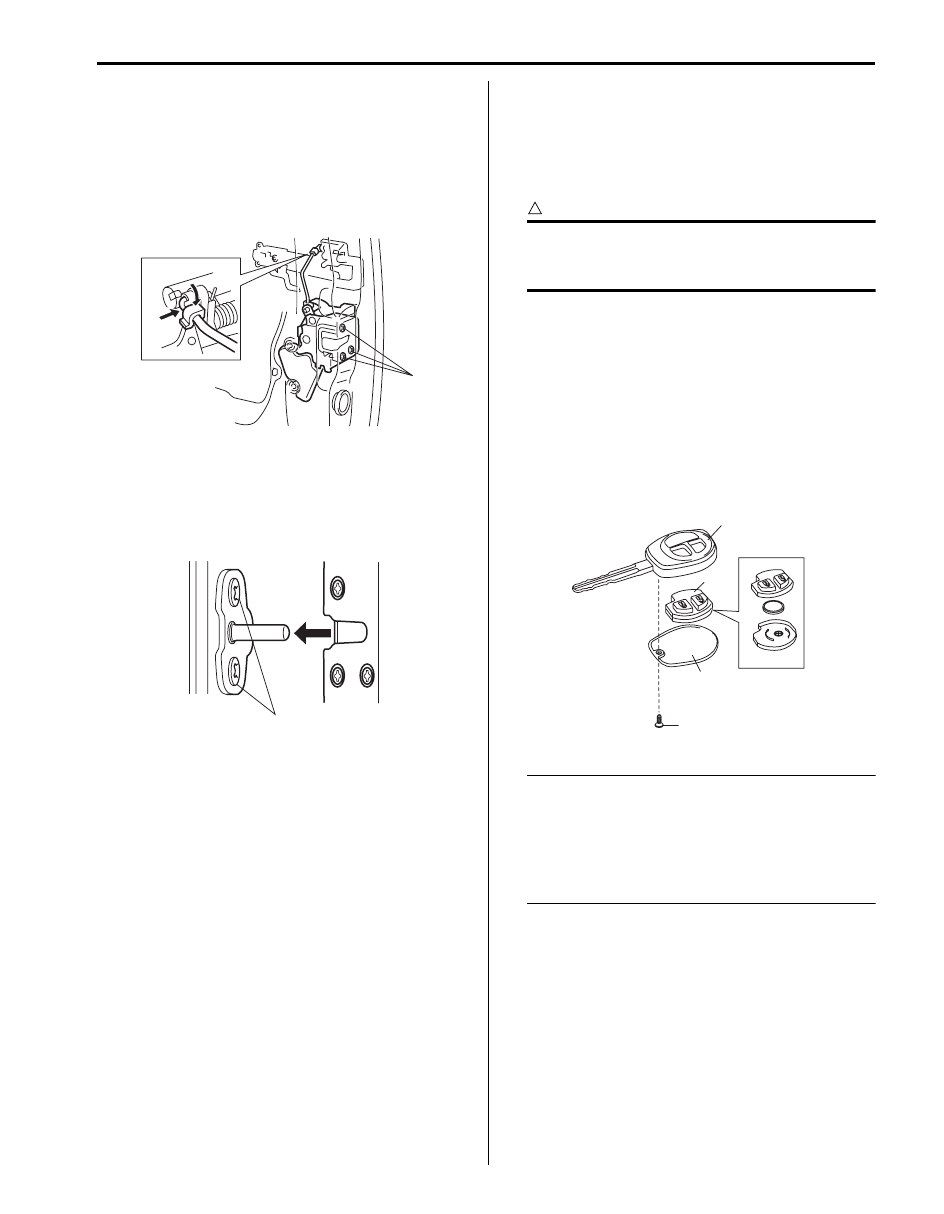
• Tighten rear end door latch bolt to specified torque.
Tightening torque
Rear end door latch bolt (a): 10 N·m (1.0 kgf-m,
7.5 lb-ft)
• Adjust door latch striker so that its center aligns with
the center of groove in door latch base.
Tightening torque
Rear end door striker screw (a): 23 N·m (2.3 kgf-
m, 17.0 lb-ft)
Rear End Door Lock Assembly Inspection
S5JB0A9606012
• Check that door opens and closes smoothly and
properly.
• Check that door stops in the secondary latched
position properly (preventing door from opening
freely) and that door closes completely in the fully
latched position.
• Adjust door latch striker position, if necessary.
Replacement of Transmitter Battery
S5JB0A9606014
If transmitter becomes unreliable, replace transmitter
battery as follows.
1) Remove screw (1) and transmitter cover (2).
2) Remove transmitter (3) from transmitter holder (4).
CAUTION
!
Use care not to allow grease or dirt to be
attached on the printed circuit board and the
battery.
3) With tip of flat blade screwdriver put in slot of
transmitter, pry it open.
4) Replace the battery (lithium disc-type CR 1620 or
equivalent battery) so its (+) terminal faces “+” mark
on transmitter.
5) Fit together transmitter (3) and install it into
transmitter holder (4).
6) Install transmitter cover (2) and screw (1).
7) Make sure that door locks can be operated with
transmitter.
NOTE
• To prevent theft, be sure to break the
transmitter before discarding it.
• Dispose of the used battery properly
according to applicable rules or
regulations. Do not dispose of lithium
batteries with ordinary household trash.
(a)
I5JB0A960018-01
(a)
I5JB0A960019-01
2
3
4
1
I4RS0B960014-01
Нет комментариевНе стесняйтесь поделиться с нами вашим ценным мнением.
Текст