Jaguar XJ (X350). Manual — part 105

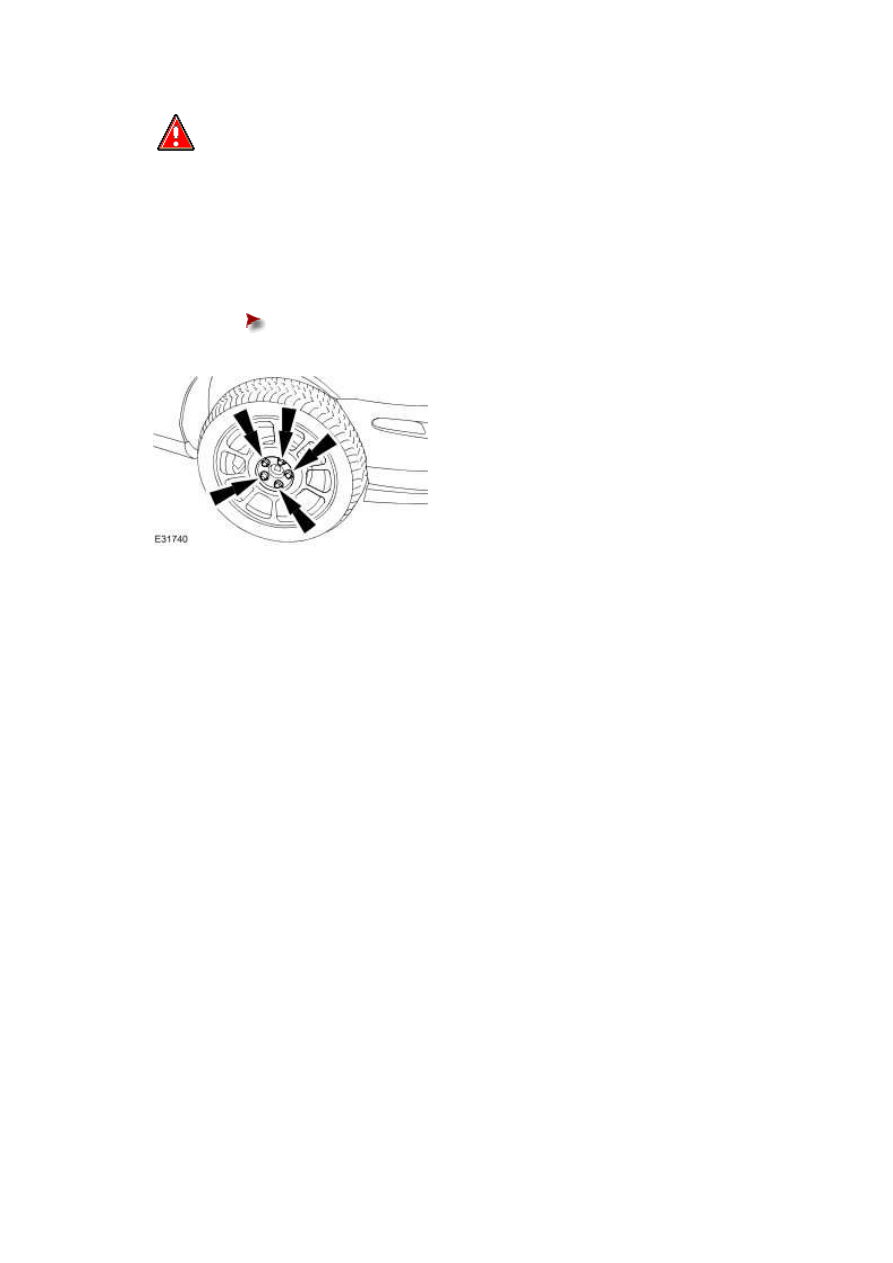
Wheel and Tire (74.20.05)
Removal
1
.
CAUTION: Do not use heat to loosen a seized wheel nut. Excessive heat may cause
damage to the wheel and wheel bearings.
Loosen the wheel nuts.
2 . Raise and support the vehicle.
3 . Remove the wheel and tire assembly.
Installation
1
.
WARNING: Make sure there is no contamination of the wheel, hub or brake disc
contact surfaces. Installation without metal to metal contact at the mounting surfaces may
cause the wheel nuts to loosen and allow the wheel to detach with the vehicle in motion.
Failure to follow these instructions may result in personal injury.
WARNING: Apply a small amount of grease to the hub and wheel mating surfaces
before installation. Make sure the grease does not come into contact with the vehicles
braking components and the wheel stud threads. Failure to follow these instructions may
result in personal injury.
To install, reverse the removal procedure.
Tighten to 125 Nm.
www.

Wheel and Tire (74.20.05) – Armoured
Removal
NOTE:
For further information on the tire run flat system contact; Rodgard, 1355 Clinton Street, Buffalo, New York 14206, U.S.A Tel:
(716)823-1411. Fax: (716)823 1607. www.rodgard.com.
NOTE:
It is advised that the tire is removed and installed on a Hofmann Racing machine.
1
.
CAUTION: Do not use heat to loosen a seized wheel nut. Excessive heat may cause damage to the wheel
and wheel bearings.
Loosen the wheel nuts.
2 . Raise and support the vehicle.
For additional information, refer to
3 . Remove the wheel and tire assembly.
4 . Install the wheel to the Hofmann Racing machine and clamp the installation bed.
5 .
CAUTION: Make sure that the tire does not come into contact with the tire low pressure sensor.
Detach the tire upper bead.
Published: Mar 12, 2014
Vehicles
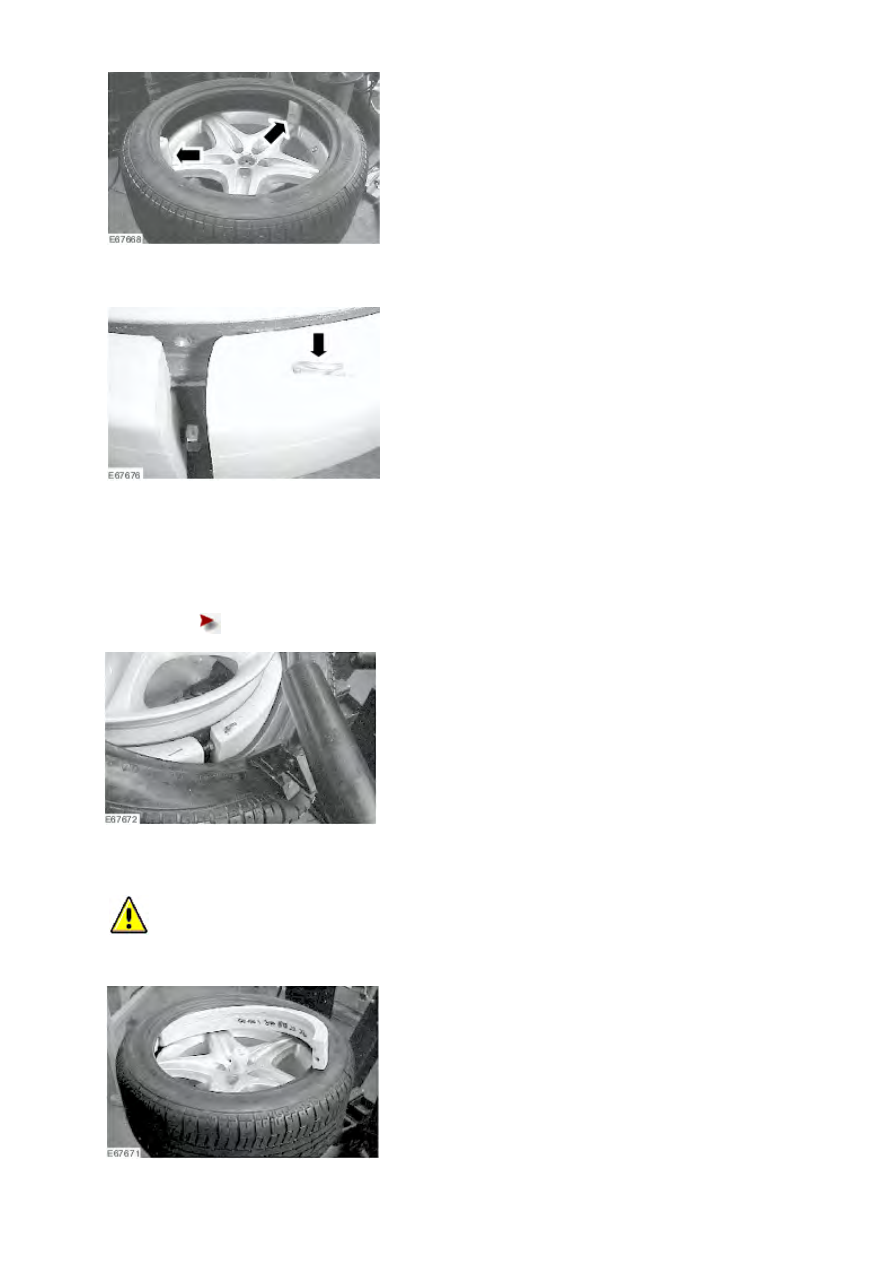
6 . Install the nylon spacers.
7 . Remove the retaining clip.
8
.
NOTE:
If there is a problem using the third arm on the Hofmann Racing machine to pull the tire bead back, then use the
bead stretcher supplied in the Rodgard toolbox.
Detach the roller.
Remove the retaining nut.
9
.
CAUTION: Make sure that the Rodgard runflat system does not come into contact with the tire low
pressure sensor.
Remove the the Rodgard runflat system.
www.
Нет комментариевНе стесняйтесь поделиться с нами вашим ценным мнением.
Текст