Jaguar XJ (X350). Manual — part 106
10 .
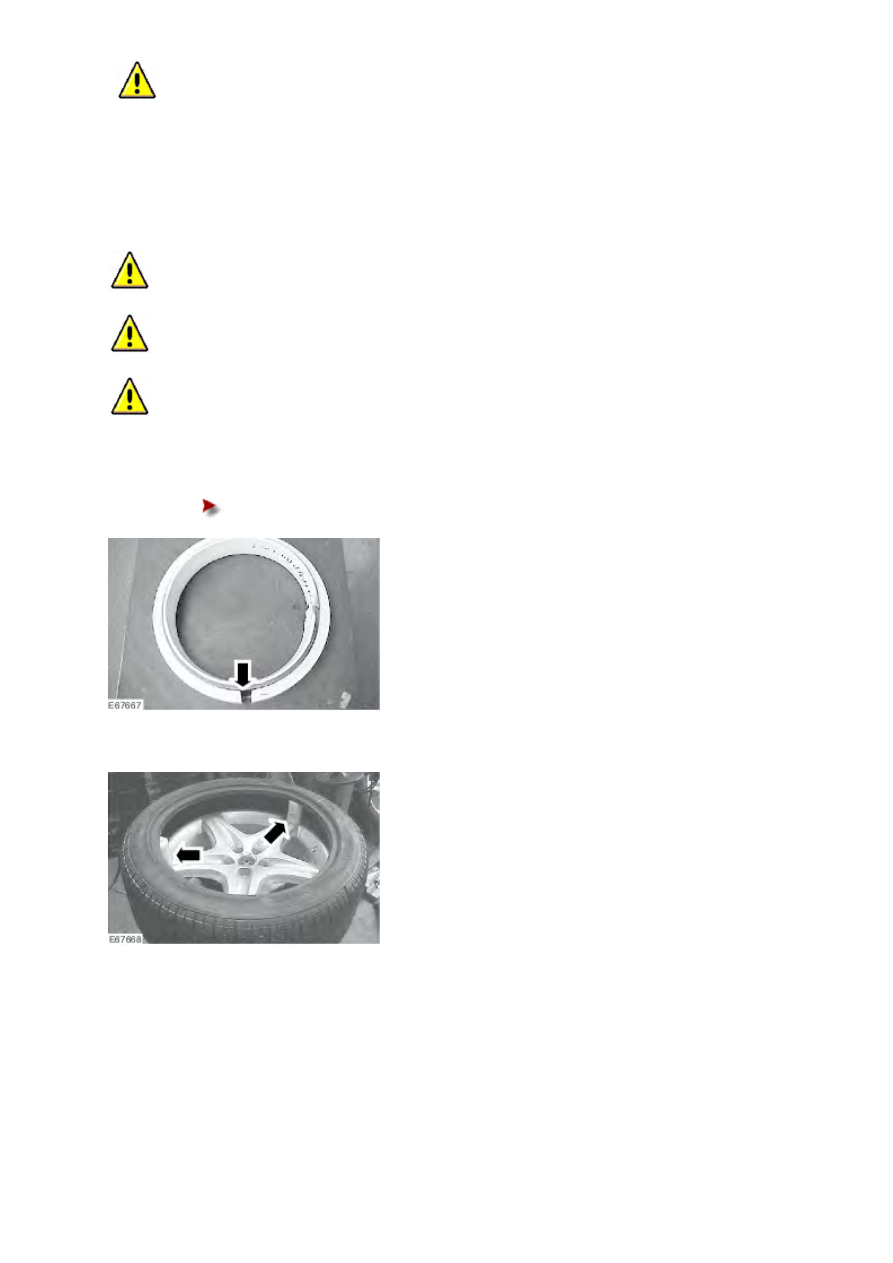
CAUTION: Make sure that the tire does not come into contact with the tire low pressure sensor.
Remove the tire.
Installation
1 .
CAUTION: Use suitable lubrication to aid tire installation.
CAUTION: Make sure that the tire does not come into contact with the tire low pressure sensor.
CAUTION: Make sure the directional arrow on the side of the tire wall is facing in the correct direction.
Install the tire to the wheel.
2 . Separate one end of the roller.
Loosen the retaining nut on the roller assembly.
3 . Install two nylon blocks between the tire and the face of the wheel.
4
.
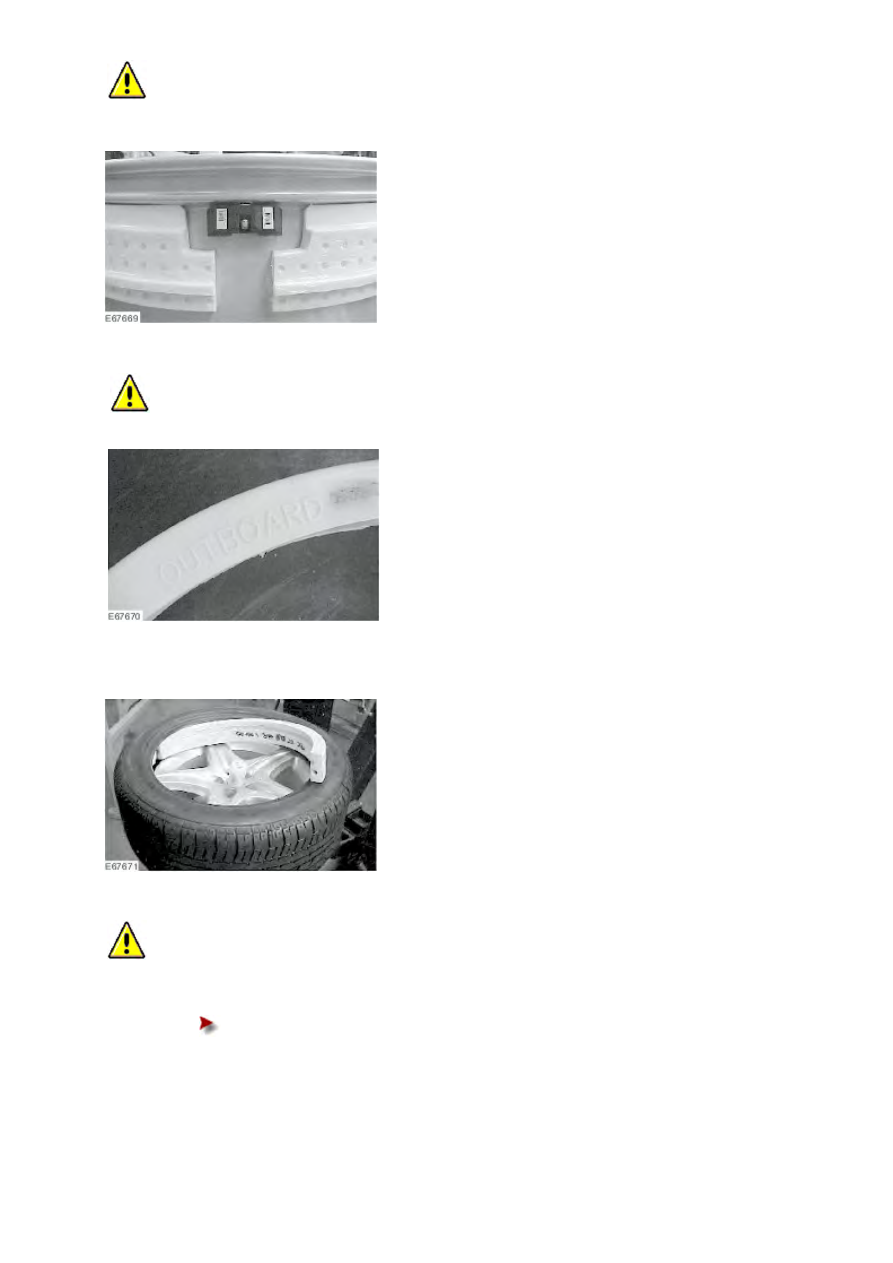
CAUTION: Make sure the side marked OUTBOARD is facing upwards.
Check that the opening of the runner is located correctly around the tire low pressure sensor. Once this has been verified,
reposition the runner to the upper ridge of the wheel.
5 .
CAUTION: Make sure the side marked OUTBOARD is facing upwards.
Install the roller to the wheel and tire assembly.
6
.
Reposition the rollers into the tire and around the runner. Once this has been done, make sure that the connections on the
roller assembly are at 90° to the tire low pressure sensor.
7
.
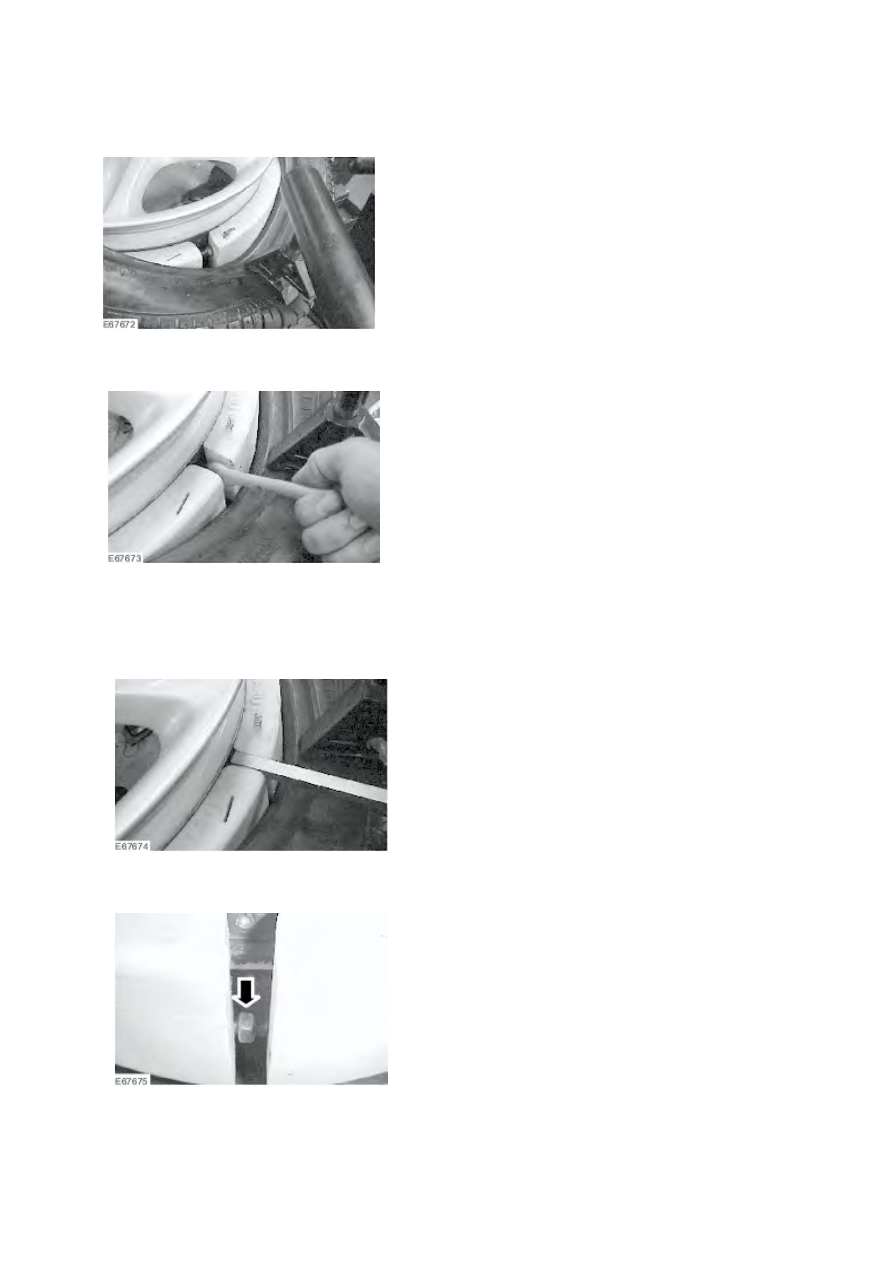
CAUTION: Make sure the roller is slotted into the runner.
Pull the roller halfs together so that the retaining bolt threads are within the other roller half. Additional nylon blocks need
to be inserted between the tire and roller, to keep the roller against the runner.
Install the retaining nut.
www.
8
.
NOTE:
If there is a problem using the third arm on the hofmann racing machine to pull the tire bead back, then the bead
stretcher supplied in the Rodgard toolbox should be used as an alternative.
Check that the opening of the runner is still correctly located around the tire low pressure sensor. If this is satisfactory then
install the third arm on the hofmann racing machine to pull the tire bead back around the first connection on the roller.
9 . Tighten both retaining nuts equally.
10 . NOTE:
To measure the gap use the Gauge provided, which is equal to 11mm (0.43 inch).
Set the gap evenly with the gauge.
11 . Rotate the nut until the small dot is facing directly upwards.
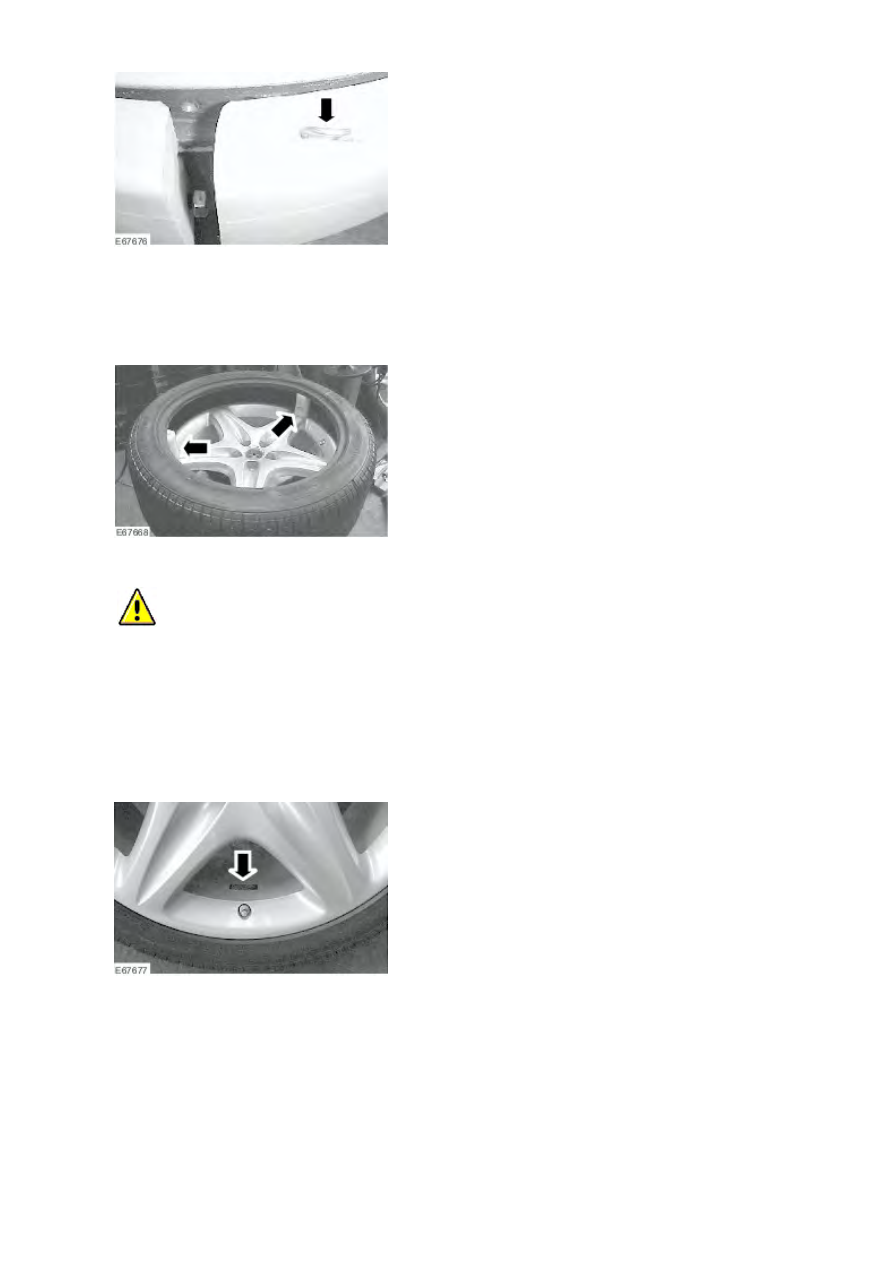
12 . Install the retaining clip into the slot until it engages the hole in the bolt thread.
13
.
To check that the retaining clip is fully engaged, try to rotate the nut with the pin in place. This will also lock the pin.
Repeat for the other connection at the opposite end.
14 . Remove all of the installed nylon blocks from between the tire and the face of the wheel.
15 .
CAUTION: Make sure that the tire does not come into contact with the tire low pressure sensor.
Attach the tire upper bead.
16 . Check the wheel and tire to ensure no damage has been caused during any of the procedure.
17 . Remove the wheel from the Hofmann racing machine.
18 . Install an installation label behind the valve on the skirt of the wheel.
19 . Inflate the tire
For additional information, refer to , test and balance the wheel and tire assembly as per customer requirements.
www.
Нет комментариевНе стесняйтесь поделиться с нами вашим ценным мнением.
Текст