Jaguar XJ (X350). Manual — part 1055
18
.
CAUTION: Make sure the front of the driveshaft does not put an excessive load on
the center bearing. Failure to follow this instruction may result in damage to the vehicle.
CAUTION: Make sure all components are installed to the position they were
removed from. Failure to follow this instruction may result in damage to the vehicle.
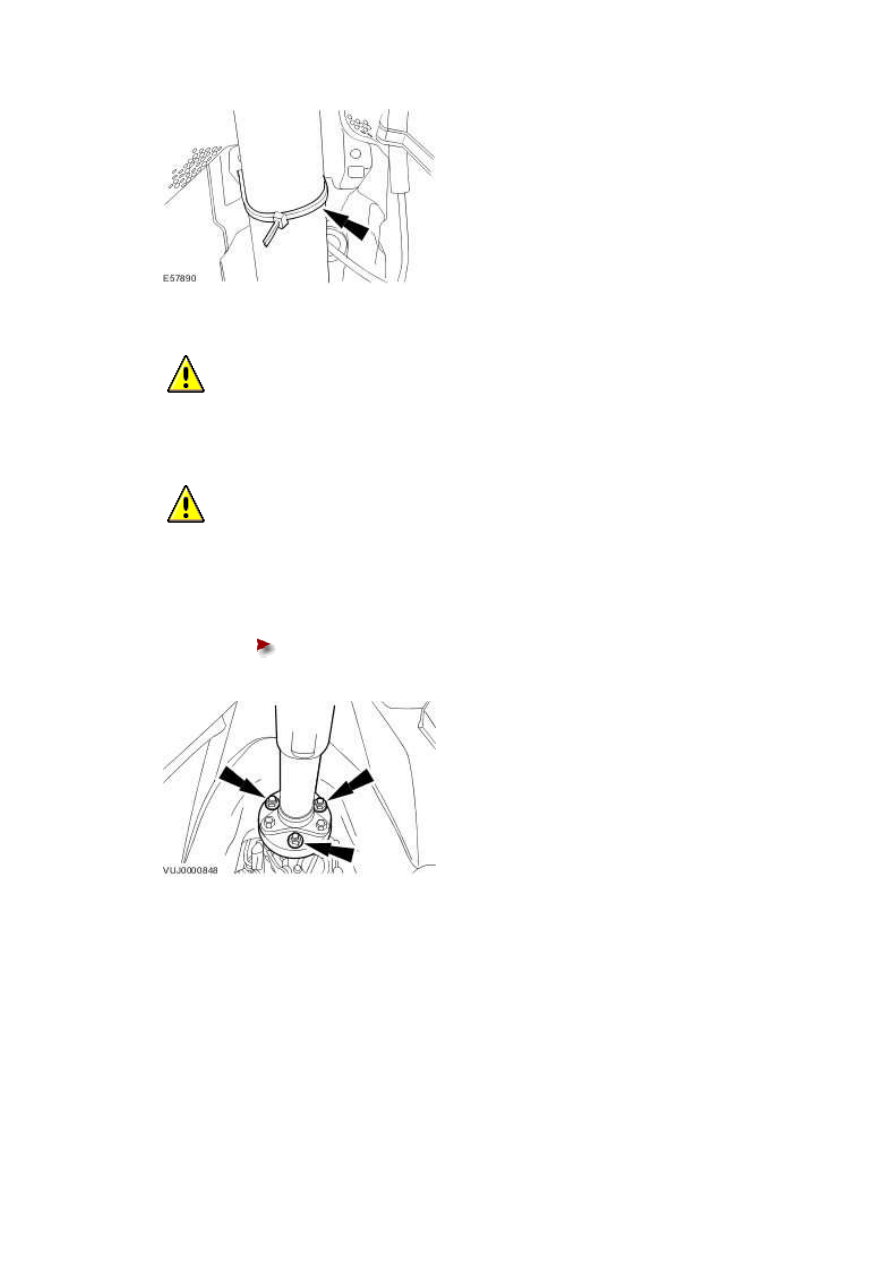
Attach the driveshaft to the transmission flange.
Tighten to 108 Nm.
19 . Install the exhaust system.
For additional information, refer to
20 . Connect the battery ground cable.
For additional information, refer to
21 . Carry out a transmission fluid level check.
For additional information, refer to
22
.
NOTE:
For NAS vehicles only.
If required, carry out a long drive cycle.
For additional information, refer to Powertrain Control Module (PCM) Long Drive Cycle Self-
Test
www.

Transmission - 2.7L V6 - TdV6 (44.20.01)
Special Service Tools
Engine Lifting Brackets
303-1129
Engine Support Bracket
303-021
Powertrain Assembly Jack
HTJ1200-2
Installation
1
.
CAUTION: If the automatic transmission fluid is very dirty or it contains metallic
particles, then along with a new transmission, install a new automatic transmission fluid
cooler and lines.
Flush the automatic transmission fluid oil cooler and fluid tubes.
2
.
NOTE:
Use high-temperature grease meeting Jaguar specification.
Apply a thin layer of high-temperature grease to the centering spigot bore on the torque
converter.
3
.
WARNING: Do not allow the torque converter to become disengaged from the
automatic transmission. Failure to follow this instruction may result in personal injury.
CAUTION: The torque converter hub must engage fully into the pump drive gear
throughout the whole installation procedure. Failure to follow this instruction may result in
damage to the vehicle.
NOTE:
Shown with the powertrain assembly jack removed for clarity.
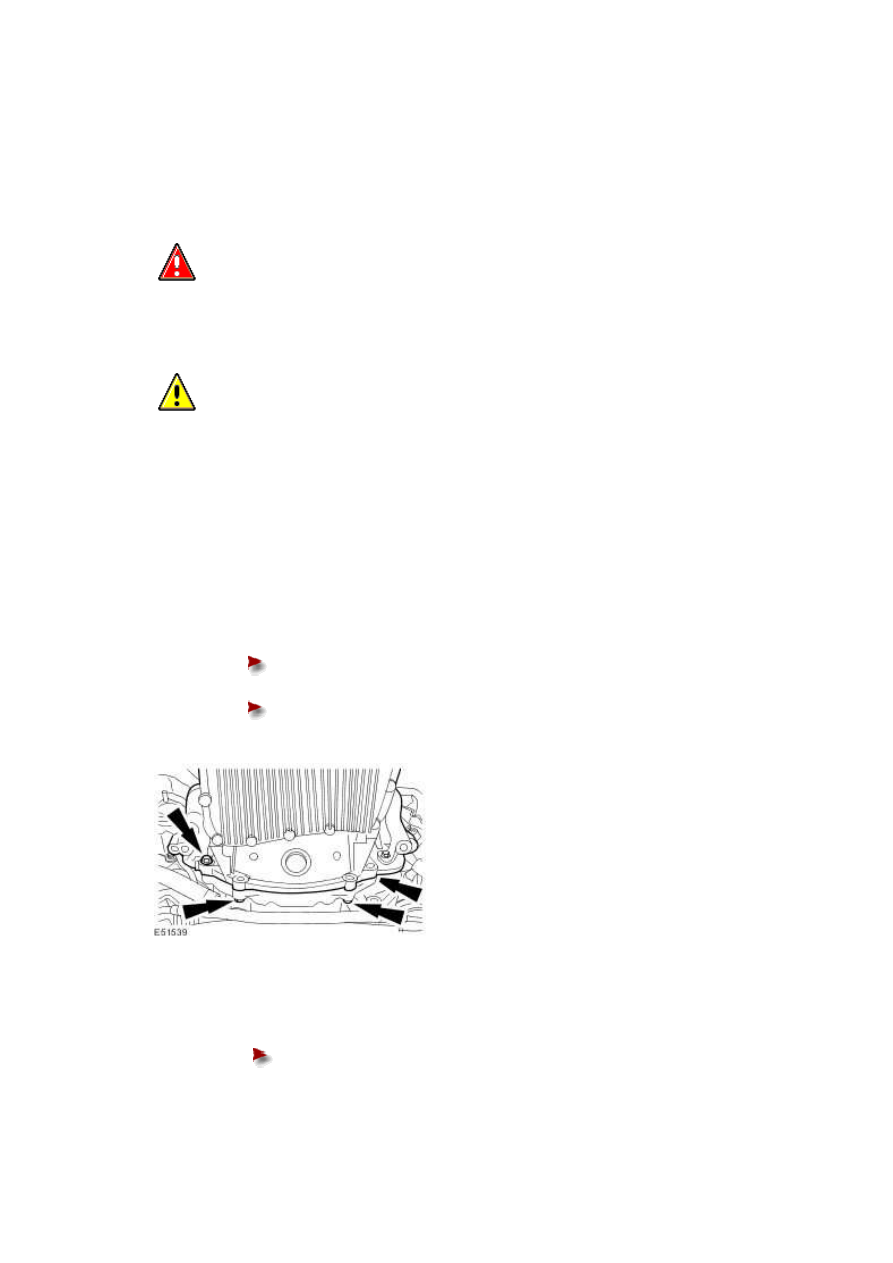
Install the automatic transmission to the vehicle.
Raise the automatic transmission to the vehicle.
Loosely install the retaining bolts.
4 . Install the retaining bolts.
Tighten to 48 Nm.
www.
Нет комментариевНе стесняйтесь поделиться с нами вашим ценным мнением.
Текст