Jaguar XJ (X350). Manual — part 1413

5
—
Front scuff plate trim panel
6
—
Cowl side trim panel
7
—
B-pillar upper trim panel
8
—
B-pillar lower trim panel
9
—
Rear scuff plate trim panel
10
—
Lower C-pillar trim panel
11
—
Upper C-pillar trim panel
12
—
Parcel shelf
13
—
Folding Tray
14
Headliner
This section covers removal and installation of the interior mouldings and trim panels. In
many instances, one component overlaps another component. If this condition is found, it will
be necessary to loosen or remove the overlapping component before removal, to prevent
damage to either component. The pillar trims and the headliner are safety critical assemblies
as they mount the occupant sensors and interface with the side airbag curtains (to make sure
correct deployment is achieved), and as such, correct alignment and installation are necessary
for safety reasons.
The headliner is a one-piece design covering the entire interior of the roof and is made of a
moulded composite with cloth covering. Finger depressions give pull-down access for the sun
visors and passenger assist handles are provided.
There is an interior lamp fitted into the front of the overhead console.
Removal and installation
A-Pillar Trim Panel (76.13.31)
Removal
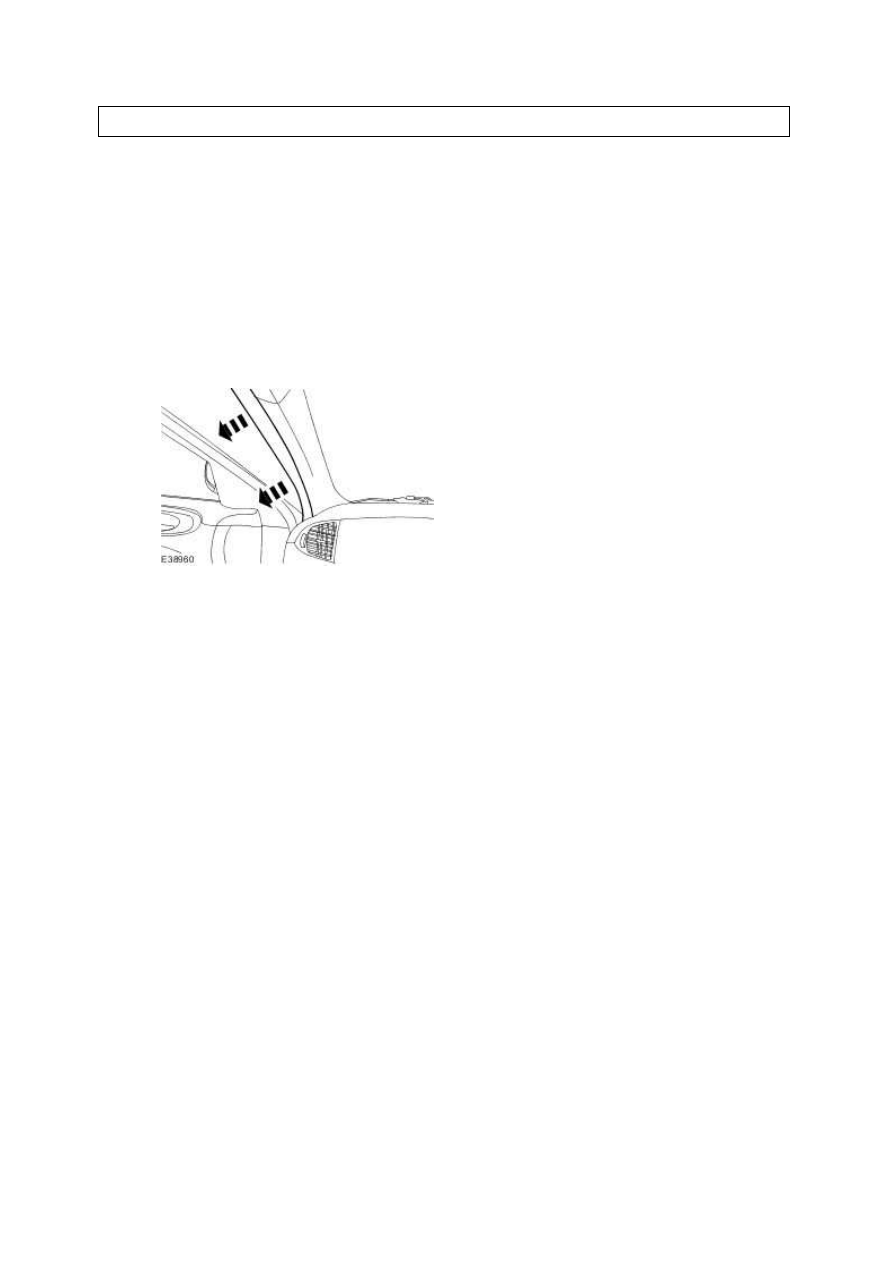
1 . NOTE:
Left-hand shown, right-hand similar.
Detach the door aperture weatherstrip.
2 . NOTE:
Cut the C-pillar trim panel retaining strap.
NOTE:
Left-hand shown, right-hand similar.
Detach the A-pillar trim panel.
www.
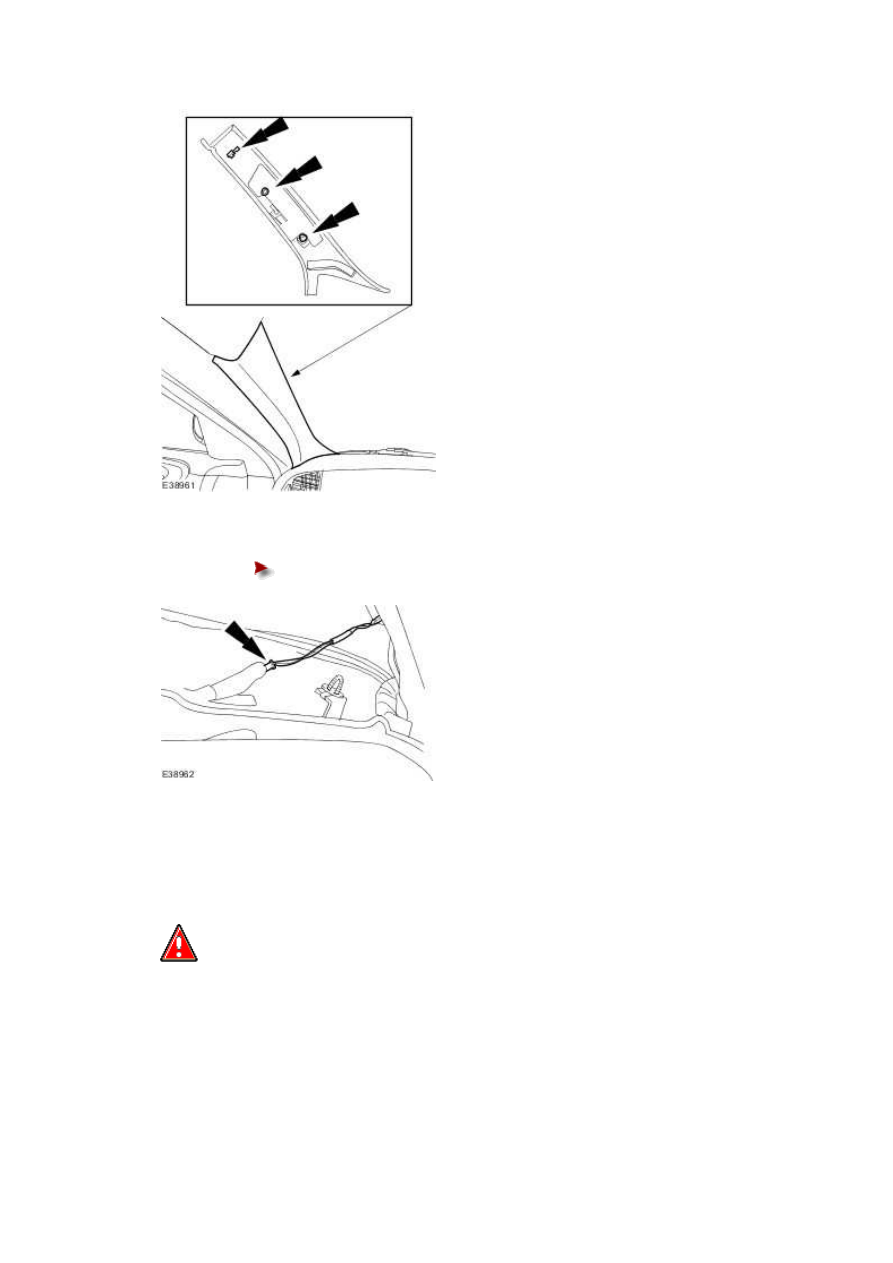
3 . Remove the A-pillar trim panel.
Disconnect the occupancy position sensor electrical connector.
Installation
1
.
WARNING: The retaining strap is a safety critical item and must be
replaced to prevent the trim detaching in the event of the side curtain airbag
deployment.
NOTE:
When installing the new retaining strap and rivet make sure the old clip has been
removed from the body before pressing the trim into place.
To install, reverse the removal procedure.

B-Pillar Lower Trim Panel (76.13.29)
Removal
1 . Remove both front and rear scuff plate trim panels.
For additional information, refer to
2 . NOTE:
Left-hand shown, right-hand similar.
Detach the door aperture weatherstrip.
3 . NOTE:
Left-hand shown, right-hand similar.
Detach the door aperture weatherstrip.
4 . NOTE:
Left-hand shown, right-hand similar.
Remove the B-pillar lower trim panel.
www.
Нет комментариевНе стесняйтесь поделиться с нами вашим ценным мнением.
Текст