Jaguar XJ (X350). Manual — part 697
35 . Detach the right-hand glow plug electrical connector.
36 . Remove the right-hand rear engine lifting bracket.
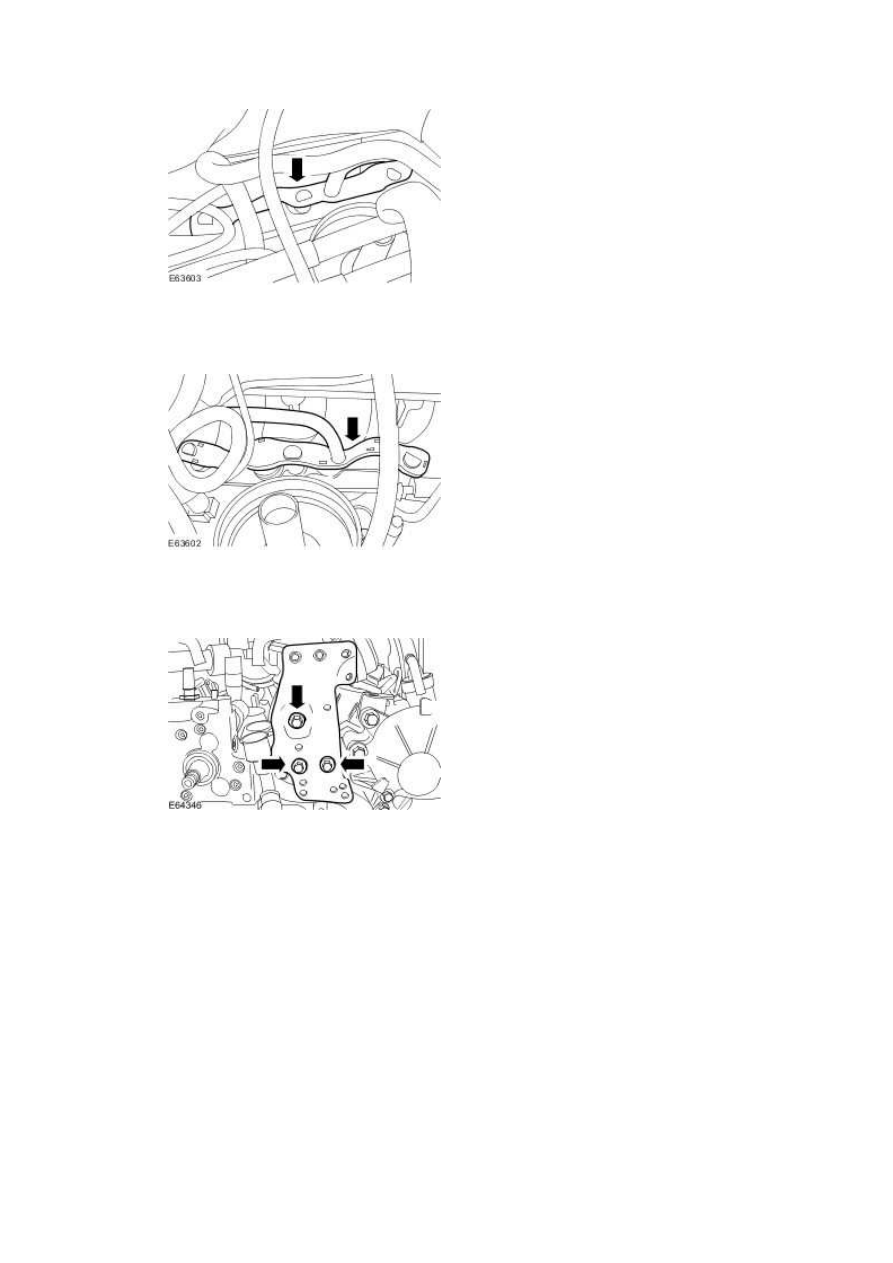
37 . Reposition the crankcase vent oil seperator pipes.
1) Detach the crankcase vent oil seperator pipes.
2) Reposition the crankcase vent oil seperator pipes.

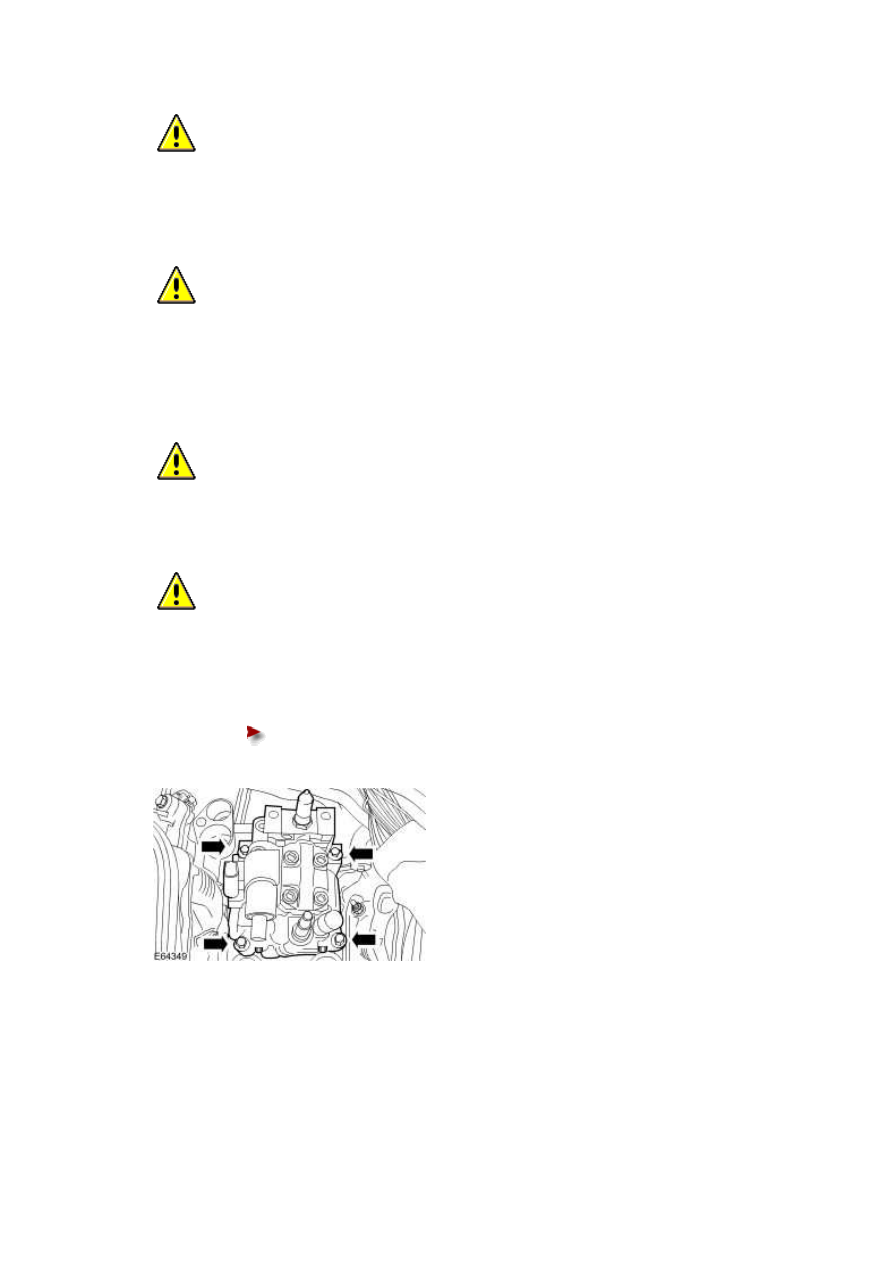
38 . Remove the fuel injection pump.
Installation
1
.
WARNING: Do not smoke or carry lighted tobacco or open flame of any type when
working on or near any fuel related components. Highly flammable mixtures are always
present and may ignite. Failure to follow these instructions may result in personal injury.
WARNING: This procedure involves fuel handling. Be prepared for fuel spillage at all
times and always observe fuel handling precautions. Failure to follow these instructions
may result in personal injury.
CAUTION: Make sure the workshop area in which the vehicle is being worked on is
as clean and as dust free as possible. Foreign matter from work on clutches, brakes or from
machining or welding operations can contaminate the fuel system and may result in later
malfunction.
www.
CAUTION: Always carry out the cleaning process before carrying out any repairs to
the fuel injection system components. Failure to follow this instruction may result in
foreign matter ingress to the fuel injection system.
CAUTION: Diesel fuel injection equipment is manufactured to very precise
tolerances and fine clearances. It is therefore essential that absolute cleanliness is observed
when working with these components. Always install blanking plugs to any open orifices or
lines.
CAUTION: Do not disassemble or clean inside the fuel pump, even with an ultrasonic
cleaner. Always install a new fuel pump when required.
CAUTION: Install new high pressure fuel supply lines. Failure to follow this
instruction may result in damage to the vehicle.
Install the fuel injection pump.
Tighten to 23 Nm.
2 . Attach the crankcase vent oil seperator pipes.
1) Reposition the crankcase vent oil seperator pipes.
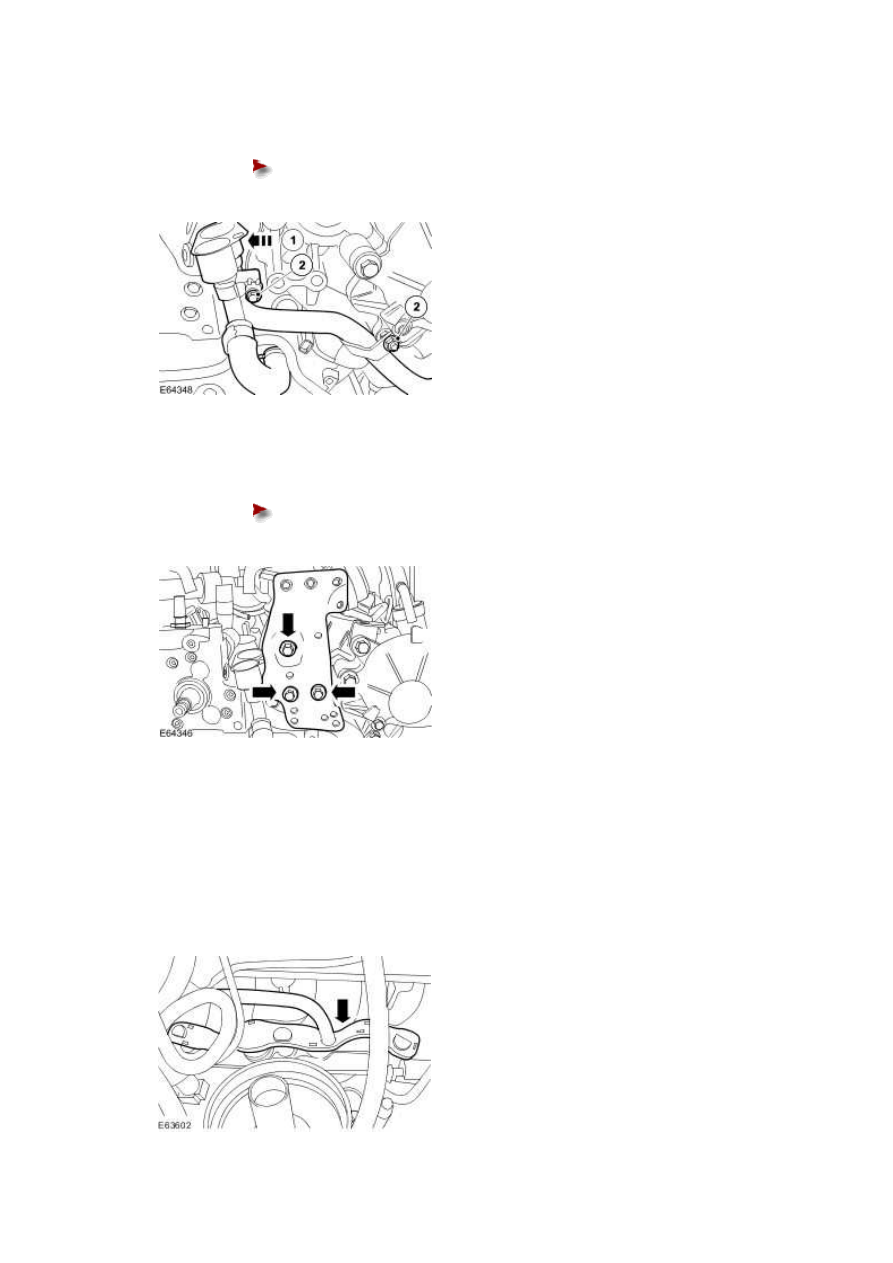
2) Attach the crankcase vent oil seperator pipes.
Tighten to 10 Nm.
3 . Install the right-hand rear engine lifting bracket.
Tighten to 10 Nm.
4
.
NOTE:
Make sure glow plug electrical connector is correctly fitted to all glow plugs on the right-
hand bank.
Attach the right-hand glow plug electrical connector.
www.
Нет комментариевНе стесняйтесь поделиться с нами вашим ценным мнением.
Текст