Jaguar XJ (X350). Manual — part 698
5
.
NOTE:
Make sure glow plug electrical connector is correctly fitted to all glow plugs on the left-
hand bank.
Attach the left-hand glow plug electrical connector.
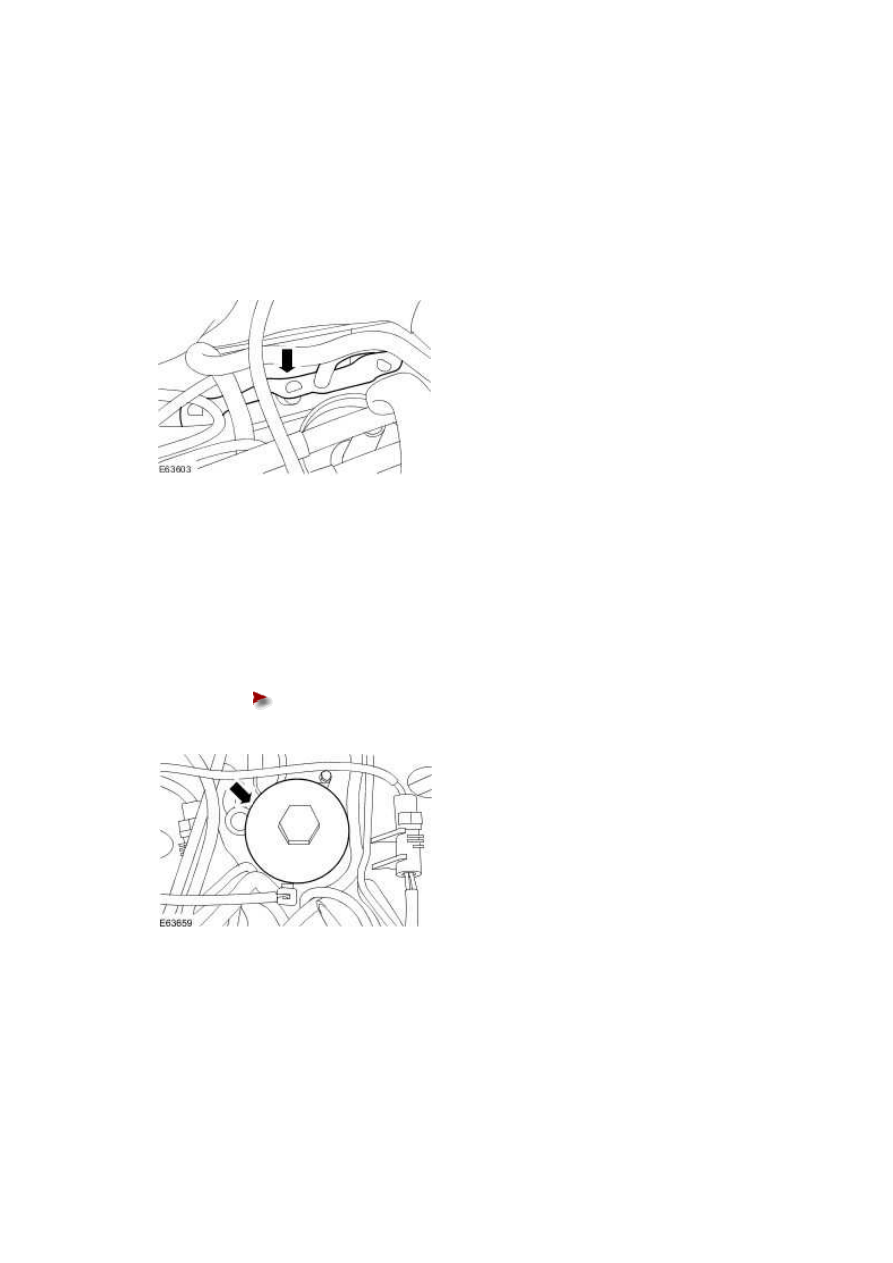
6 . NOTE:
Install a new O-ring seal.
Install the oil filter housing.
Tighten to 25 Nm.
7 . Connect the fuel pump electrical connectors.
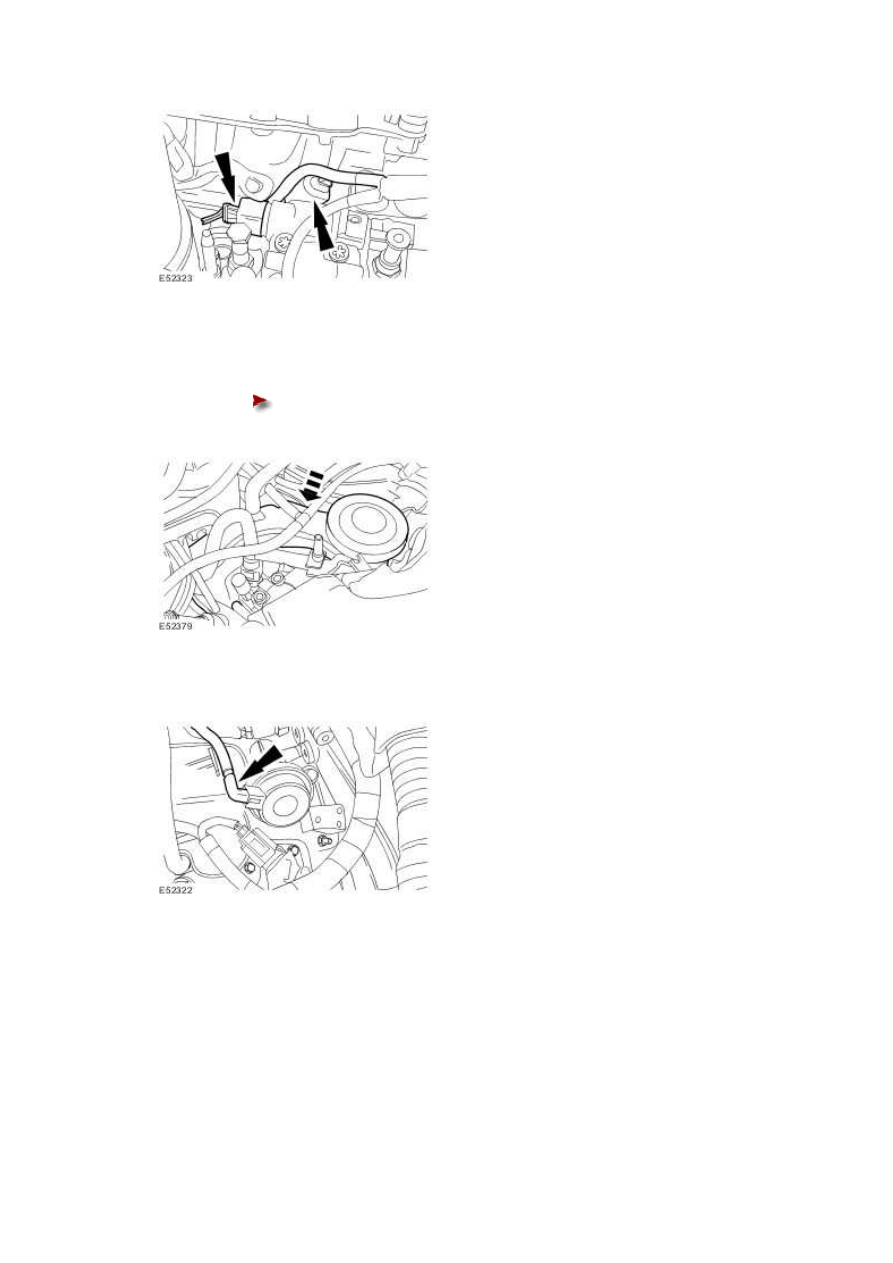
8 . Install the oil separator housing.
Install new crankcase vent oil separator and engine block seals.
9 . Connect the left-hand inlet port deactivation vacuum hose.
10 . Connect the left-hand camshaft cover breather hose.
www.
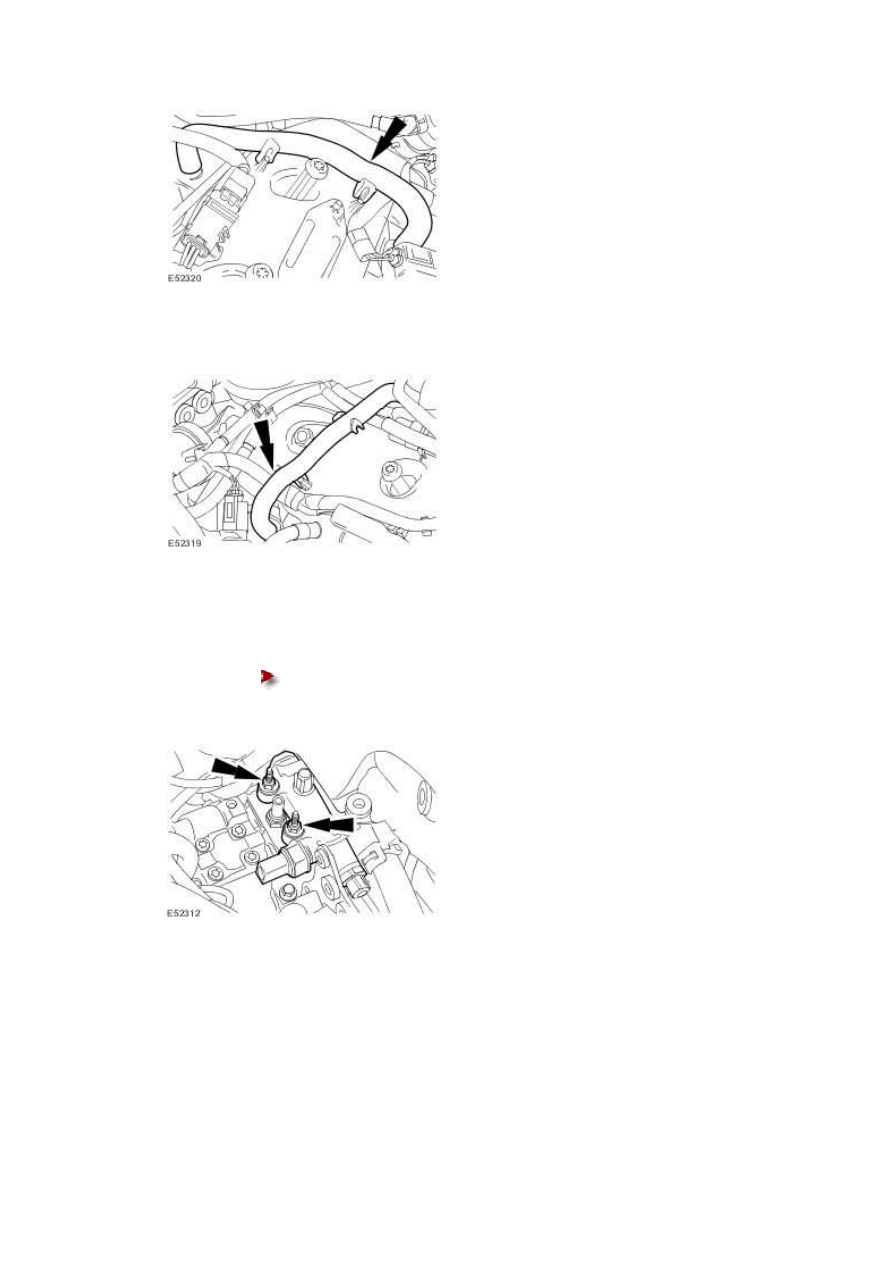
11 . Connect the right-hand camshaft cover breather hose.
12
.
Install the fuel injection diverter rail.
Do not fully tighten the fuel injection diverter rail retaining bolts at this
stage.
13
.
NOTE:
Left-hand shown, right-hand similar.
Install new high pressure fuel supply lines.
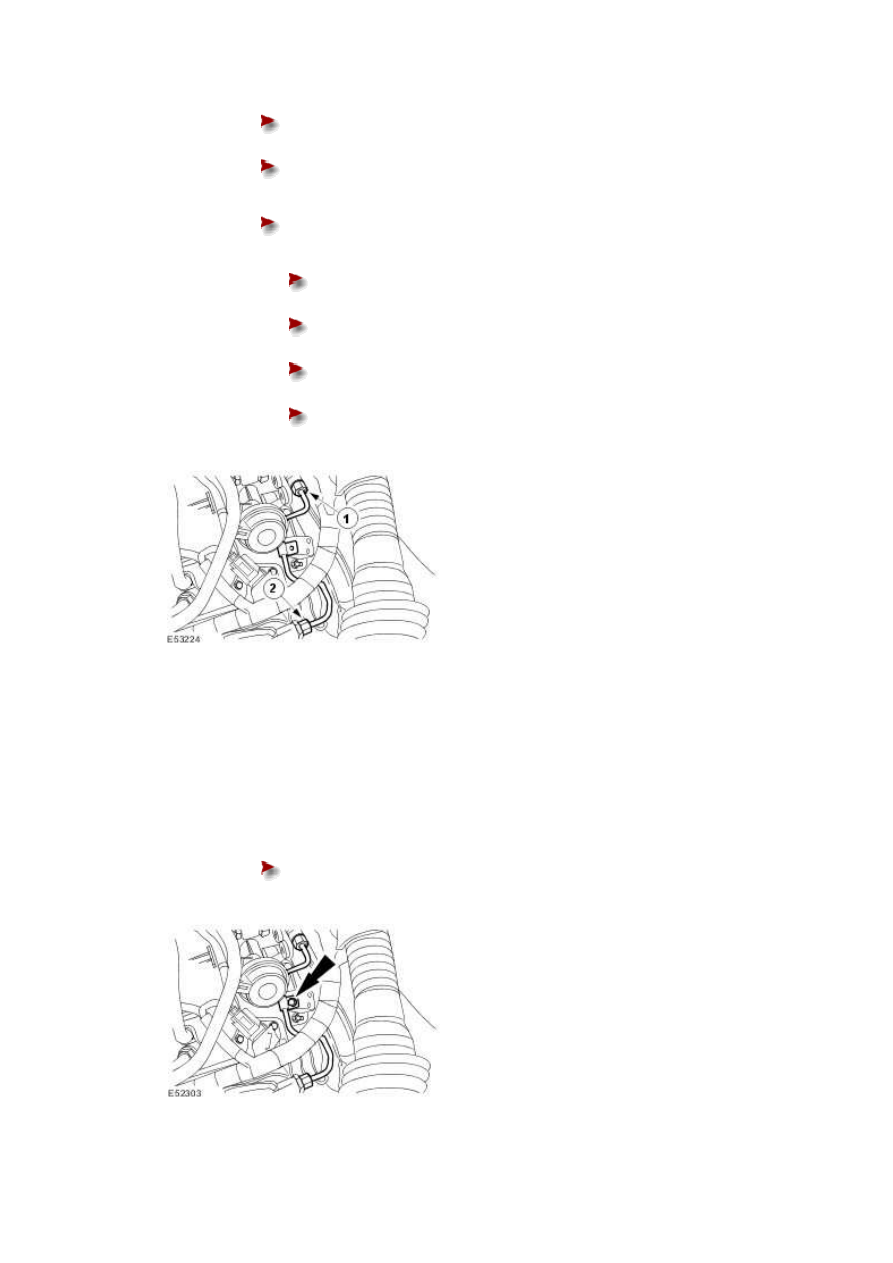
Remove the blanking caps.
Tighten the fuel injection diverter rail retaining bolts to 23 Nm.
Tighten the high-pressure fuel supply line in the sequence shown in four
stages:
Stage 1: Tighten the high-pressure fuel supply line union 1 to 15 Nm.
Stage 2: Tighten the high-pressure fuel supply line union 2 to 15 Nm.
Stage 3: Tighten the high-pressure fuel supply line union 1 to 30 Nm.
Stage 4: Tighten the high-pressure fuel supply line union 2 to 30 Nm.
14 . NOTE:
Left-hand shown, right-hand similar.
Attach the high pressure fuel supply line clamps.
Tighten to 10 Nm.
www.
Нет комментариевНе стесняйтесь поделиться с нами вашим ценным мнением.
Текст