Jaguar XJ (X350). Manual — part 1497

NOTE:
Right-hand shown, left-hand similar.
Connect the electrical connector.
14
.
CAUTION: Do not connect the electrical connectors for at least 1 hour after
installation of the windshield glass. Failure to follow these instructions may result in
damage to the rear window glass adhesive.
NOTE:
Right-hand shown, left-hand similar.
Connect the electrical connectors.
15 . Install the high mounted stoplamp. <<417-01>>
16 . Install the parcel shelf. <<501-05>>
Rear Window Glass (76.81.11) – Armoured
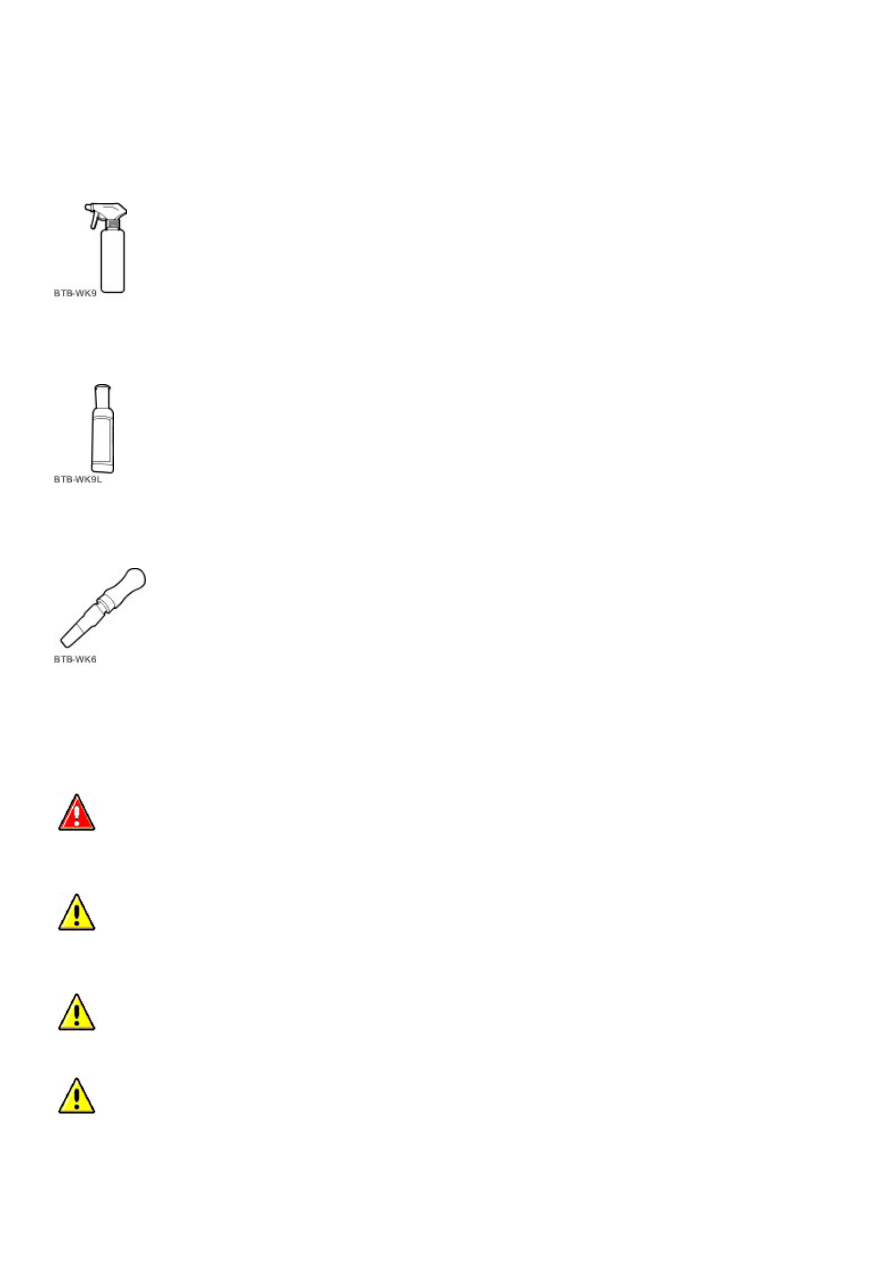
Special Service Tools
Spray bottle
WK9
Lubricant concentrate
WK9L
Adhesive removal blade - Body
WK6
Removal
WARNING: The use of products other than Betawipe on poly carbonate may cause a deterioration of the glass, an
opacity effect and an early delamination of the shielding. The ballistic standards and the protection of the occupants
would not be assured. Failure to follow this instruction may result personal injury.
CAUTION: The use of products other than Betawipe on poly carbonate may cause a deterioration of the glass, an
opacity effect and an early delamination of the shielding. The ballistic standards and the protection of the occupants
would not be assured. Failure to follow this instruction may result in damage to the vehicle.
CAUTION: Make sure that only the recommended degreasing and cleaning fluids are used. Failure to follow this
instruction may result in damage to the vehicle.
CAUTION: Make sure that only the recommended adhesive, sealant and primers are used. Failure to follow this
instruction may result in damage to the vehicle.
Published: Mar 21, 2014
Vehicles
www.
1 . Remove the parcel shelf.
For additional information, refer to
2 . Remove the high mounted stoplamp.
For additional information, refer to
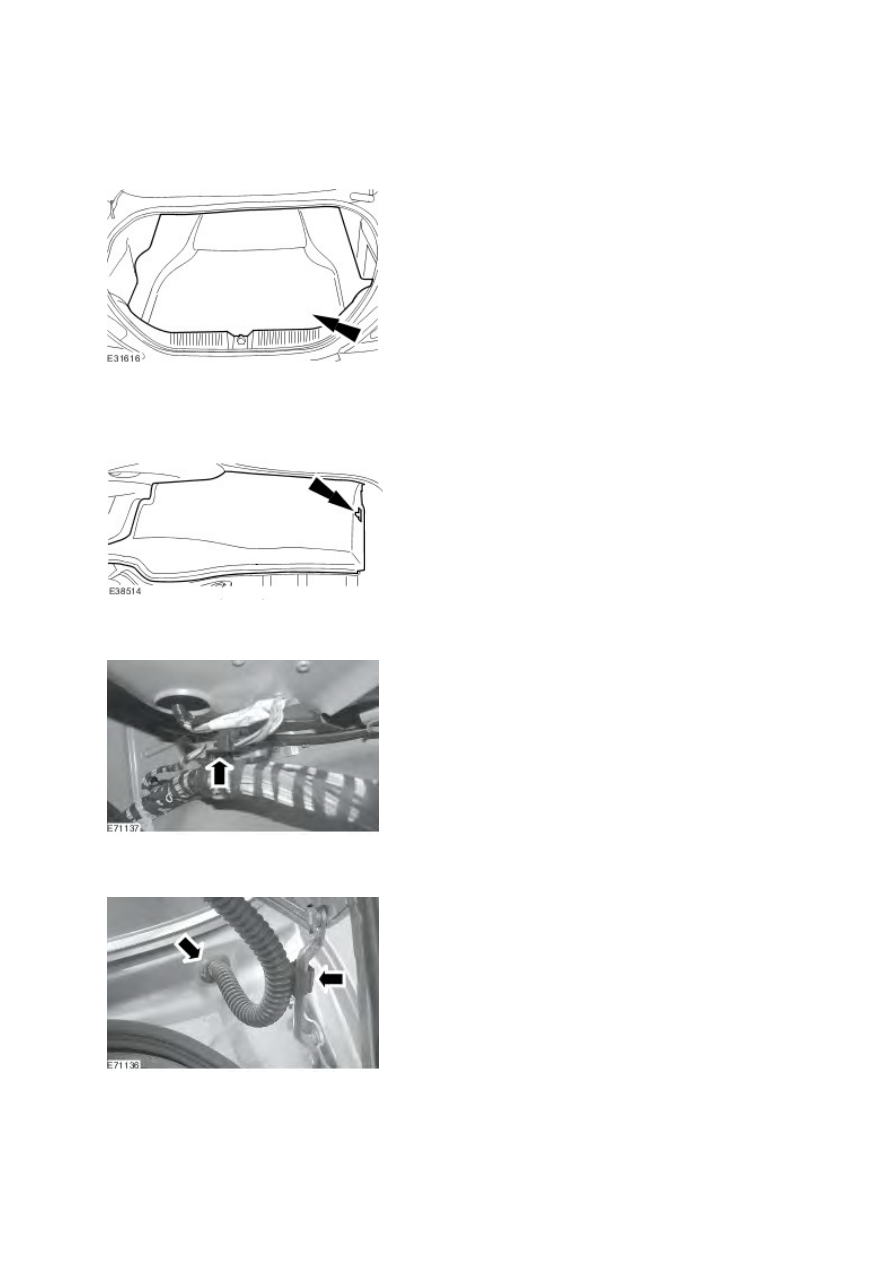
3 . Remove the luggage compartment floor covering.
4 . Remove the luggage compartment side trim panel.
5 . Disconnect the luggage compartment wiring harness electrical connector.
6 . Detatch the luggage compartment wiring harness.

7 . NOTE:
Left-hand shown, right-hand similar.
With assistance, remove the luggage compartment lid.
Remove the retaining nuts.
8 . NOTE:
Right-hand shown, left-hand similar.
Disconnect the antenna and heated rear window electrical connectors.
9 . NOTE:
Right-hand shown, left-hand similar.
Disconnect the amplifier electrical connectors.
1) Ground cable.
2) 12volt supply.
3) Coil.
www.
Нет комментариевНе стесняйтесь поделиться с нами вашим ценным мнением.
Текст