Jaguar XJ (X350). Manual — part 498
9 .
CAUTION: Do not use any lubricant on the seal, the transit sleeve or the crankshaft.
CAUTION: Make sure all components are clean and dry.
Make sure the transit sleeve is correctly in place and install the new seal over the crankshaft.
10 . Carefully remove the transit sleeve, leaving the seal in place.
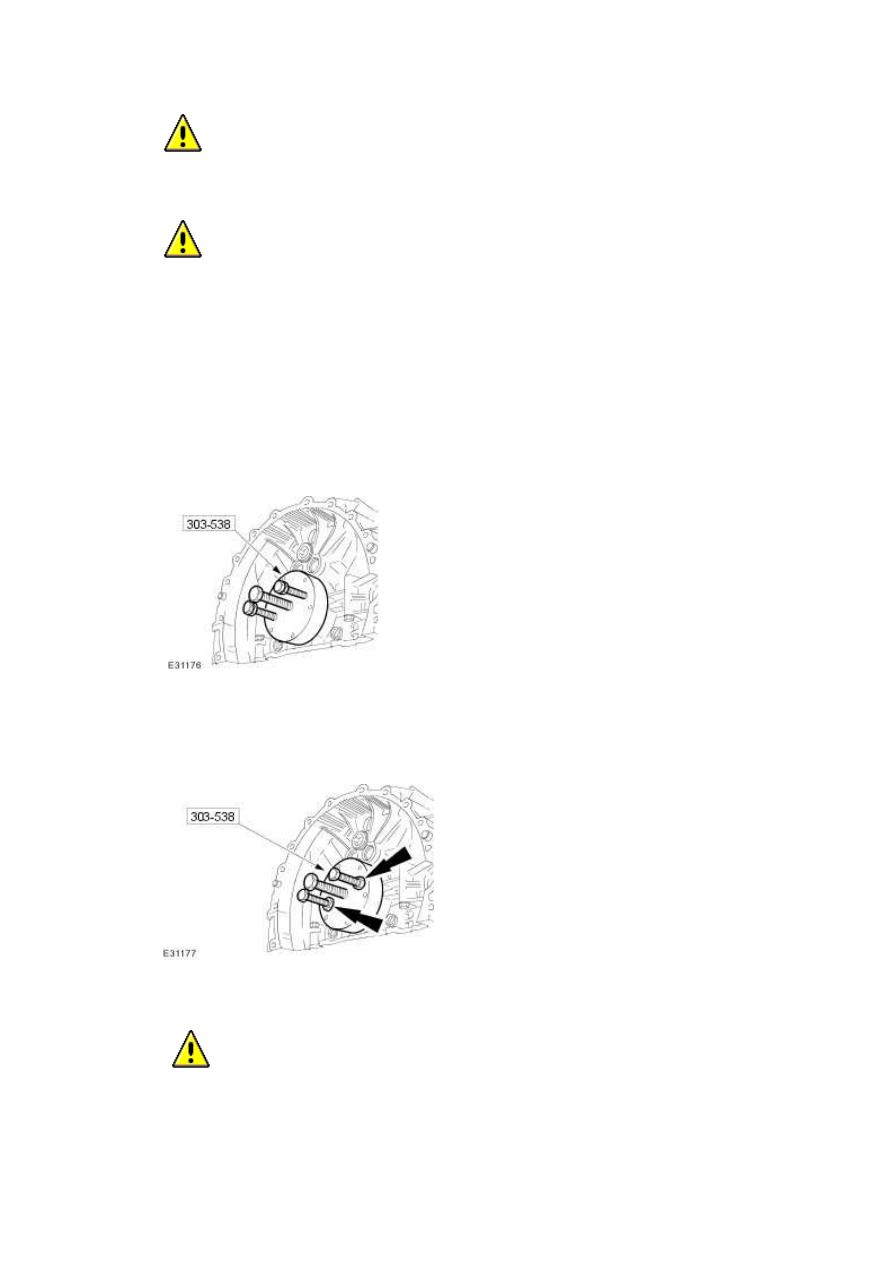
11 . Install the special tool to the crankshaft.
12
.
Reposition the nuts to hold the special tool against the crankshaft rear seal. Check that the
crankshaft rear seal and the special tool are parallel to the rear of the engine.
13 .
CAUTION: Alternate nut tightening to correctly seat the crankshaft rear seal.
Using the special tool, install the crankshaft rear seal.
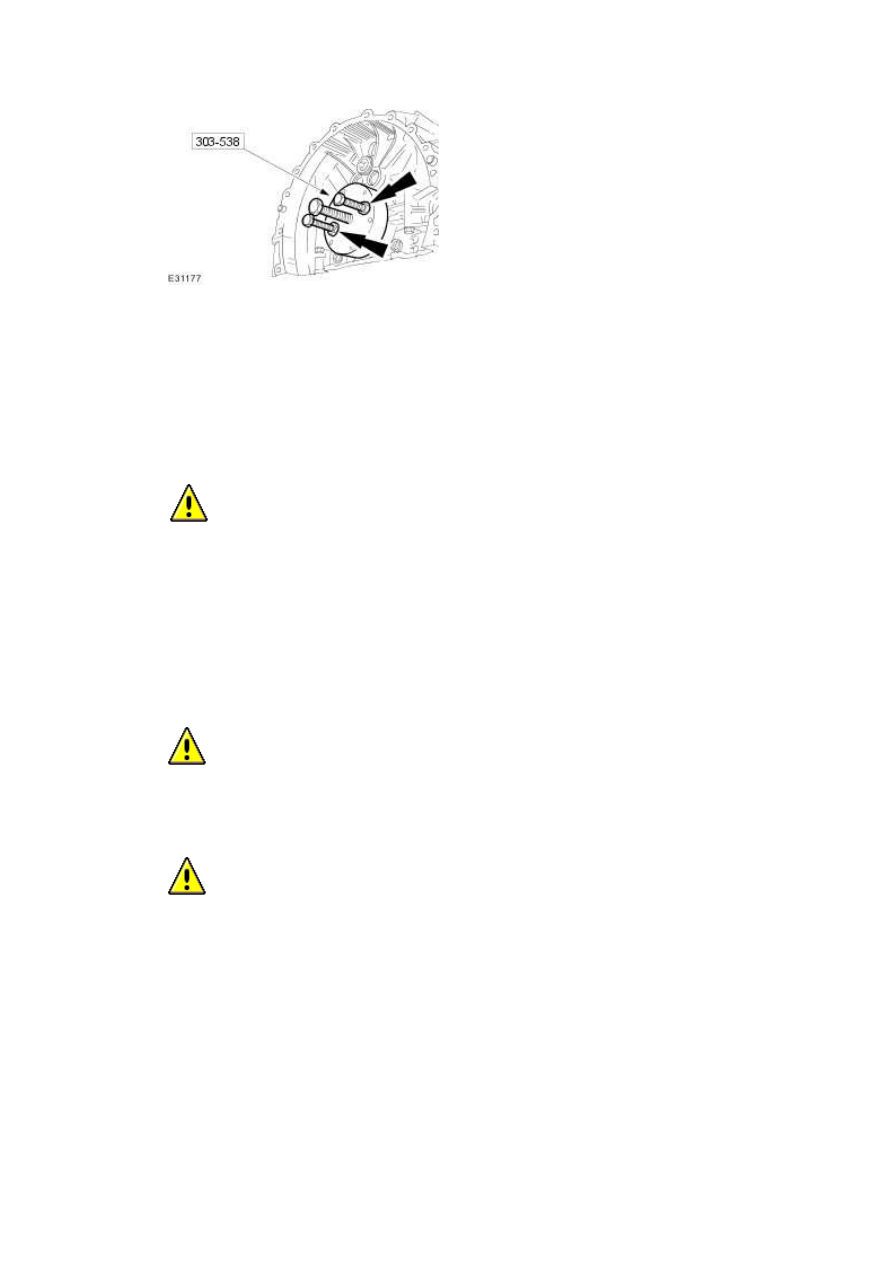
14 . Remove the special tool from the crankshaft.
•
Check that the seal is located correctly.
15
.
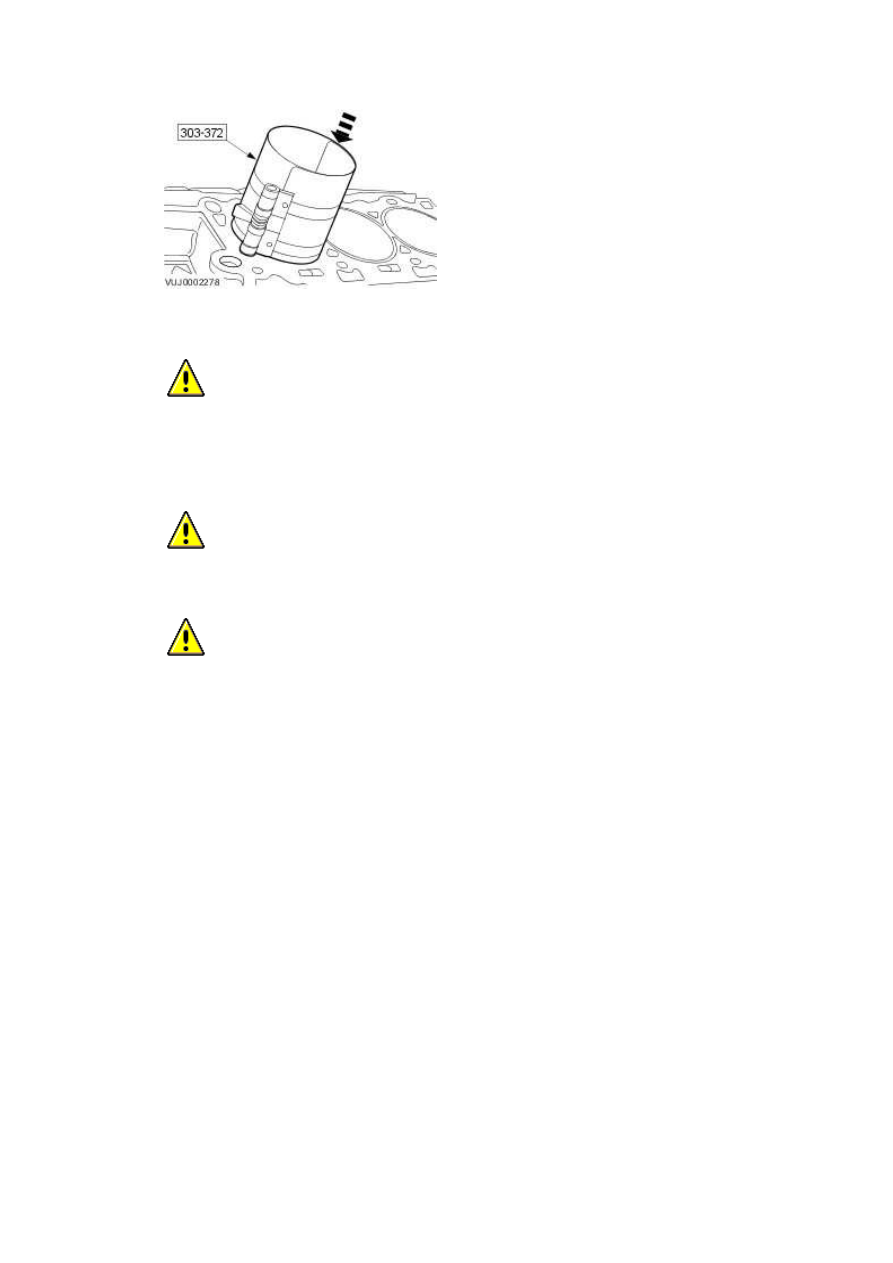
CAUTION: Use appropriate protection to prevent damage to the crankshaft
bearing journals and cylinder bore surfaces.
Install special tools to the connecting rods.
•
Position the crankshaft journal at the bottom of the stroke.
16
.
CAUTION: Make sure the piston rings are positioned at different positions
opposite the thrust side of the piston before installation.
CAUTION: Install pistons with arrow to front of engine.
Using the special tool compress the rings and install the piston and connecting rod.
•
Lubricate all piston components.
www.
17
.
CAUTION: When assembling the connecting rods and connecting rod caps it is
imperative that bearing slots and tangs be located on the same side of the connecting
rods.
CAUTION: Connecting rod bolts are torqued to yield and must be replaced.
CAUTION: Bolts must be tightened equally.
NOTE:
Remove the special tools from the connecting rods.
Position the connecting rod cap on the appropriate connecting rod.
11. Tighten to 10 Nm
12. Tighten to 30 Nm
13. Tighten to 90°
18 . Rotate the crankshaft to check correct operation.
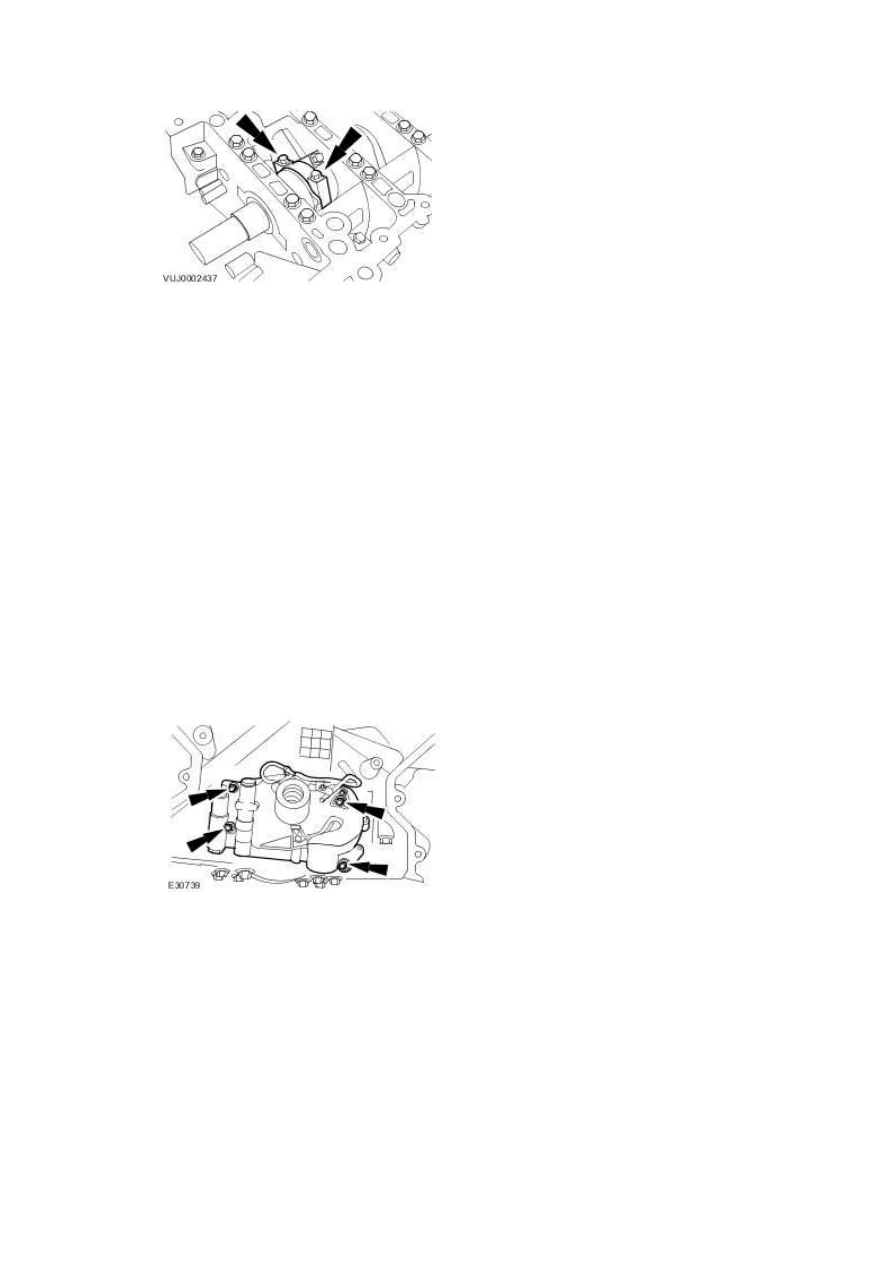
19 . Install the piston cooling jets.
•
Tighten to 9 Nm
20 . Install the oil pump.
•
Install a new gasket.
•
Tighten to 12 Nm.
21 . Install the upper oil pan.
•
Install a new gasket.
•
Tighten to 21 Nm.
www.
Нет комментариевНе стесняйтесь поделиться с нами вашим ценным мнением.
Текст