Jaguar XJ (X350). Manual — part 408
5 .
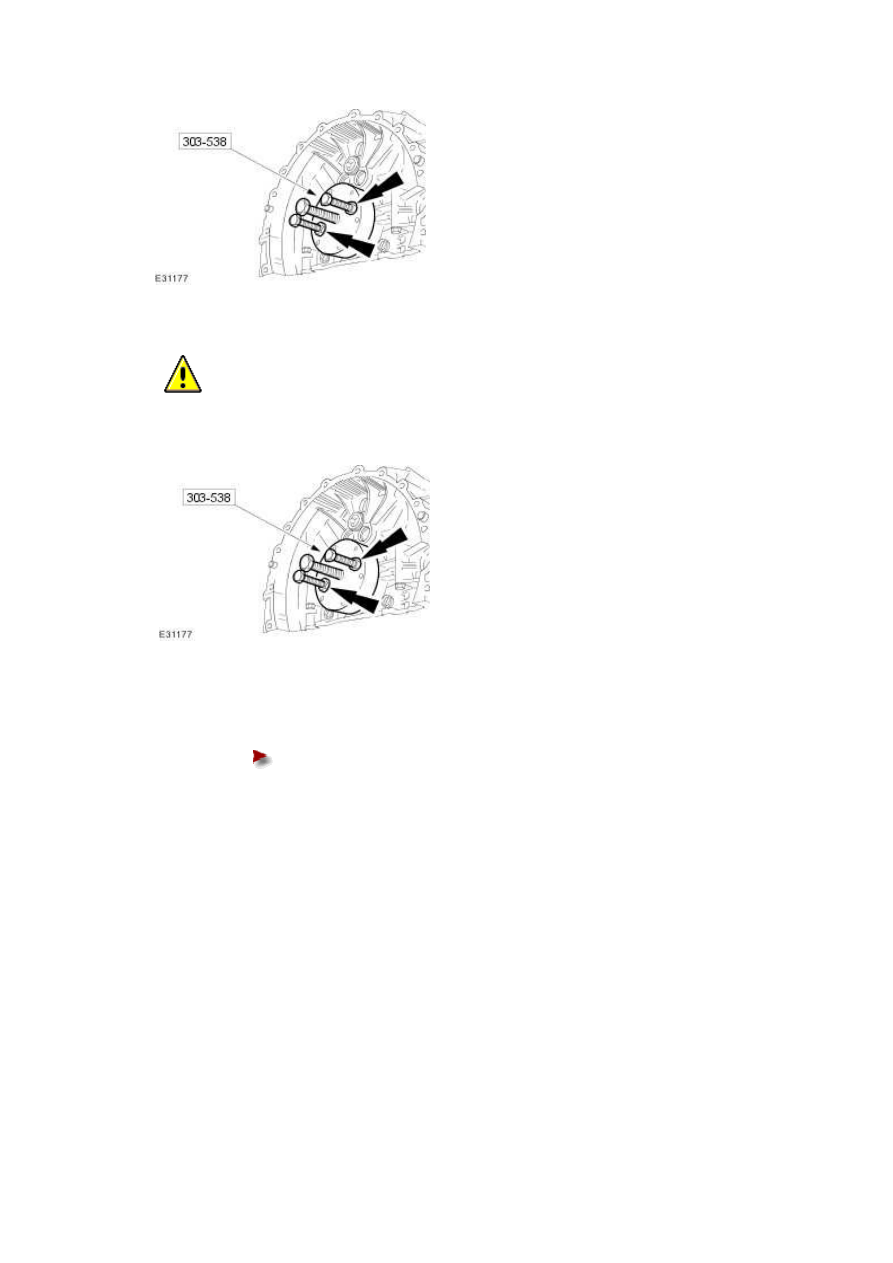
CAUTION: Alternate nut tightening to correctly seat the crankshaft rear seal.
Using the special tool, install the crankshaft rear seal.
6 . Remove the special tool from the crankshaft.
Check that the seal is located correctly.
7 . Install the flexplate.
For additional information, refer to Flexplate (12.53.13)
Cylinder Head LH - VIN Range: G00442-
>G45703 (12.29.02)
Special Service Tools
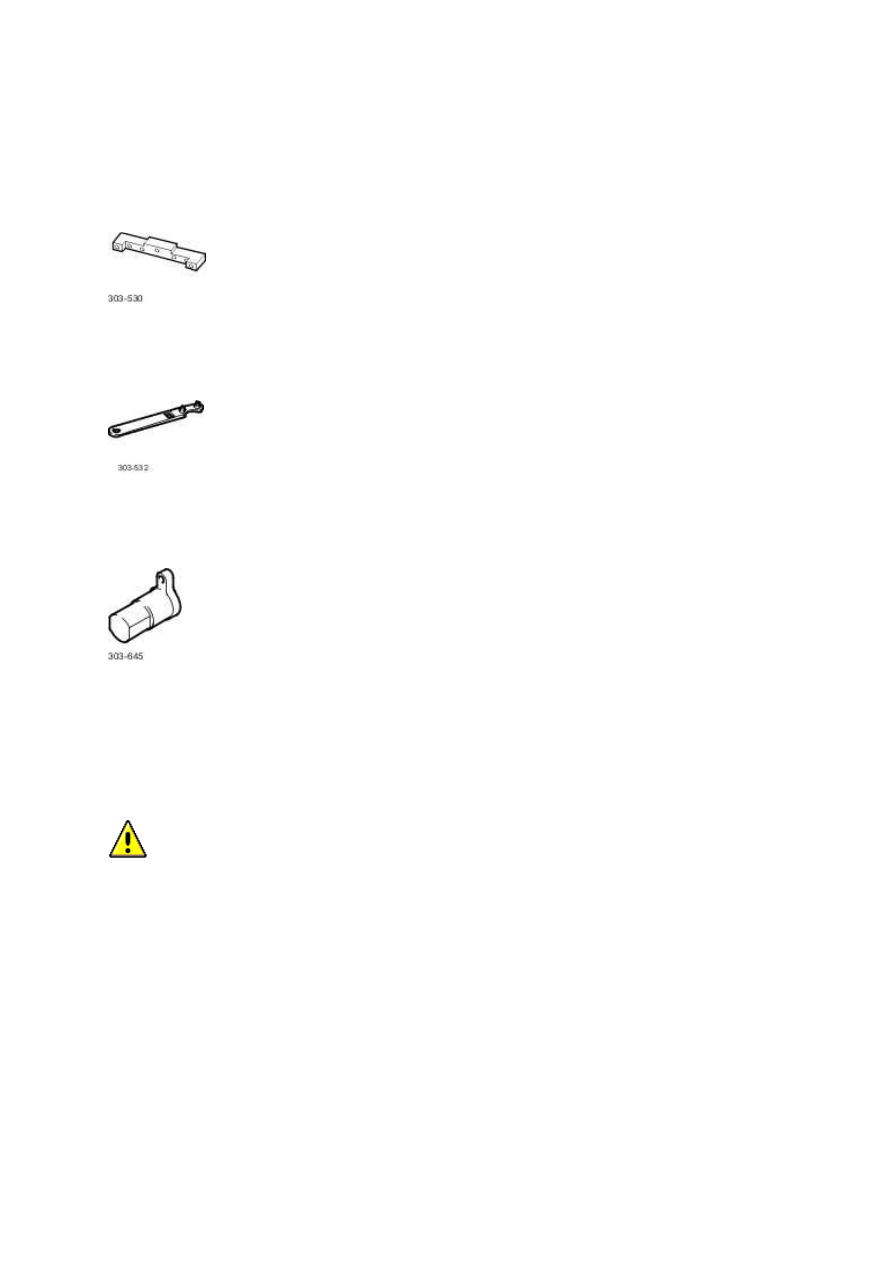
Camshaft setting/locking Tool
303-530
Timing chain tensioning tool
303-532
Crankshaft setting, main tool
303-645
Removal
All vehicles
CAUTION: If a replacement cylinder head is to be installed to a vehicle with variable
camshaft timing (VCT) the cylinder head must have the oil gallery blind rivet removed before
installation.
1 . Remove the air deflector.
For additional information, refer to Air Deflector (76.11.41)
2 . Disconnect the crankshaft position sensor electrical connector.
www.
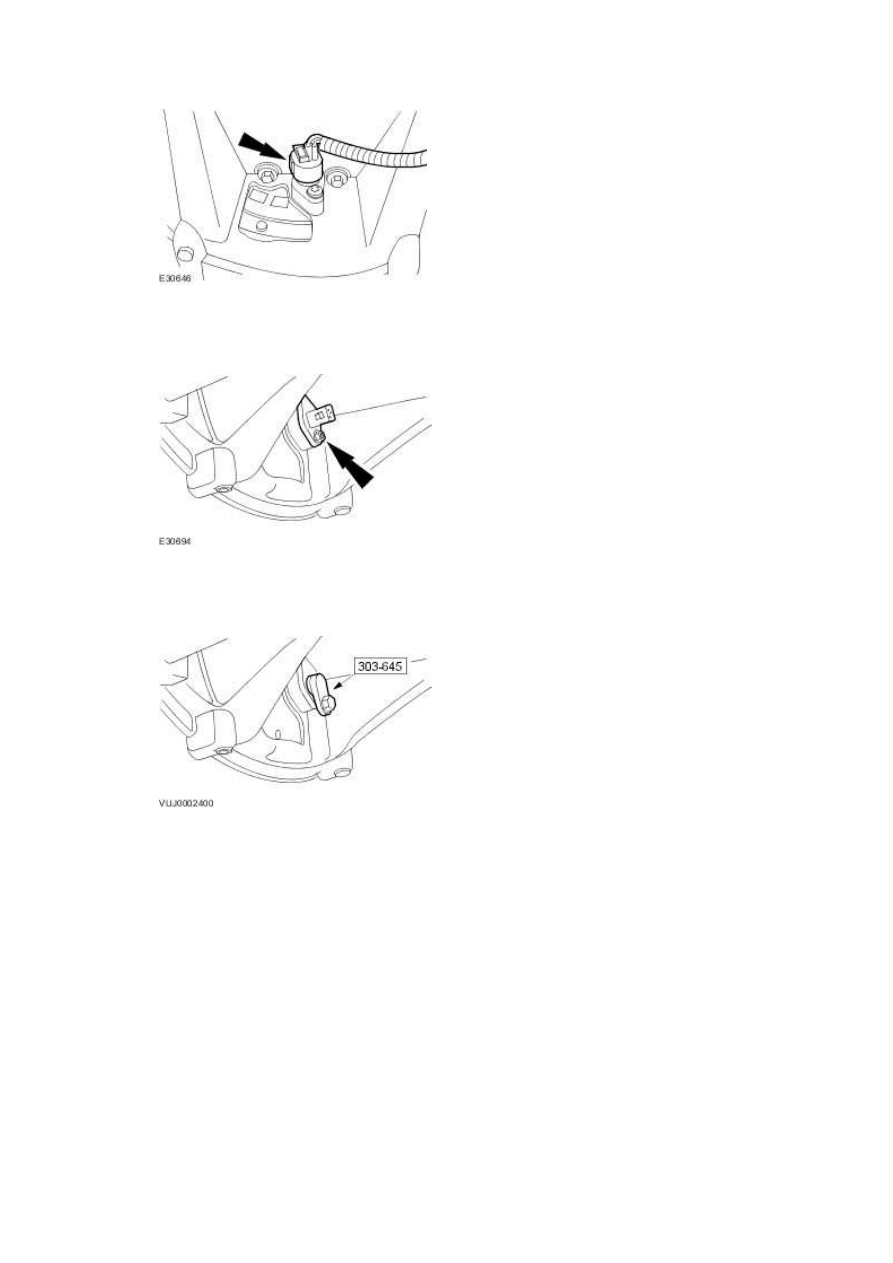
3 . Remove the crankshaft position sensor.
4 . Install the special tool.
Vehicles without supercharger
5 . Remove the intake manifold.
For additional information, refer to Intake Manifold - VIN Range: G00442->G45703 (30.15.01)
Vehicles with supercharger
6 . Remove the charge air cooler.
For additional information, refer to Charge Air Cooler
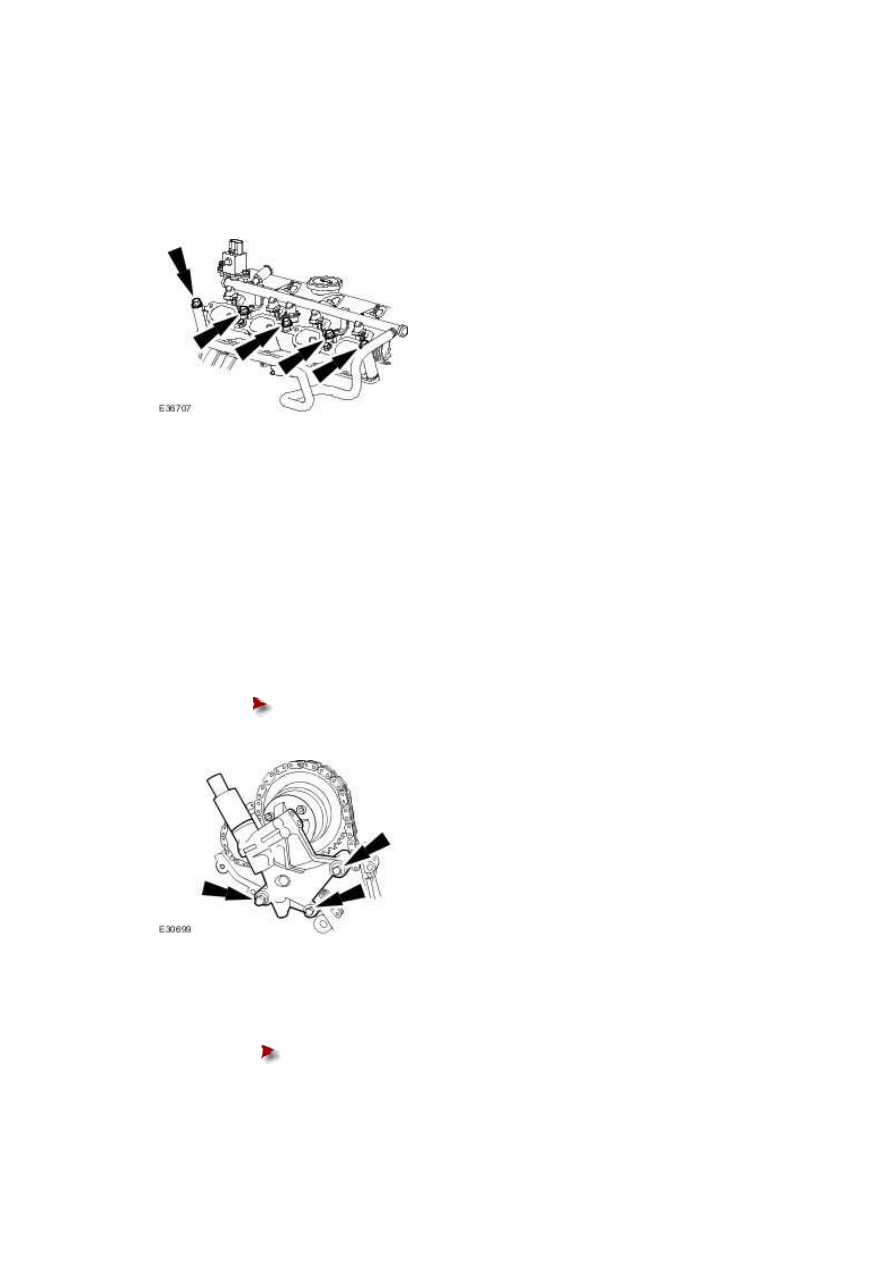
7 . NOTE:
Left-hand shown, right-hand similar.
Remove the lower intake manifold.
All vehicles
8
.
Remove the engine front cover.
For additional information, refer to Engine Front Cover - VIN Range: G00442->G45703
(12.65.01)
Vehicles without supercharger
9 . Remove the right-hand variable camshaft timing oil control unit housing.
Remove and discard the O-ring seals.
10 . Remove the left-hand variable camshaft timing oil control unit housing.
Remove and discard the O-ring seals.
www.
Нет комментариевНе стесняйтесь поделиться с нами вашим ценным мнением.
Текст