DAF LF45, LF55 Series. Manual — part 654

©
200515
4-7
Removal and installation
EXPLANATORY NOTES ON THE MAINTENANCE ACTIVITIES
ΛΦ45/55 series
5
4.7 REMOVAL AND INSTALLATION, AIR DRYER FILTER ELEMENT
Note:
To be certain that the air dryer is functioning
properly, the air reservoirs should regularly be
checked for condensation. If more than the
normal amount of water is drained off repeatedly,
the air dryer element must be replaced. Under
normal circumstances the element must be
replaced at least once per year.
Removing air dryer filter element
1.
Vent the air dryer by allowing it to regenerate
or by loosening the compressor line (1), so
that the interior of the air dryer is
depressurised.
2.
Remove the filter element by turning it anti-
clockwise using a filter strap spanner.
3.
Dispose of the drying element as if it were an
oil filter.
4.
Clean the air dryer internally.
5.
Check the air dryer threaded connection (2)
for damage and then lubricate it sparingly
with grease.
Installing the air dryer filter element
1.
Lubricate the sealing ring of the new filter
element sparingly with grease.
2.
Fit the filter element by manually tightening it
until the sealing ring abuts. Then tighten the
element by hand (approx. 1 turn).
3.
Fasten the compressor line (1).
4.
Pressurise the system and then check the air
dryer for any air leaks.
R600525
1
R600526
2
EXPLANATORY NOTES ON THE MAINTENANCE ACTIVITIES
4-8
©
200515
Removal and installation
5
ΛΦ45/55 series
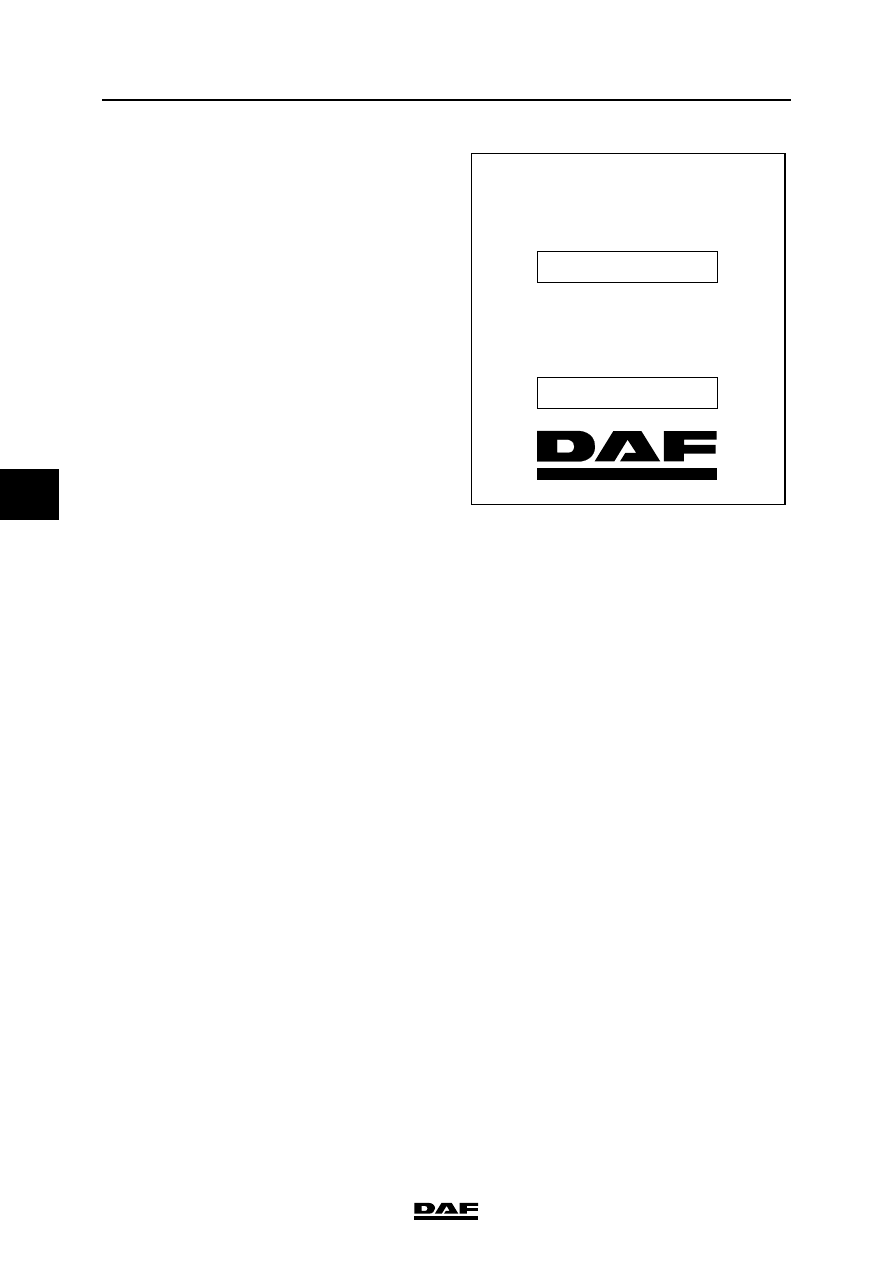
5.
Using a water-resistant felt pen, write on the
sticker the latest date by which the dryer
element must be replaced (not later than
1 year after the date of fitting).
Artikelnummer
Reference
Teilenummer
Référence
Eerstvolgende vervanging
Next change
Nächster Wechsel
Prochain remplacement
1391510
R600523

©
200515
4-9
Removal and installation
EXPLANATORY NOTES ON THE MAINTENANCE ACTIVITIES
ΛΦ45/55 series
5
4.8 REMOVAL AND INSTALLATION, FILTER ELEMENT IN THE RESERVOIR OF
THE RAS-EC STEERING GEAR
Removing the filter element
1.
Clean the reservoir cover, so that absolutely
no dirt can get into the reservoir.
2.
Remove the cover (3).
3.
Rotate the filter holder (5) a quarter turn and
slowly take the filter holder together with the
filter element (6) out of the reservoir.
Note:
The filter holder and filter element must be
removed from the reservoir with care so that
no dirt remains in the reservoir.
4.
Remove the filter element (6) from the filter
holder (5).
Installing the filter element
1.
Fit a new filter element (6) in the filter
holder (5).
2.
Fit the filter holder (5) together with the filter
element (6) in the reservoir (1) and rotate the
filter holder (5) a quarter turn. Make sure that
the filter holder (5) engages in its locking
element.
3.
Check the sealing ring (4) for damage and
replace if necessary.
4.
Fit the cover (3).
5.
Check the fluid level.
S7 00 757
1
2
3
4
5
6

EXPLANATORY NOTES ON THE MAINTENANCE ACTIVITIES
4-10
©
200515
Removal and installation
5
ΛΦ45/55 series
4.9 REMOVAL AND INSTALLATION, HIGH-PRESSURE FILTER OF THE RAS-EC
STEERING GEAR
Drained steering oil must not be re-
used. Store this hydraulic oil
separately from the other drained
oils and have the oil collected by a
waste-removal company authorised
to do so.
Removing the high-pressure filter
1.
Clean the high-pressure filter and the
surrounding area.
2.
Place a suitable receptacle under the high-
pressure filter and remove the filter cap (5).
3.
Remove the filter element (4).
4.
Clean the filter cap (5).
Installing the high-pressure filter
1.
Check the sealing rings (2) and (3) and
replace them if necessary.
2.
Fit a new filter element (4) in the filter
holder (1).
3.
Fit the filter cap (5). Tighten the filter cap to
the specified tightening torque, see
"Technical data".
4.
Top up the system, see chapter "Draining
and filling".
5.
Check the operation of the system.
6.
Check the high-pressure filter for leakage.
{
S7 00 688
1
2
3
4
5
Нет комментариевНе стесняйтесь поделиться с нами вашим ценным мнением.
Текст