Dodge Dakota (ND). Manual — part 1168
WATERSHIELD
REMOVAL
1. Disconnect and isolate the battery negative cable.
2. Remove the front door trim panel (Refer to 23 -
BODY/DOOR - FRONT/TRIM PANEL - REMOVAL).
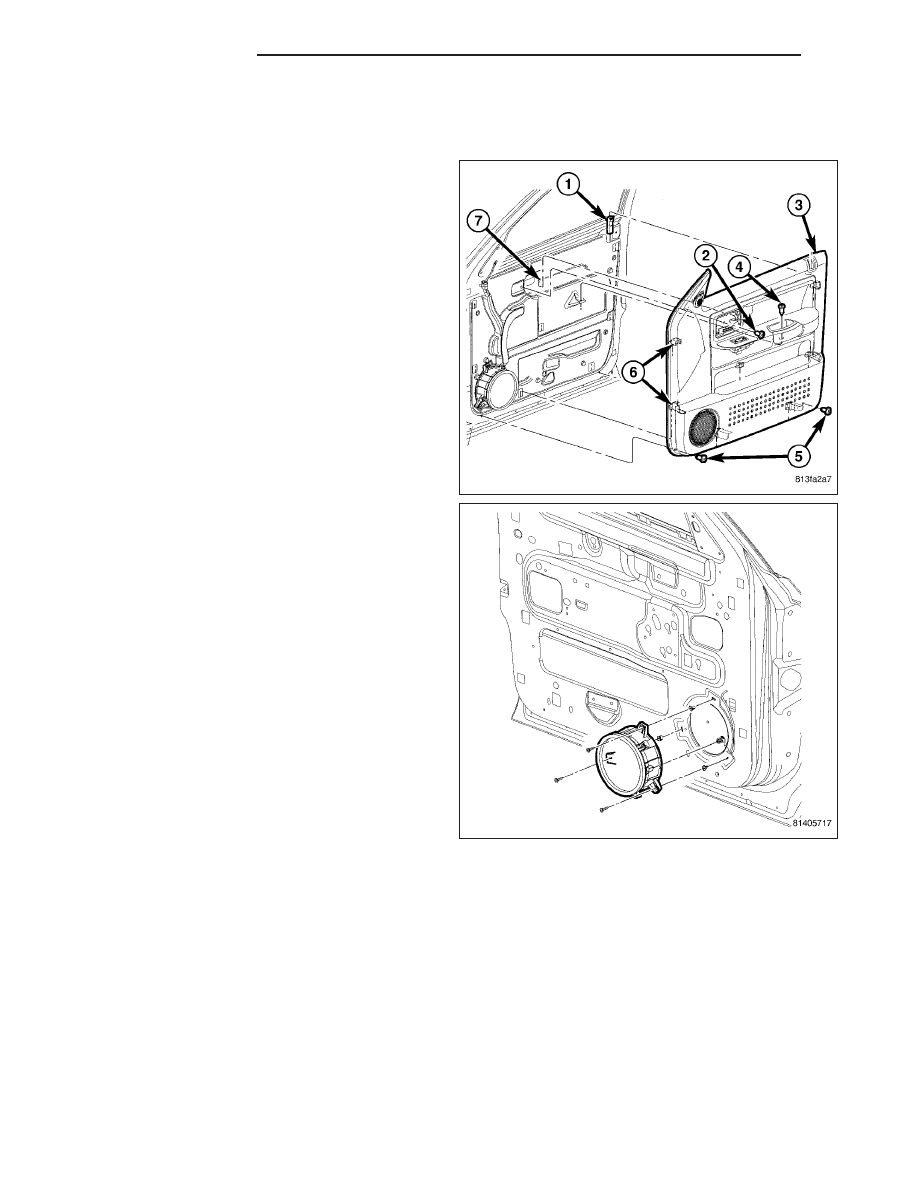
3. Remove the pull cup bracket bolts and bracket.
4. Remove the speaker mounting fasteners.
23 - 84
DOOR - FRONT
ND
5. Remove speaker and disconnect the electrical har-
ness connector.
CAUTION: Do not allow the watershield or adhe-
sive to become contaminated with dirt or other
foreign substances.
Do not damage the watershield during removal
and installation.
If the watershield becomes contaminated or dam-
aged, replace the watershield.
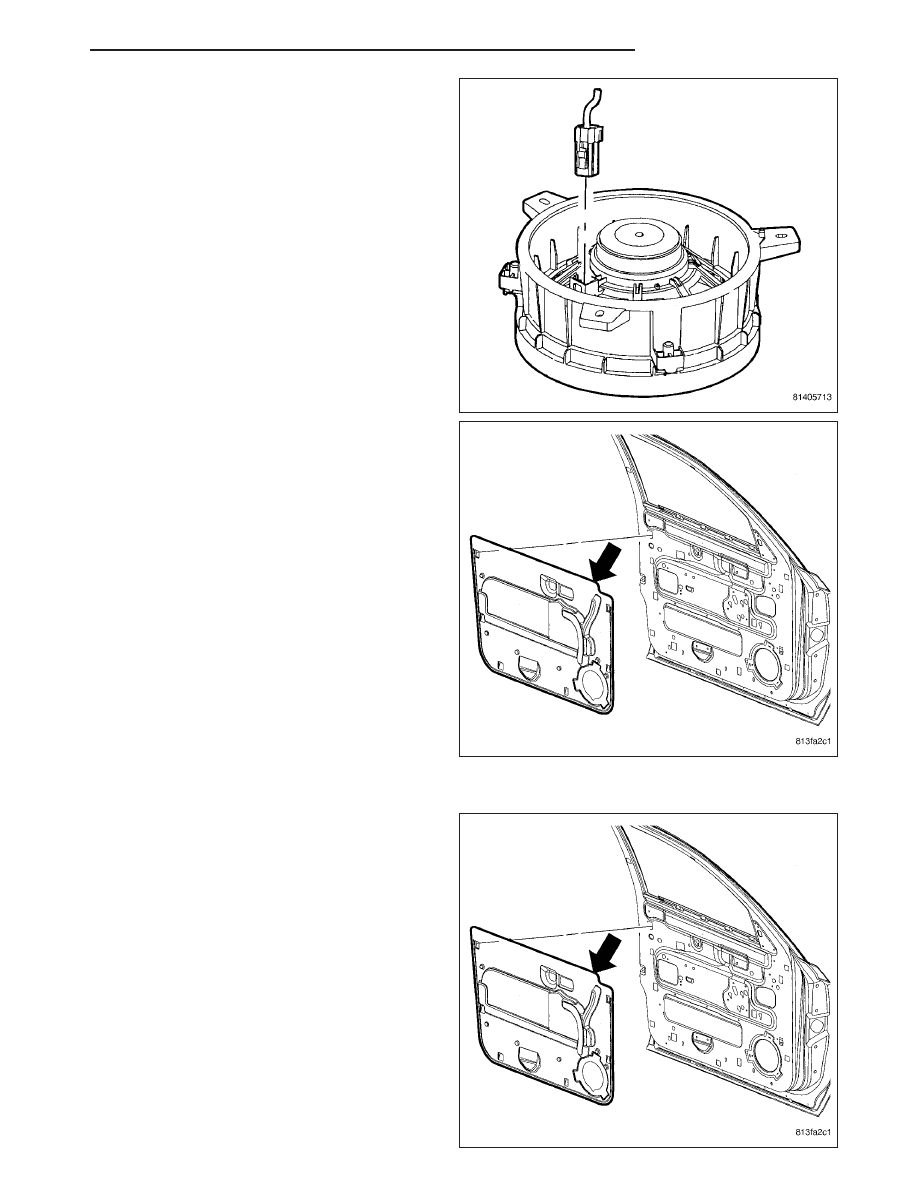
6. Carefully remove the watershield from around the
perimeter of the door.
7. Separate the watershield from the interior handle
actuator
rod
and
the
door
wire
harness
(if
equipped) and remove the watershield.
INSTALLATION
CAUTION: Do not allow the watershield or adhe-
sive to become contaminated with dirt or other
foreign substances.
Do not damage the watershield during removal
and installation.
If the watershield becomes contaminated or dam-
aged, replace the watershield.
1. Position
the
wire
harness
and
actuator
rods
through the holes in the watershield.
2. Secure the watershield to the inner door panel.
ND
DOOR - FRONT
23 - 85
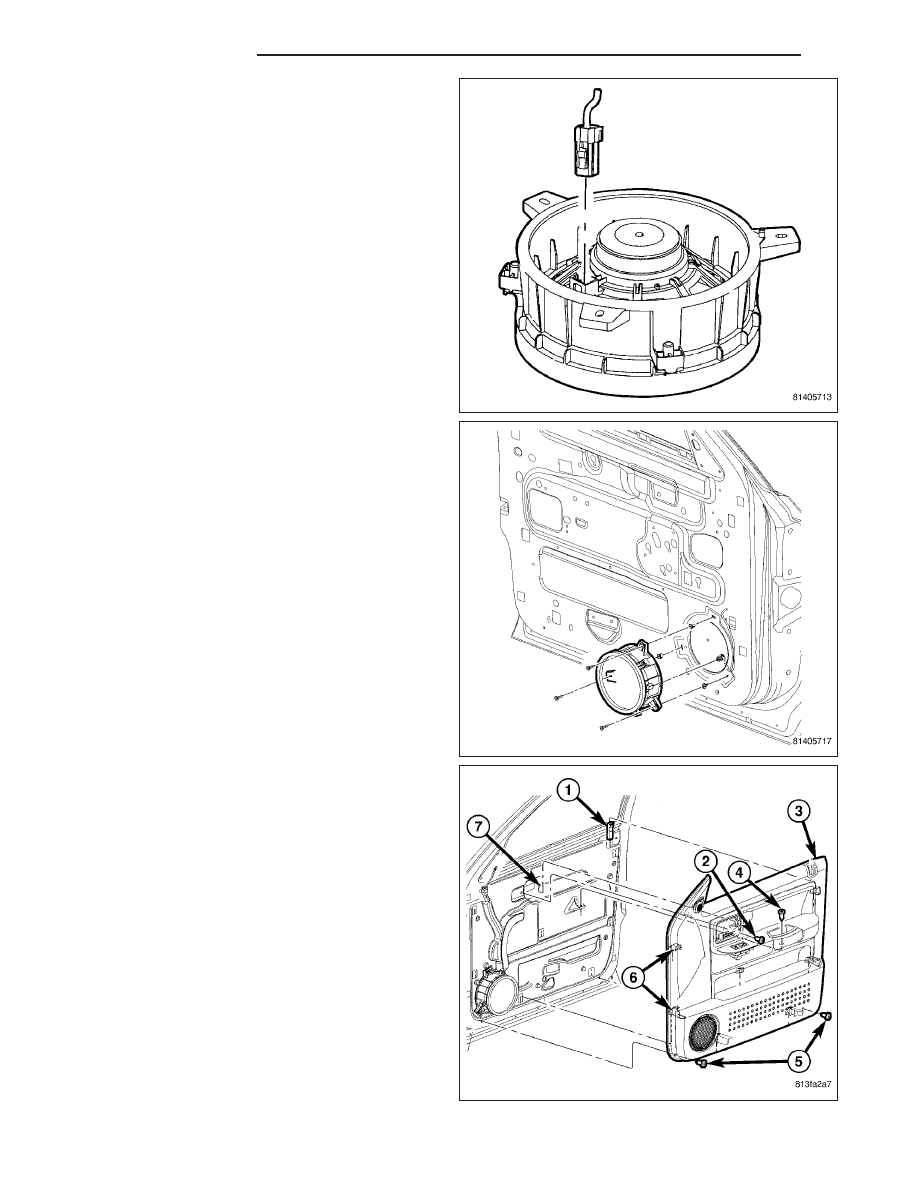
3. Connect electrical harness connector and position
speaker to door.
4. Install and tighten mounting fasteners.
5. Install the door pull cup bracket and install the
bolts.
6. Install door trim panel (Refer to 23 - BODY/DOOR
- FRONT/TRIM PANEL - INSTALLATION).
7. Connect battery negative cable.
23 - 86
DOOR - FRONT
ND
DOORS - REAR
TABLE OF CONTENTS
page
page
CHANNEL-GLASS
. . . . . . . . . . . . . . . . . . . . . . . . . . . . . 87
. . . . . . . . . . . . . . . . . . . . . . . . . 88
DOOR
. . . . . . . . . . . . . . . . . . . . . . . . . . . . . 89
. . . . . . . . . . . . . . . . . . . . . . . . . 90
. . . . . . . . . . . . . . . . . . . . . . . . 91
GLASS
. . . . . . . . . . . . . . . . . . . . . . . . . . . . . 96
. . . . . . . . . . . . . . . . . . . . . . . . . 97
HANDLE-EXTERIOR
. . . . . . . . . . . . . . . . . . . . . . . . . . . . . 98
. . . . . . . . . . . . . . . . . . . . . . . . . 99
HINGE
. . . . . . . . . . . . . . . . . . . . . . . . . . . . 100
. . . . . . . . . . . . . . . . . . . . . . . . 101
LATCH
. . . . . . . . . . . . . . . . . . . . . . . . . . . . 103
. . . . . . . . . . . . . . . . . . . . . . . . 104
PANEL-TRIM
. . . . . . . . . . . . . . . . . . . . . . . . . . . . 105
. . . . . . . . . . . . . . . . . . . . . . . . 106
REGULATOR-WINDOW - MANUAL
. . . . . . . . . . . . . . . . . . . . . . . . . . . . 107
. . . . . . . . . . . . . . . . . . . . . . . . 108
REGULATOR-WINDOW - POWER
. . . . . . . . . . . . . . . . . . . . . . . . . . . . 110
. . . . . . . . . . . . . . . . . . . . . . . . 112
STRIKER
. . . . . . . . . . . . . . . . . . . . . . . . . . . . 113
. . . . . . . . . . . . . . . . . . . . . . . . 114
. . . . . . . . . . . . . . . . . . . . . . . 115
WATERSHIELD
. . . . . . . . . . . . . . . . . . . . . . . . . . . . 115
. . . . . . . . . . . . . . . . . . . . . . . . 117
CHANNEL-GLASS
REMOVAL
1. Raise glass to the up position and remove the
watershield. (Refer to 23 - BODY/DOORS - REAR/
WATERSHIELD - REMOVAL)
ND
DOORS - REAR
23 - 87
Нет комментариевНе стесняйтесь поделиться с нами вашим ценным мнением.
Текст