Dodge Dakota (ND). Manual — part 1200
3. If equipped, install the shift boot (2), (Refer to 23 -
BODY/INTERIOR/SHIFT
BOOT-FLOOR
-
INSTALLATION).
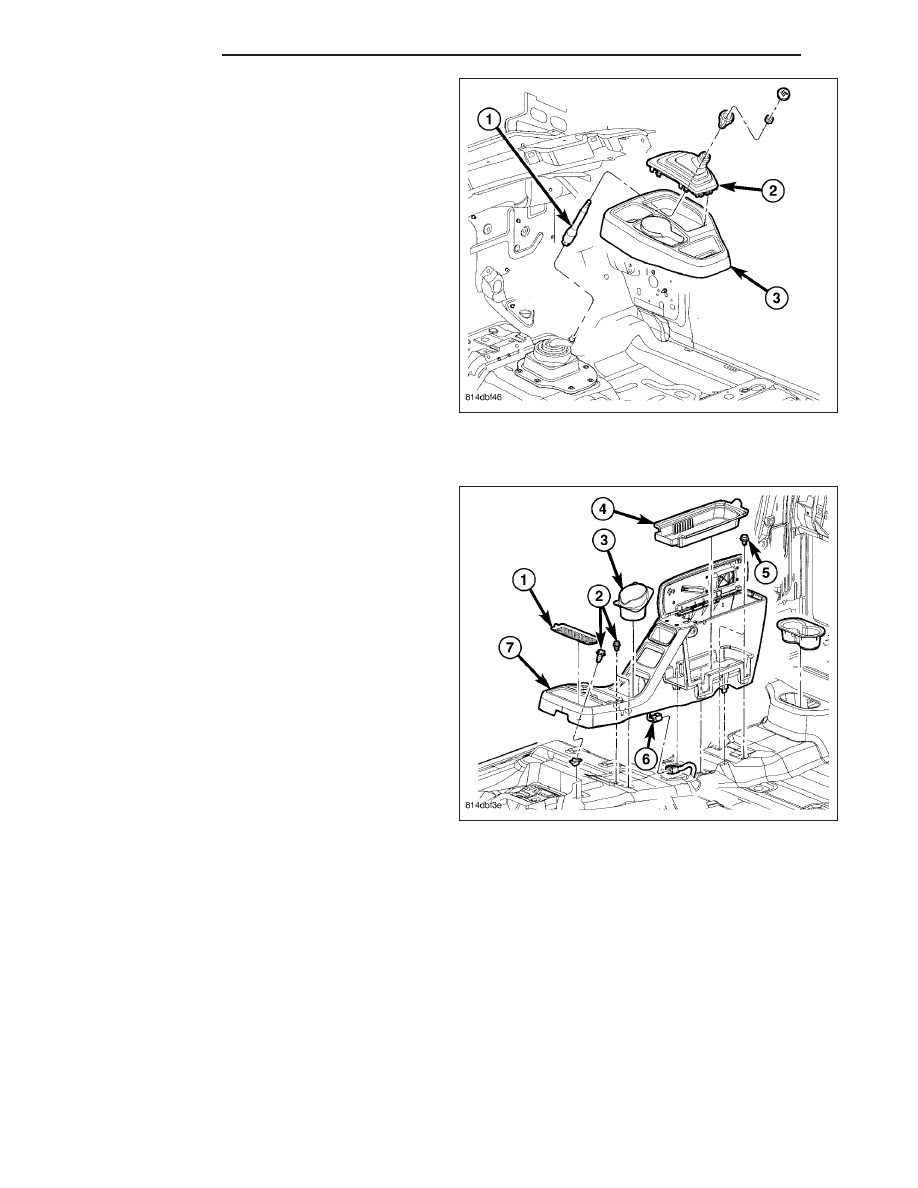
FULL FLOOR CONSOLE
1. Position the floor console (7) in the vehicle and
connect the console assembly wire harness con-
nector (6).
2. Position the floor console to the floor panel and
install the screws (2) (5) that secure the console to
the floor panel.
3. Install the rubber liner (1).
4. Install the cup holder (3).
5. Install the tray (4).
23 - 212
INTERIOR
ND
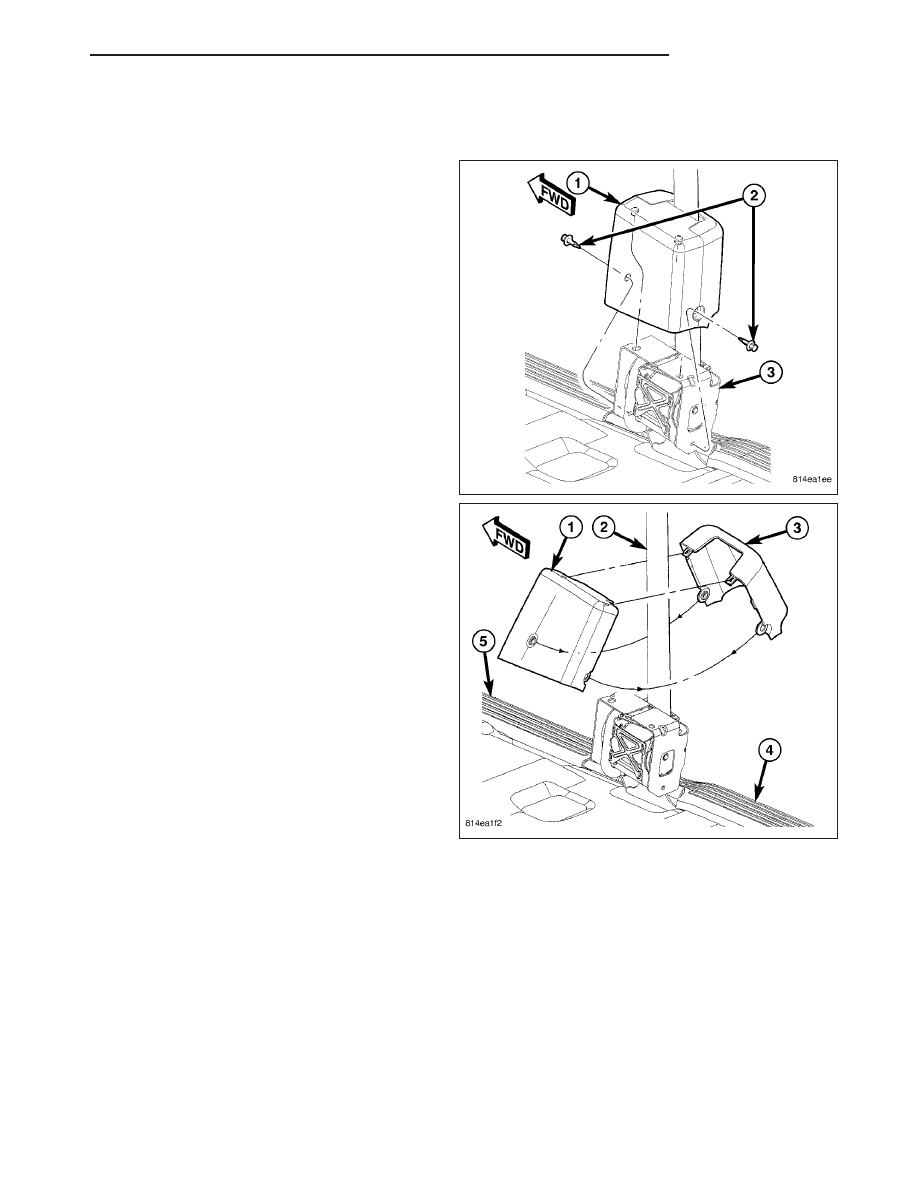
COVER-OUTER FRONT SEAT BELT RETRACTOR
REMOVAL
1. Remove the two plastic push-pin retainers (2) that
secure the outer front seat belt retractor cover (1)
to the outer front seat belt retractor (3).
2. Raise the retractor cover upward to disengage the
two locator pins on the inside top of the inboard
retractor cover from the locator holes in the top of
the retractor.
3. Spread the bottom of the inboard (1) and outboard
(3) retractor cover halves apart and disengage the
snaps located at the top of the cover halves and
remove the cover halves.
ND
INTERIOR
23 - 213
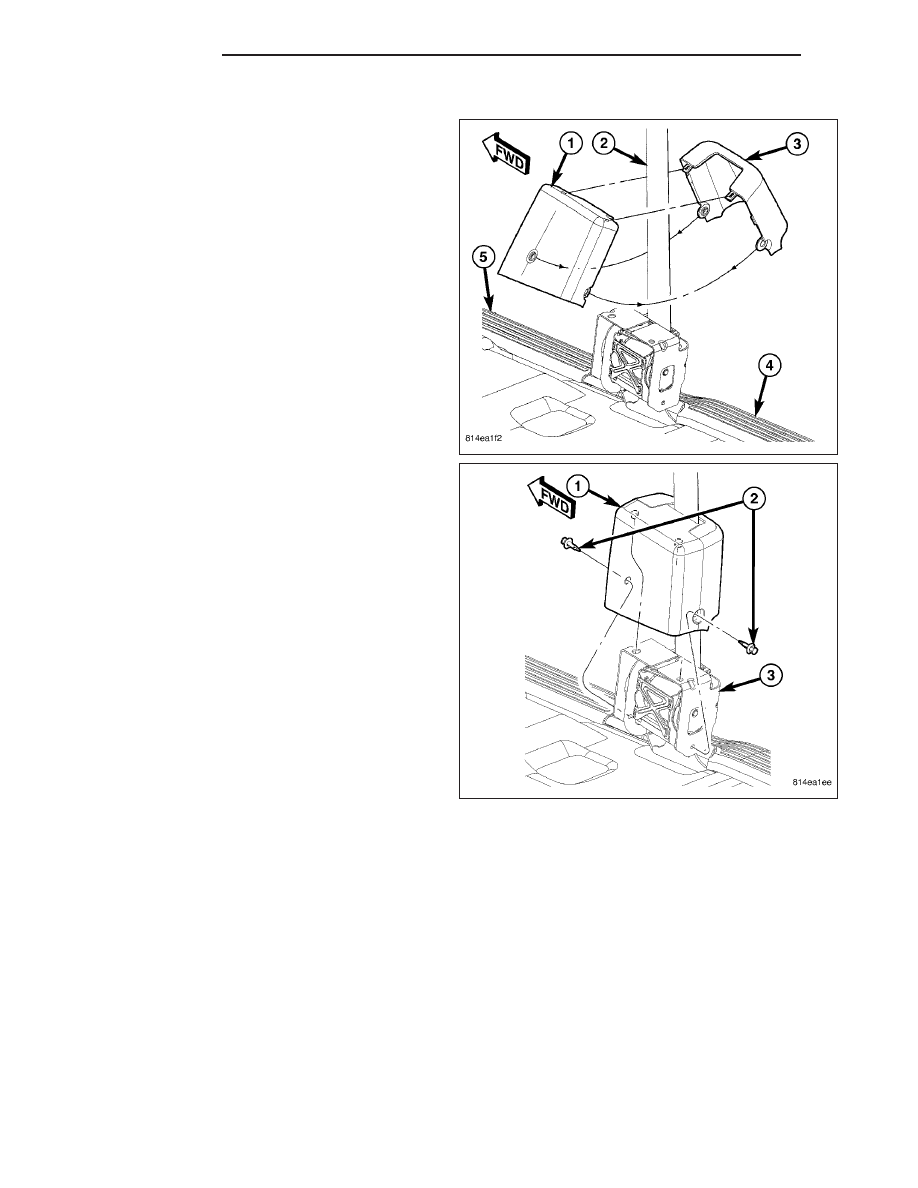
INSTALLATION
1. Position the inboard (1) and outboard (3) outer seat
belt retractor cover halves around the seat belt (2)
with the top of each half angled toward the other
and engage the snaps that secure the two halves
together. Then, close the cover around the seat
belt.
2. Using hand pressure, push the retractor cover (1)
downward over the retractor (3) far enough to
engage the two locator pins in the top of the
inboard cover half with the locator holes in the top
of the retractor.
3. Install the two plastic push-pin retainers (2) that
secure the retractor cover to the retractor.
HEADLINER
REMOVAL
Club Cab, Without Rear Jumper Seats
1. Pull the top of each door seal downward slightly.
23 - 214
INTERIOR
ND
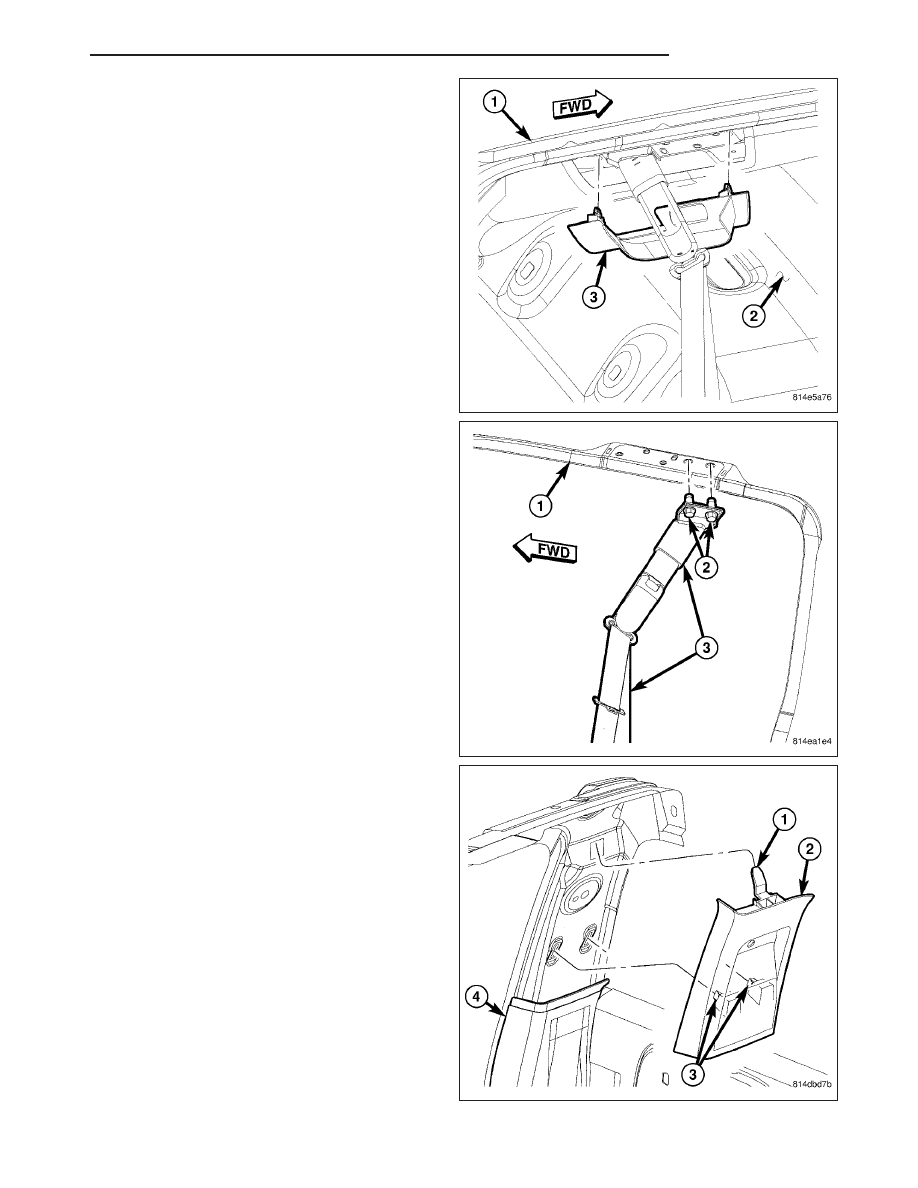
2. Remove the upper door striker trim covers (3) as
follows:
•
Using a trim stick or another suitable wide flat-
bladed tool, gently pry the edges of the upper
door striker trim cover (3) away from the head-
liner (2) far enough to disengage the two snap
clips that secure the cover to the upper roof rail
(1).
3. Determine which side of the vehicle the headliner
will be removed from and disconnect the seat belt
turning loop and height adjuster (3) from the upper
roof rail (1) on that side of the vehicle as follows:
•
Remove the two screws (2) that secure the seat
belt turning loop and height adjuster bracket (3)
to the upper roof rail (1) and position it aside.
4. Remove the upper C-pillar trim panels, (Refer to 23
-
BODY/INTERIOR/PANEL-C
PILLAR
UPPER
TRIM - REMOVAL).
ND
INTERIOR
23 - 215
Нет комментариевНе стесняйтесь поделиться с нами вашим ценным мнением.
Текст