Dodge Dakota (ND). Manual — part 1163
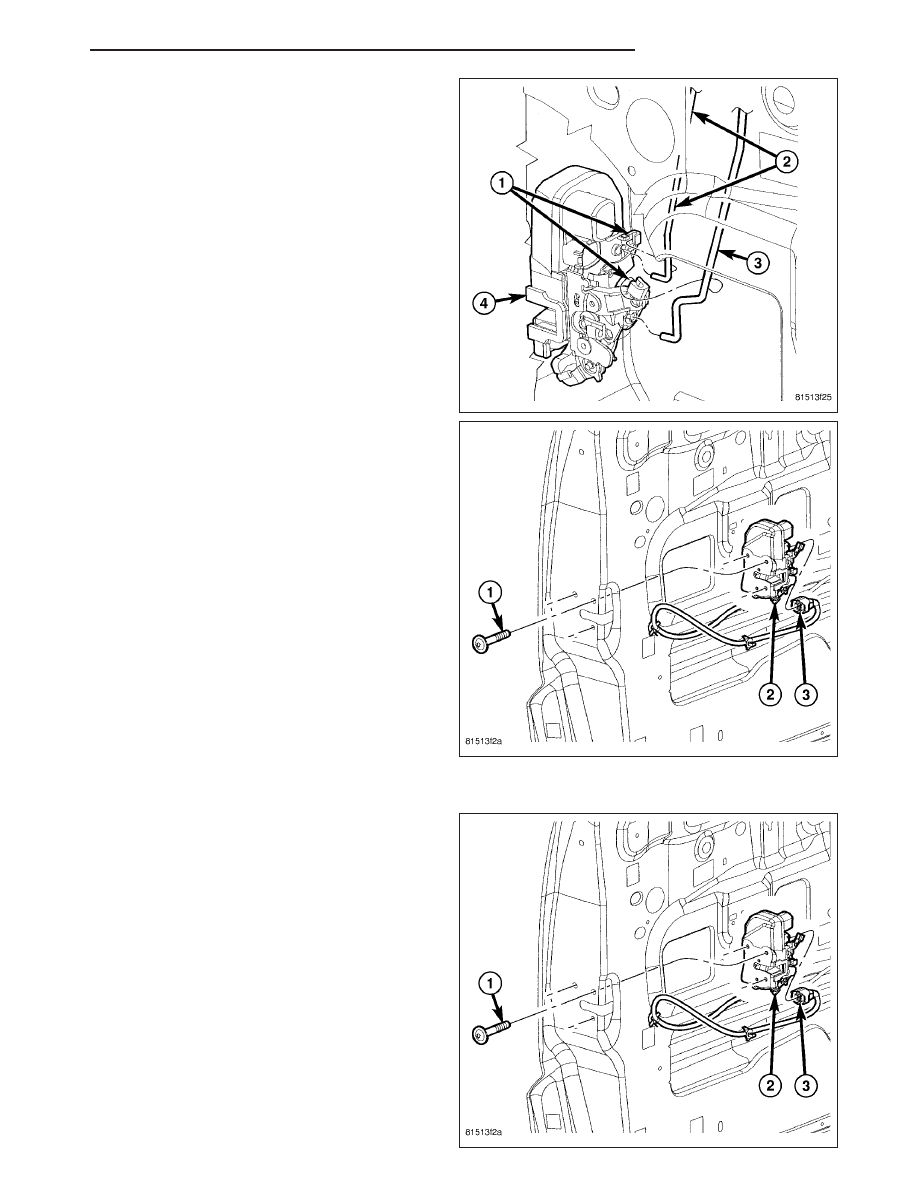
2. Install the links (2) into the clips on the handle.
3. Connect the electrical connector, if equipped, install
the nuts (3) and tighten to 4 N·m (38 in. lbs.).
4. Connect the outside handle (3) and lock cylinder
(2) links to the latch (4).
5. Install the watershield. (Refer to 23 - BODY/DOOR
- FRONT/WATERSHIELD - INSTALLATION) (Refer
to 23 - BODY/DOOR - FRONT/WATERSHIELD -
INSTALLATION)
6. Adjust the latch as needed. (Refer to 23 - BODY/
DOOR - FRONT/LATCH - ADJUSTMENTS)
23 - 64
DOOR - FRONT
ND
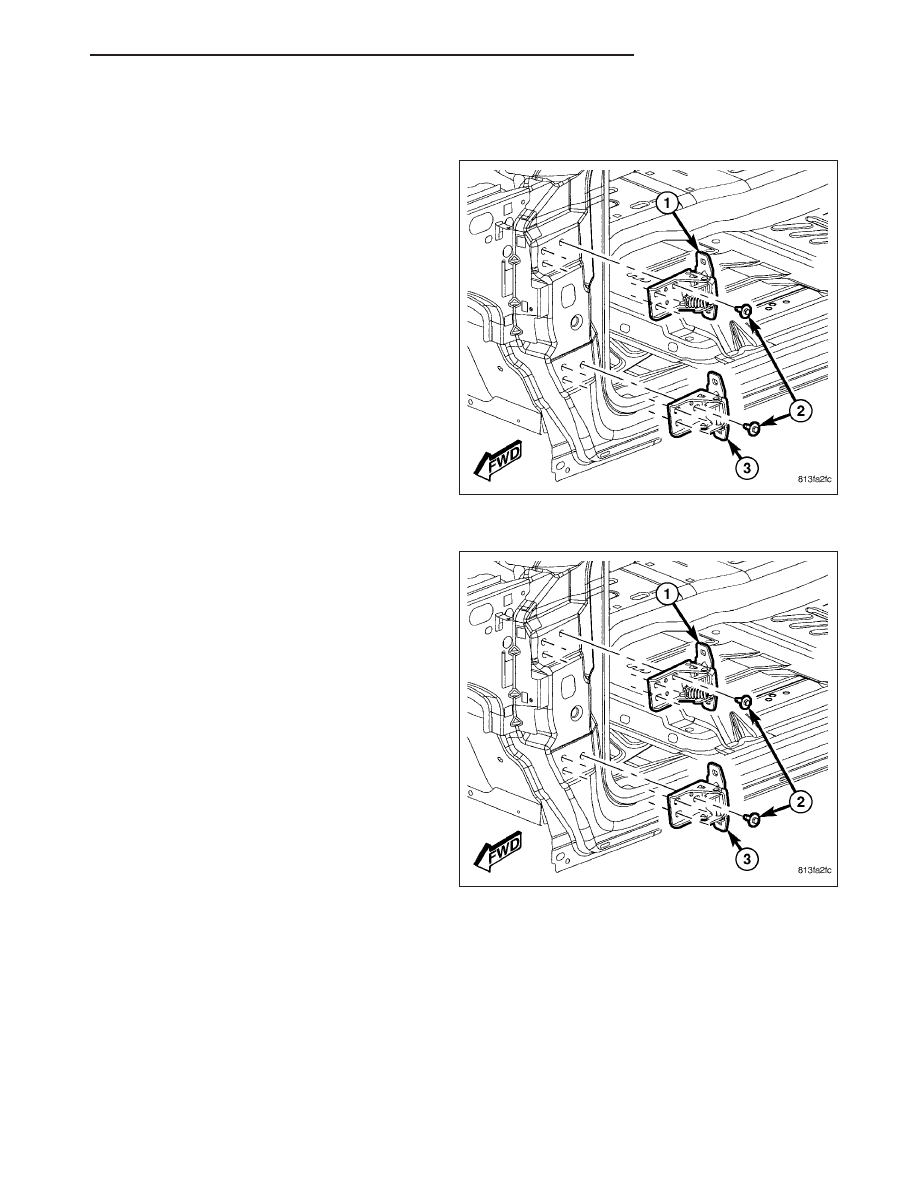
HINGE
REMOVAL
NOTE: A suitable body sealant should be used
when removing or moving the hinges.
1. Remove the door. (Refer to 23 - BODY/DOOR -
FRONT/DOOR - REMOVAL)
2. Using a grease pencil or equivalent, mark the out-
line of the door hinges on a-pillar end to aid instal-
lation.
3. Remove the bolts (2) and remove the hinge (2 or
4).
INSTALLATION
NOTE: A suitable body sealant should be used
when removing or moving the hinges.
1.
If necessary, paint replacement door hinge before
installation.
2. Position door hinge (1 or 2) on hinge pillar using
the marks made during removal and install the
bolts (2).
3. Tighten the bolts to 28 N·m (21 ft. lbs.).
4. Install the door. (Refer to 23 - BODY/DOOR -
FRONT/DOOR - INSTALLATION)
ND
DOOR - FRONT
23 - 65
LATCH
REMOVAL
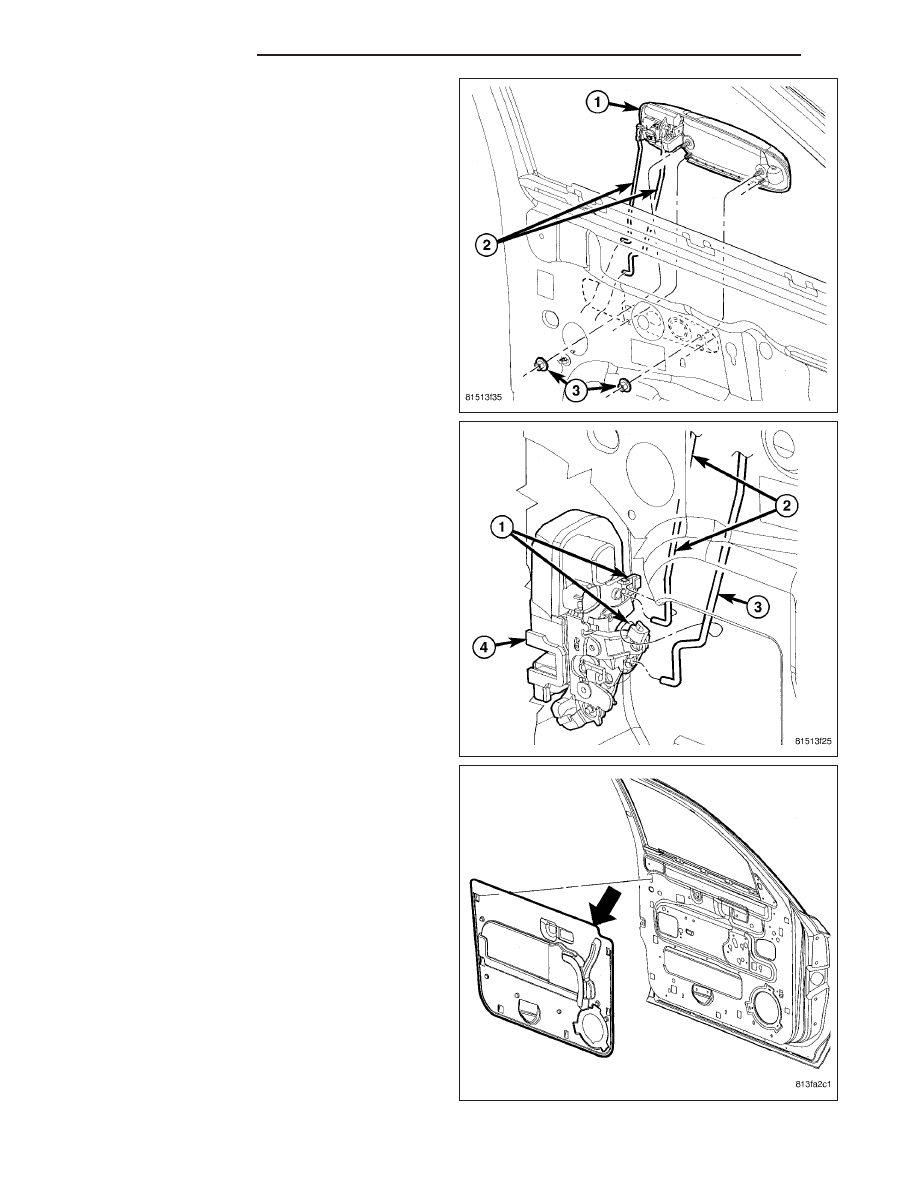
1. Remove the watershield. (Refer to 23 - BODY/
DOOR - FRONT/WATERSHIELD - REMOVAL)
2. Disconnect the lock knob (1) and inside handle(2)
links.
23 - 66
DOOR - FRONT
ND
3. Disconnect the lock cylinder (2) and exterior handle
(3) links.
4. Remove the latch screws (1).
5. Disconnect the electrical connector (3).
INSTALLATION
1. Install the latch (2) into the door.
2. Connect the electrical connectors (3).
3. Install the screws (1) and tighten to 10 N·m (85 in.
lbs.).
ND
DOOR - FRONT
23 - 67
Нет комментариевНе стесняйтесь поделиться с нами вашим ценным мнением.
Текст