Infiniti FX35, FX50 (S51). Manual — part 1641
SE-84
< REMOVAL AND INSTALLATION >
FRONT SEAT
Removal and Installation
INFOID:0000000005236657
REMOVAL
CAUTION:
When removing and installing, use shop cloths to protect parts from damage.
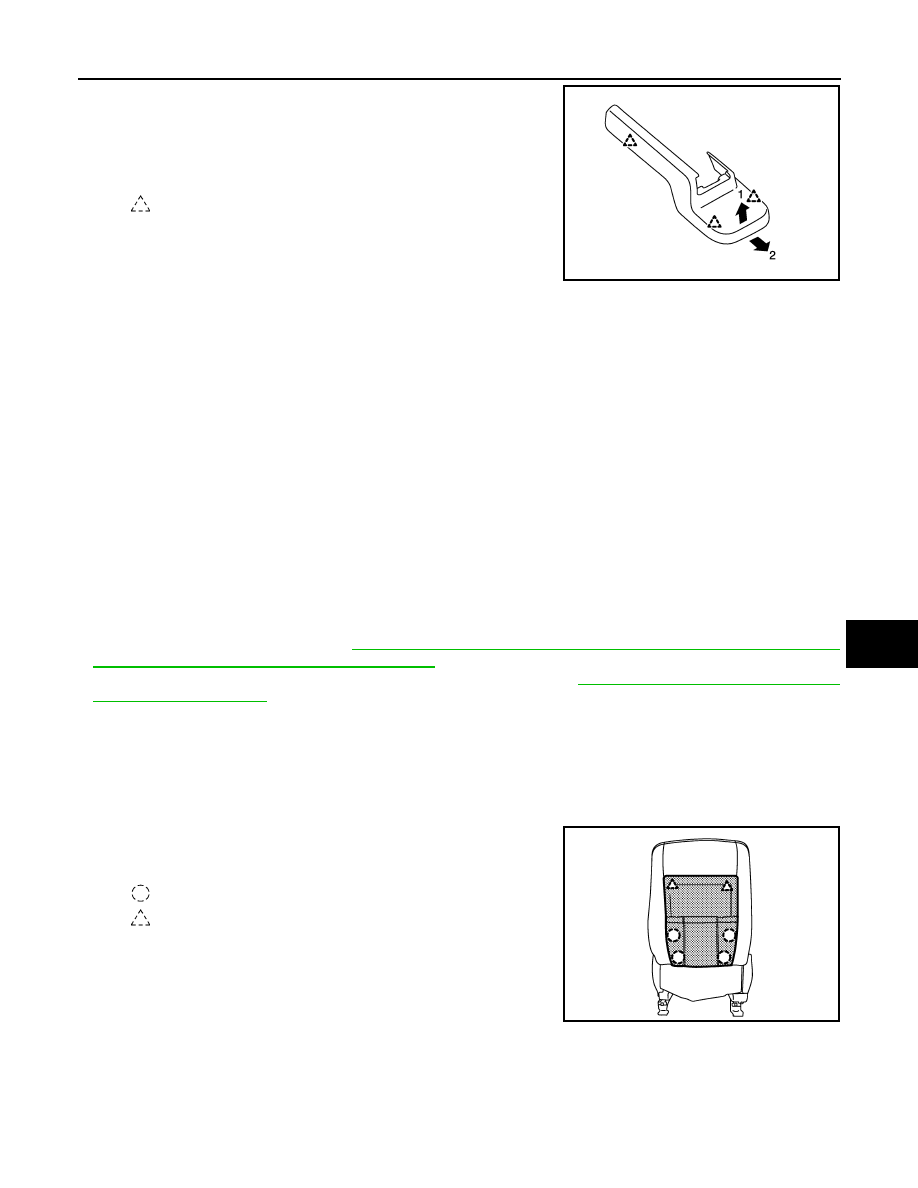
1.
Remove the headrest.
2.
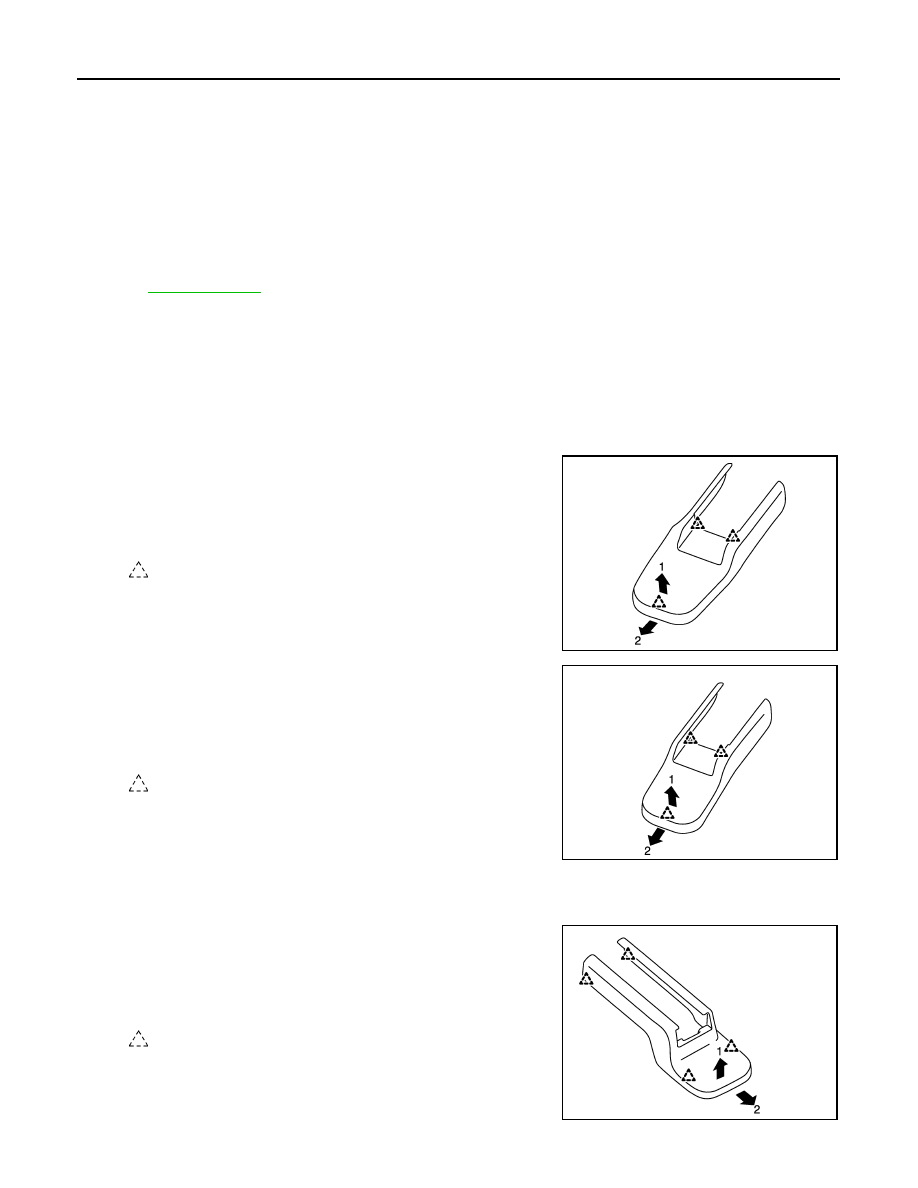
Remove the front slide cover.
a.
Front outer slide cover
• Slide the seat to the rear-most position.
• Pull up the front edge of the front outer slide cover to release
the pawls.
• Slide the front outer slide cover forward to release the pawls.
b.
Front inner slide cover
• Slide the seat to the rear-most position.
• Pull up the front edge of the front inner slide cover to release
the pawls.
• Slide the front inner slide cover forward to release the pawls.
3.
Remove the mounting bolts on the front side of the front seat.
4.
Remove the rear slide cover.
a.
Rear outer slide cover
• Slide the seat to the front-most position.
• Pull up the rear edge of the rear outer slide cover to release
the pawls.
• Slide the rear outer slide cover to release the pawls.
22. Seat cushion outer lower finisher
(inside)
23. Front outer slide cover
24. Seat cushion front finisher
25. Front inner slide cover
26. Seat cushion pad (front)
27. Seat cushion inner lower finisher
28. Seat cushion inner finisher inside
(rear)
29. Seat cushion inner finisher inside
(front)
30. Seat cushion inner finisher outside
31. Seat belt buckle
32. Seat cushion pad
33. Seat cushion trim
34. Seatback pad
35. Seatback trim
36. Headrest holder (locked)
37. Headrest holder (free)
38. Headrest
39. Seatback silencer
40. Seatback frame
41. Rear inner slide cover
42. Rear outer slide cover
43. Seat cushion frame
Refer to
for symbols in the figure.
: Pawl
JMJIA2020ZZ
: Pawl
JMJIA2021ZZ
: Pawl
JMJIA2022ZZ
FRONT SEAT
SE-85
< REMOVAL AND INSTALLATION >
C
D
E
F
G
H
I
K
L
M
A
B
SE
N
O
P
b.
Rear inner slide cover
• Slide the seat to the front-most position.
• Pull up the rear edge of the rear inner slide cover to release
the pawls.
• Slide the rear inner slide cover rearward to release the pawls.
5.
Remove the mounting bolts on the rear side of the front seat.
6.
Set seatback in a standing position.
7.
Disconnect harness connector under the seat and remove harness securing clips.
CAUTION:
Before removal, turn ignition switch OFF, disconnect battery negative terminal and then wait for at
least 3 minutes.
8.
Remove seat from the vehicle.
CAUTION:
• When removing and installing, use shop cloths to protect parts from damage.
• When removing and installing, 2 workers are required so as to prevent it from dropping.
INSTALLATION
Install in the reverse order of removal.
CAUTION:
• Before installation, turn ignition switch OFF, disconnect battery negative terminal and then wait for
at least 3 minutes.
• Clamp the harness in position.
NOTE:
• After installing the front seat, perform additional service when removing battery negative terminal (automatic
drive positioner model only). Refer to
ADP-8, "ADDITIONAL SERVICE WHEN REMOVING BATTERY NEG-
ATIVE TERMINAL : Special Repair Requirement"
• After installing the passenger seat, perform zero point reset. Refer to
SRC-8, "ZERO POINT RESET : Spe-
Disassembly and Assembly
INFOID:0000000005236658
SEATBACK
Disassembly
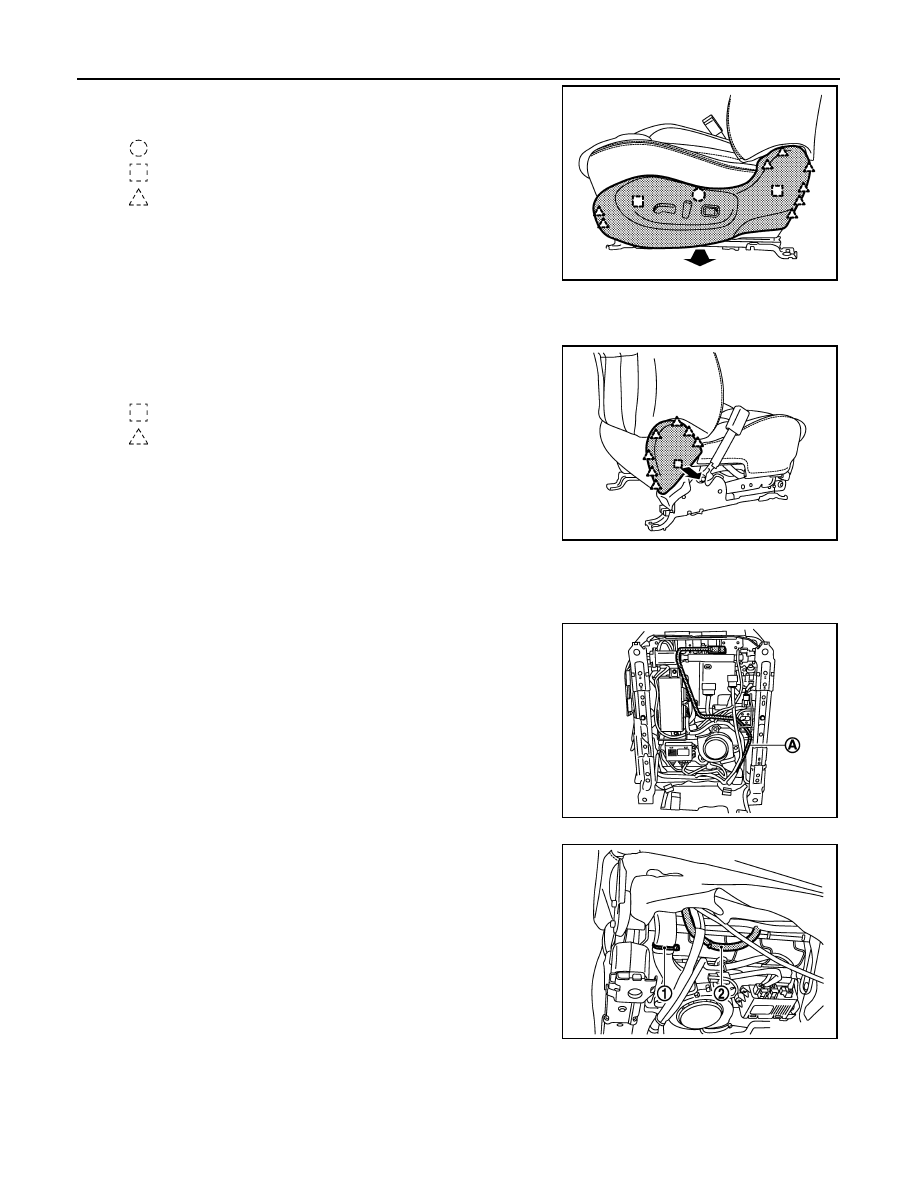
1.
Remove the seatback board.
• Remove the clips, and then pull out seatback board.
• Pull down the seatback board to release the upper pawls.
2.
Remove the seat cushion outer finisher.
: Pawl
JMJIA2023ZZ
: Clip
: Pawl
JMJIA2024ZZ
SE-86
< REMOVAL AND INSTALLATION >
FRONT SEAT
• Remove the clip, metal clips and pawls, and then pull out seat
cushion outer finisher.
• Remove the connector clamps, and then disconnect harness
connectors.
3.
Remove the seat cushion outer finisher inside (front and rear).
4.
Remove the seat cushion inner finisher.
Remove the metal clip and pawls, and then pull out seat cushion
inner finisher.
5.
Remove the seat cushion inner finisher inside (front and rear).
6.
Remove the seatback trim retainer and seatback trim band from seat cushion frame.
7.
Remove the seatback assembly.
• Remove the side air bag module harness (A).
• Cut the seatback duct band (1) of seat cushion under side.
• Disconnect the side support air hose joint (2).
: Clip
: Metal clip
: Pawl
JMJIA2025ZZ
: Metal clip
: Pawl
JMJIA2026ZZ
JMJIA2027ZZ
JMJIA2028ZZ

FRONT SEAT
SE-87
< REMOVAL AND INSTALLATION >
C
D
E
F
G
H
I
K
L
M
A
B
SE
N
O
P
• Disconnect the reclining motor harness connector (B).
• Disconnect the lumbar support unit harness connector (C).
• Disconnect the side support unit harness connector (D).
• Disconnect the seatback thermal electric device (TED) har-
ness connector (E).
• Pull out harness from the seatback trim and seat cushion trim.
• Remove the seatback assembly mounting bolts (F).
8.
Remove the seatback trim and seatback pad.
• Remove the headrest holder.
CAUTION:
Before installing headrest holder check its orientation.
(front/rear and right/left)
• Remove the side air bag module mounting nuts (A).
• Remove the seatback trim and seatback pad from the seatback frame.
• Remove the side air bag module.
• Remove the hog rings, and separate the seatback trim and seatback pad.
9.
Remove the seatback silencer.
10. Remove the seatback side support bag and unit. (Side support model only.)
JMJIA2029ZZ
JMJIA2030ZZ
PIIB8351J
JMJIA2033ZZ
Нет комментариевНе стесняйтесь поделиться с нами вашим ценным мнением.
Текст