Isuzu D-Max / Isuzu Rodeo (TFR/TFS). Manual — part 664
7A1 – 156 AUTOMATIC TRANSMISSION (4L30-E)
INSTALLATION
To install, follow the removal steps in the reverse order,
noting the following points;
5.
Solenoids
Install 1shift solenoid A, shift solenoid B, band control
solenoid with new gaskets to main case valve body
respectively.
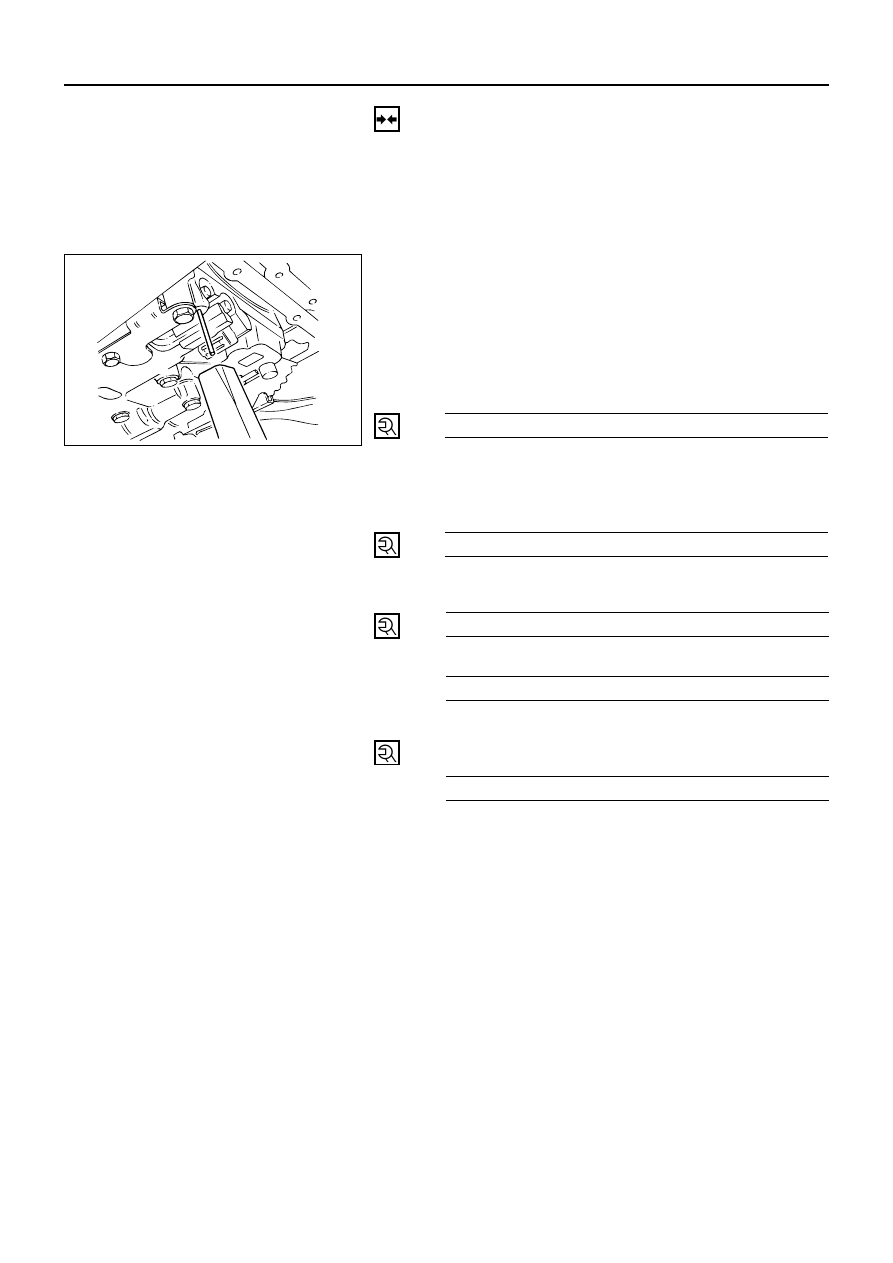
4.
Spring Pin
Carefully install spring pin with hammer to avoid
damage to valve body etc.
3.
Wiring Harness
Connect wiring harness to solenoids.
2.
Oil Filter
Install oil filter with new gasket, three 13 mm screws.
Oil Filter Bolt Torque
N·m (kg·m / lb·ft)
20 (2.0 / 15)
1.
Main Case Oil Pan
Install magnet, main case oil pan with new gasket,
sixteen 10 mm screws
Main Case Oil Pan Bolt Torque
N·m (kg·cm / lb·in)
11 (110 / 96)
•
Install third crossmember and rear mount nuts.
Rear Mount Nut Torque
N·m (kg·m / lb·ft)
41 (4.2 / 30)
Third Crossmember Bolt Torque
N·m (kg·m / lb·ft)
50 (5.1 / 37)
•
Install exhaust pipe and connect oxygen sensor
connector.
Exhaust Pipe Flange Bolt Torque
N·m (kg·m / lb·ft)
43 (4.4 / 32)
•
Refill the transmission with new ATF DEXRON
-III.
Refer to “SERVICING” of the SERVICE
INFORMATION (Section 00).
•
Connect negative (–) battery cable.
243RW004
AUTOMATIC TRANSMISSION (4L30-E) 7A1 – 157
SOLENOID VALVE
(ADAPTER CASE VALVE BODY)
REMOVAL
Preparation:
•
Disconnect negative (–) battery cable.
•
Drain fluid.
Refer to “SERVICING” of the SERVICE
INFORMATION (Section 00).
•
Remove exhaust pipe and disconnect oxygen
sensor connector.
1.
Adapter Case Oil Pan
Remove twelve 10 mm screws, adapter case oil pan,
and gasket.
2.
Wiring Harness
Disconnect wiring harness from force motor solenoid,
converter clutch solenoid. Pull only on connectors,
not on wiring harness.
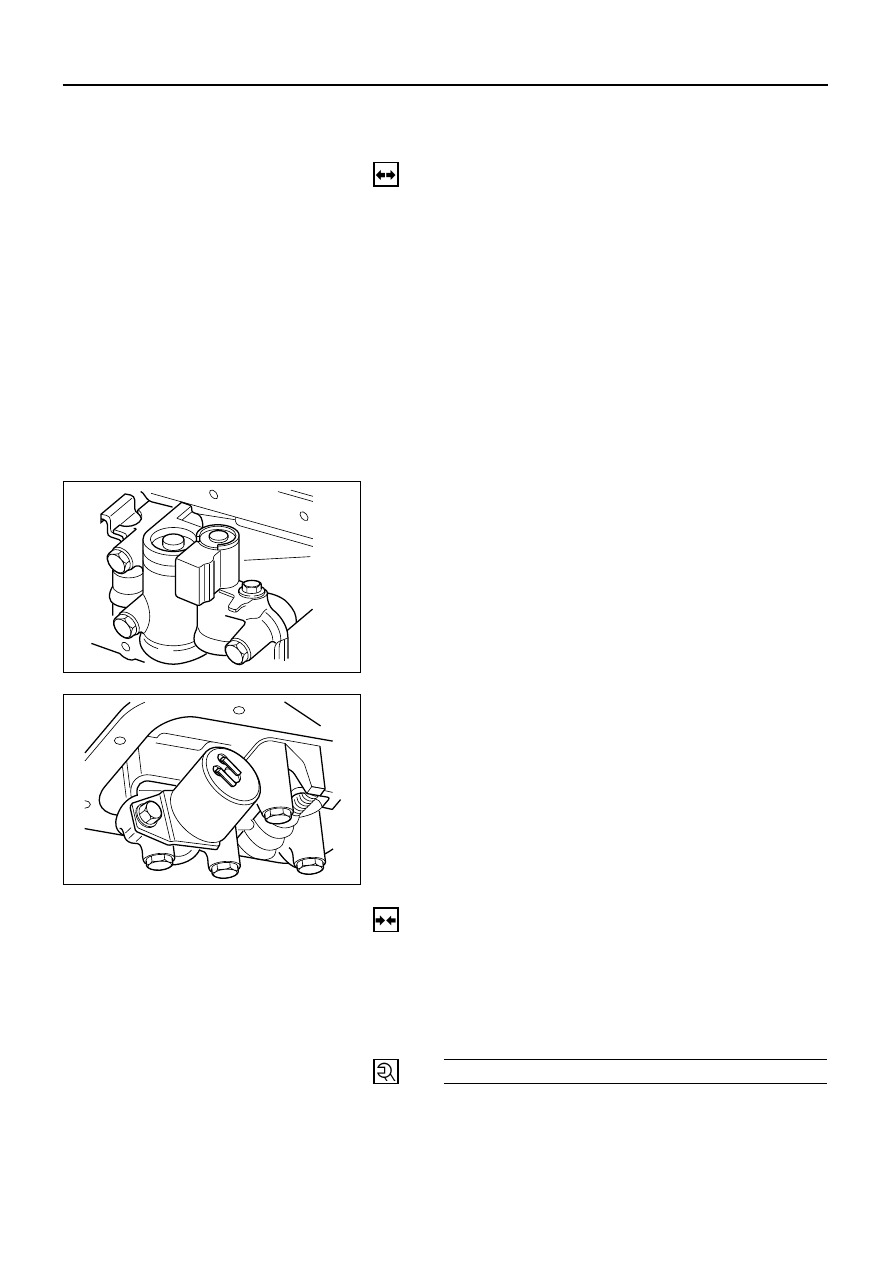
3.
Solenoid
•
Remove 11 mm bolt and converter clutch solenoid
with two O-rings.
•
Remove 11 mm bolt, retainer, and force motor
solenoid.
INSTALLATION
To install, follow the removal steps in the reverse order,
noting the following points;
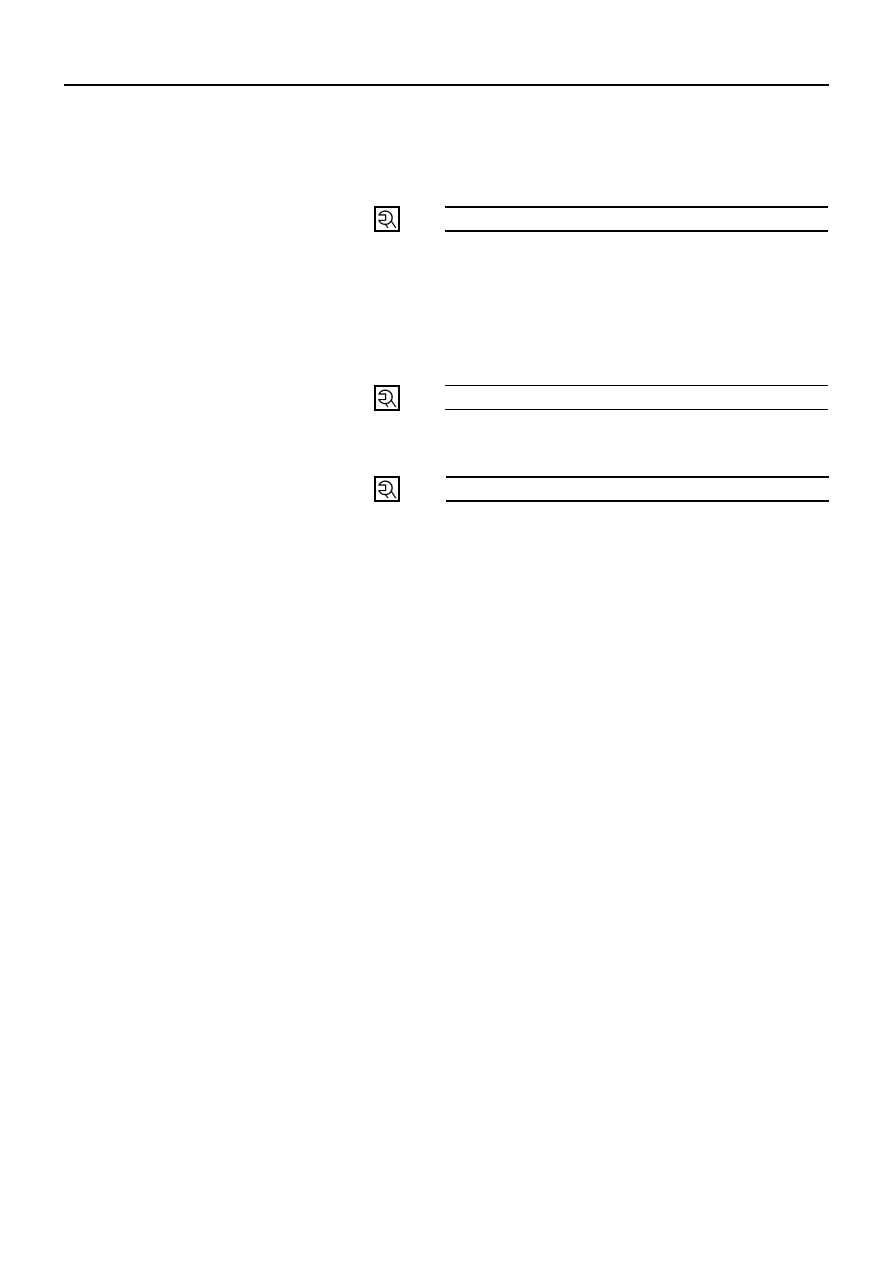
3.
Solenoids
1) Install force motor solenoid, retainer, and 11 mm
bolt to adapter case valve body.
Retainer Bolt Torque
N·m (kg·cm / lb·in)
10 (100 / 87)
210RW011
210RW009
7A1 – 158 AUTOMATIC TRANSMISSION (4L30-E)
2) Install converter clutch solenoid with two O-rings.
3) Tighten 11 mm converter clutch solenoid bolt to
adapter case valve body.
Converter Clutch Solenoid
Bolt Torque
N·m (kg·cm / lb·in)
10 (100 / 87)
2. Wiring Harness
Connect wiring harness assembly to solenoids.
1. Adapter Case Oil Pan
Install adapter case oil pan, new gasket, and twelve
10 mm screws.
Adapter Case Oil Pan
Bolt Torque
N·m (kg·cm / lb·in)
11 (110 / 96)
•
Install exhaust pipe and connect oxygen sensor
connector.
Exhaust Pipe Flange Bolt Torque
N·m (kg·m / lb·ft)
43 (4.4 / 32)
•
Refill the transmission with new ATF DEXRON
-III.
Refer to “SERVICING” of the SERVICE
INFORMATION (Section 00).
•
Connect negative (–) battery cable.

AUTOMATIC TRANSMISSION (4L30-E) 7A1 – 159
UNIT REPAIR
TRANSMISSION (4L30-E)
2. O-ring
1. Torque converter
3. Mode switch
and transmission
harness
6. Adapter case
valve body
5. Wiring harness
4. Adapter case
oil pan
8. Oil filter
7. Main case oil pan
12.Main
case
valve
body
9. Manual detent
11. Servo cover
10. Wiring harness
240LW003
Нет комментариевНе стесняйтесь поделиться с нами вашим ценным мнением.
Текст