Isuzu KB P190. Manual — part 83
3C-12 FRONT SUSPENSION
4. Install link nut, then tighten it to the specified
torque.
Torque: 50 N
⋅⋅⋅⋅m (5.1 kgf⋅⋅⋅⋅m/37 lb⋅ft)
5. Tighten the cam bolt and lower control arm nut,
setting it to the interim torque, then turn the cam
bolt to the setting mark applied during
disassembly.
6. Install ball joint nut, then tighten it to the specified
torque with just enough additional torque to align
cotter pin holes. Install new cotter pin.
Torque: 147 N
⋅⋅⋅⋅m (15.0 kgf⋅⋅⋅⋅m/108 lb⋅ft)
NOTE: Check the trim height. Refer to Front Alignment
Inspection and Adjustment.
7. Lower control arm nut tightens it to the specified
torque.
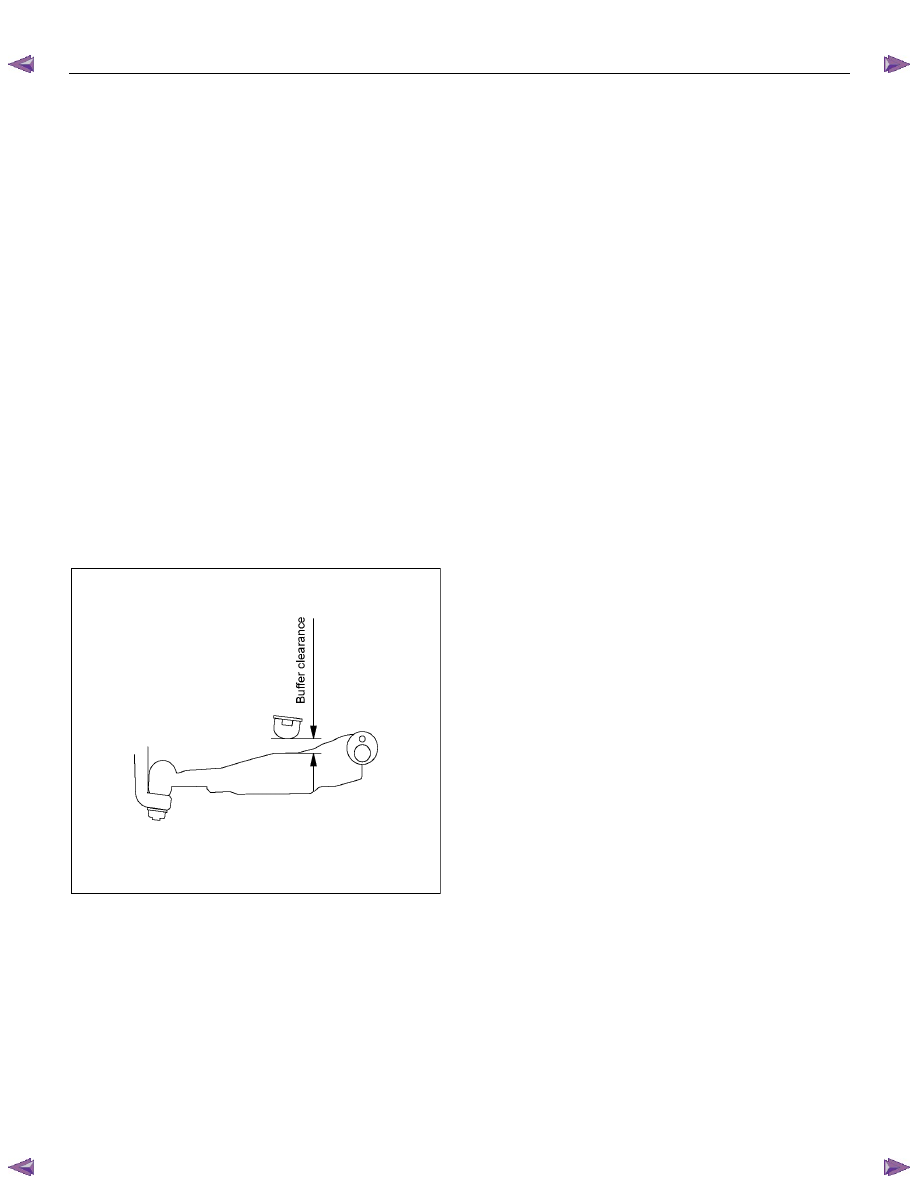
Buffer clearance: 25.9 mm (1.02 in)
Torque: 186 N
⋅⋅⋅⋅m (19.0 kgf⋅⋅⋅⋅m/137 lb⋅ft)
NOTE: Apply oil to the thread.
NOTE: Tighten the bolt and nut with the parts in the
position shown in the illustration below.
RTW53ASH000201
8. Install wheel and tire assembly. Refer to wheel in
this section.
FRONT SUSPENSION 3C-13
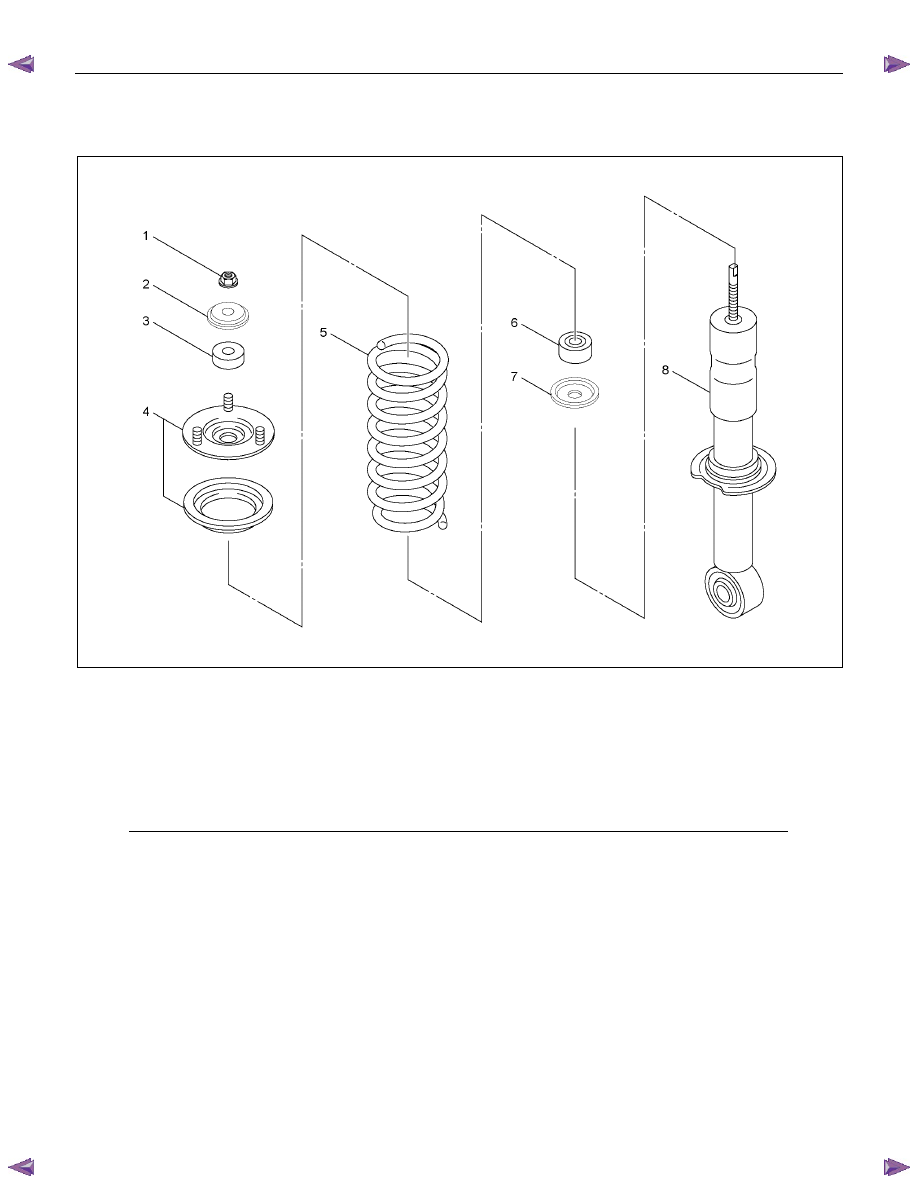
Shock Absorber with Coil Spring
RTW340LF002101
Legend
1. Nut
2.
Washer
3. Bushing; Rubber
4. Mounting Bracket
5. Coil Spring
6. Bushing; Rubber
7. Washer
8. Shock Absorber ASM
3C-14 FRONT SUSPENSION
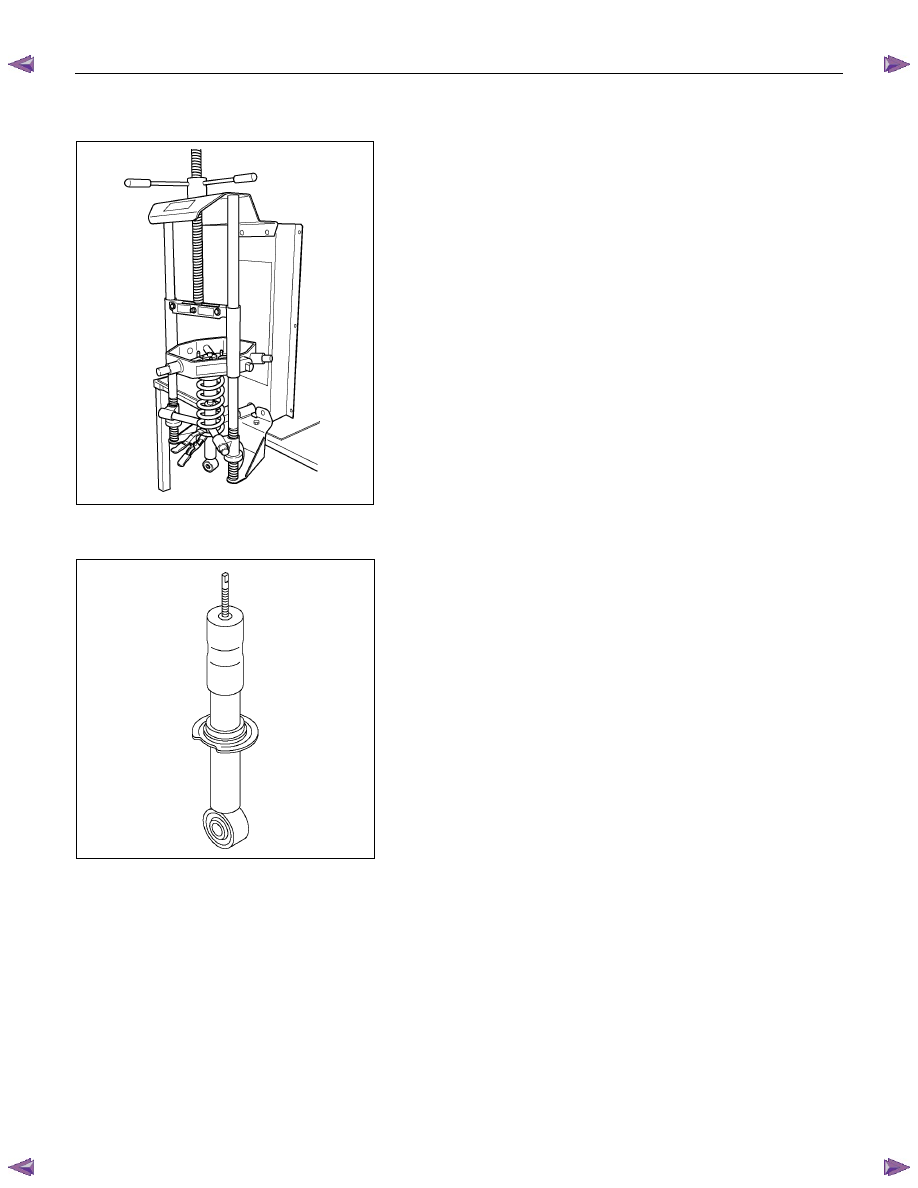
Disassembly
RTW73CMH000101
1. Install the shock absorber assembly on the strut spring
compressor (5-8840-2842-0).
For the details of the actual operation, follow the steps the
strut spring compressor manufacturer’s instructions.
2. Remove the nut with spring in place.
CAUTION:
Take care not to apply excessive force to the nut during
removal.
CAUTION:
The shock absorbers have been charged with gas at the
factory. Exposure to high temperatures or an open flame
can result in a dangerous explosion.
Keep the shock absorbers away from high temperatures
and open flames.
INSPECTION AND REPAIR
Make all necessary adjustments, repairs, and part replacements if wear, damage, or other problems are discovered
during inspections.
Visual Check
Inspect the following parts for wear, damage or other abnormal
conditions.
• Shock
absorber
• Rubber
bushing
• Coil
spring
FRONT SUSPENSION 3C-15
Reassembly
1. Reassemble the parts inside the strut spring compressor.
2. When tightening the drive screw shaft, compress the spring
so that it does not apply pressure to the spring seat.
3. Install the nut, and then tighten to the specified torque.
Torque: 25 N
⋅⋅⋅⋅m (2.5 kgf⋅⋅⋅⋅m/18 lb⋅⋅⋅⋅ft)
Нет комментариевНе стесняйтесь поделиться с нами вашим ценным мнением.
Текст