Jaguar XJ (X350). Manual — part 67
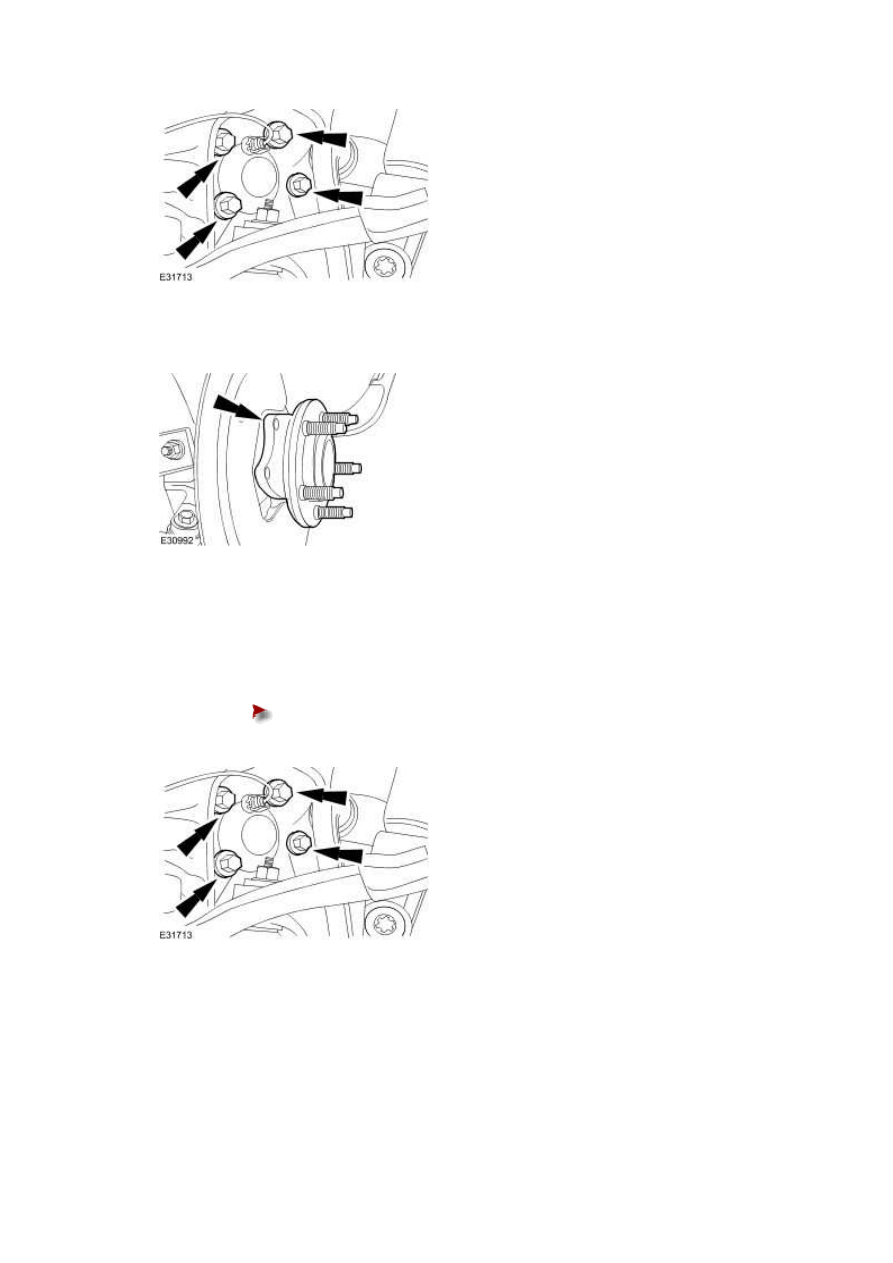
5 . Remove the wheel bearing and wheel hub.
Installation
1 . To install, reverse the removal procedure.
Tighten to 90 Nm.
Wheel Knuckle (60.25.23)
Special Service Tools
Ball Joint Splitter
204-327
Removal
1
.
Remove the brake disc shield.
For additional information, refer to
Brake Disc Shield - Vehicles With: Standard Brakes
(70.10.18)
For additional information, refer to
Brake Disc Shield - Vehicles With: High Performance
Brakes (70.10.18)
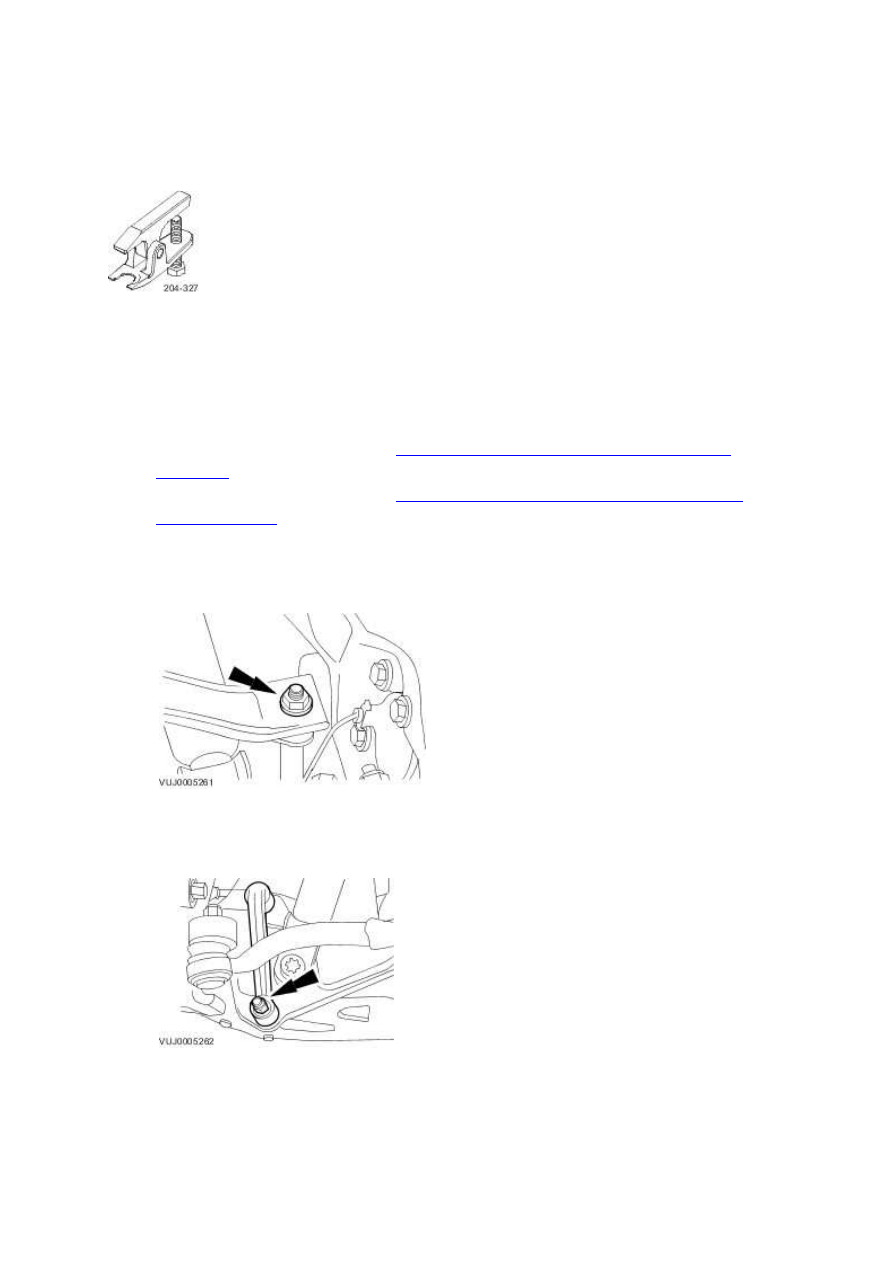
2 . Remove the stabilizer bar link retaining nut.
3 . Remove the stabilizer bar link.
www.
4
.
CAUTION: Prevent the tie-rod end ball joint ball pin hexagon from rotating. Failure
to do so may result in damage to the tie-rod end ball joint boot.
Detach the tie-rod end.
5
.
CAUTION: Prevent the upper ball joint ball pin hexagon from rotating. Failure to do
so may result in damage to the upper ball joint boot.
CAUTION: Make sure the wheel knuckle is supported. Failure to follow these
instructions may result in damage to the component.
Detach the upper arm.
6
.
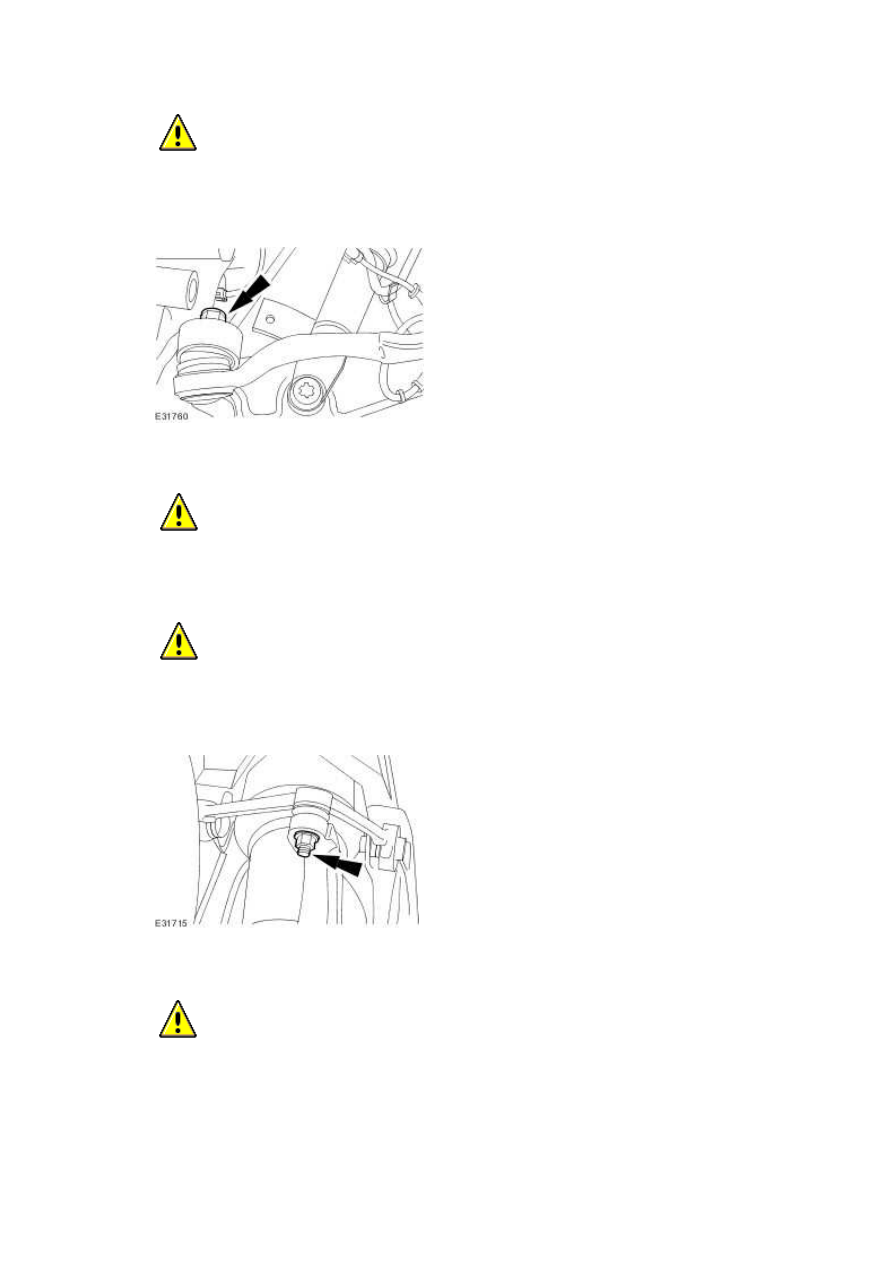
CAUTION: Prevent the rear lower arm ball joint ball pin hexagon from rotating.
Failure to follow this instruction may result in damage to the lower ball joint boot.
Loosen the rear lower arm ball joint retaining nut.

7
.
CAUTION: Prevent the rear lower arm ball joint ball pin hexagon from rotating.
Failure to follow this instruction may result in damage to the lower ball joint boot.
Adjust the rear lower arm ball joint retaining nut until the ball joint thread cannot be seen.
8
.
WARNING: Make sure the special tool is supported while carrying out the operation.
Failure to follow this instruction may result in personal injury.
CAUTION: Make sure the special tool is supported while carrying out the operation.
Failure to follow this instruction may result in damage to the special tool.
CAUTION: Make sure the special tool is correctly located and the lower ball joint
boot is not damaged while carrying out the operation. Failure to follow this instruction may
result in damage to the component.
Using the special tool, release the rear lower arm ball joint from the wheel knuckle lower
www.
Нет комментариевНе стесняйтесь поделиться с нами вашим ценным мнением.
Текст