Jaguar XJ (X350). Manual — part 1218
Left-hand drive vehicles
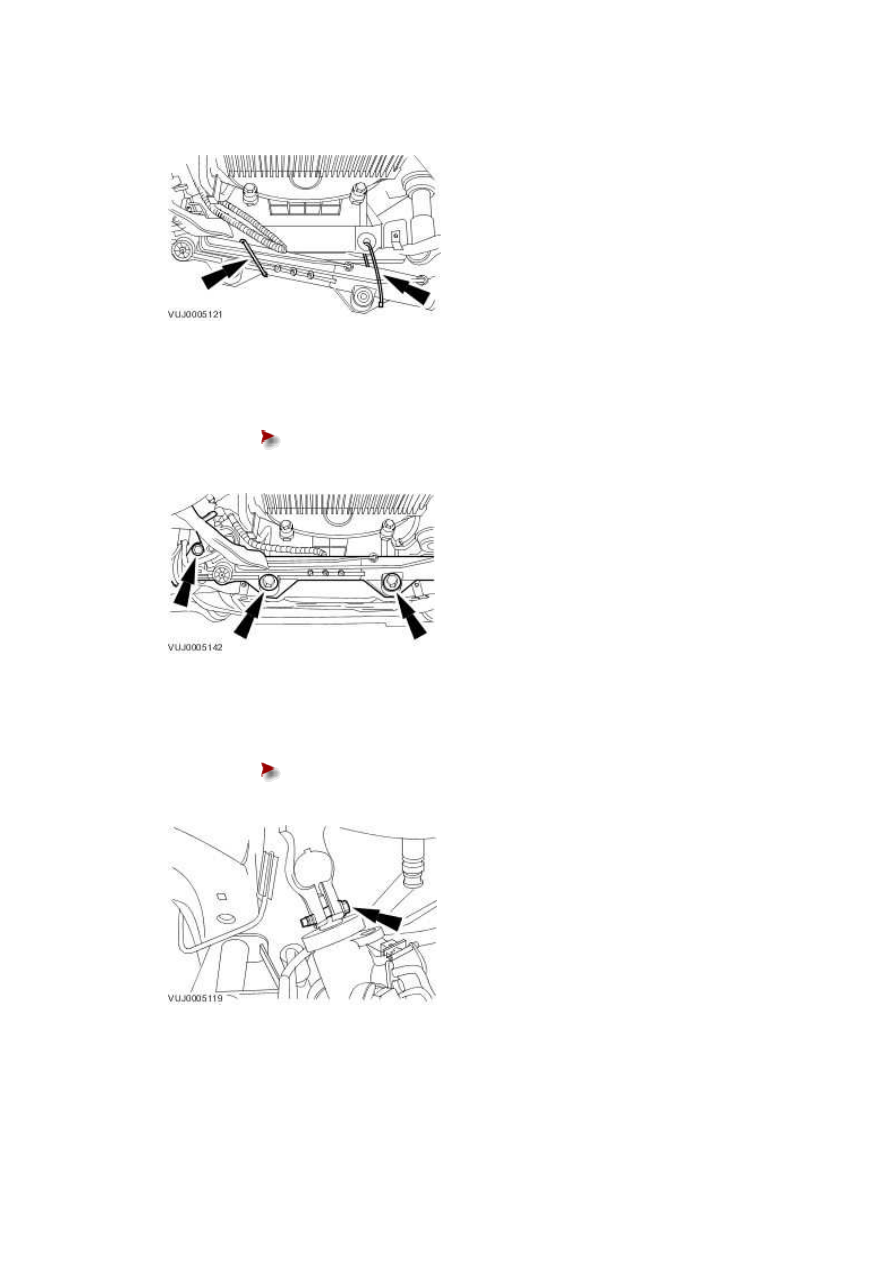
12 . Detach the steering gear.
13 . Attach the steering gear.
Tighten to 100 Nm.
14 . Install the steering gear shaft pinch bolt.
Tighten to 35 Nm.
All vehicles
15 . Install the left-hand front wheel and tire assembly.
For additional information, refer to Wheel and Tire (74.20.05)
16 . Install the air deflector.
For additional information, refer to Air Deflector (76.11.41)
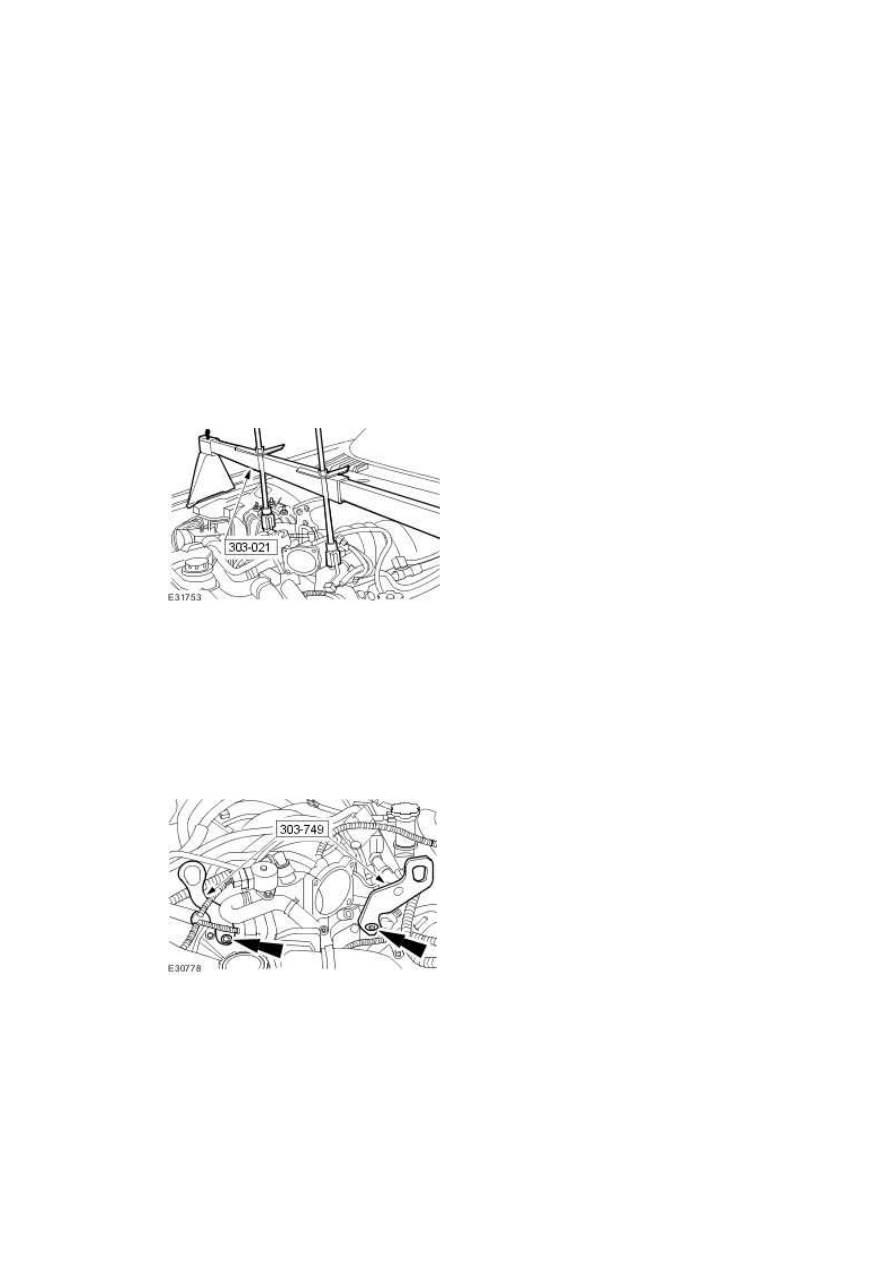
17 . NOTE:
Vehicles without supercharger shown, vehicles with supercharger similar.
Remove the special tool.
18 . NOTE:
Vehicles without supercharger shown, vehicles with supercharger similar.
Remove the special tools.
Vehicles without supercharger
19
.
Install the throttle body.
For additional information, refer to Throttle Body - 4.2L NA V8 - AJV8/3.5L NA V8 - AJV8, VIN
Range: G00442->G45703 (19.70.04)
www.
All vehicles
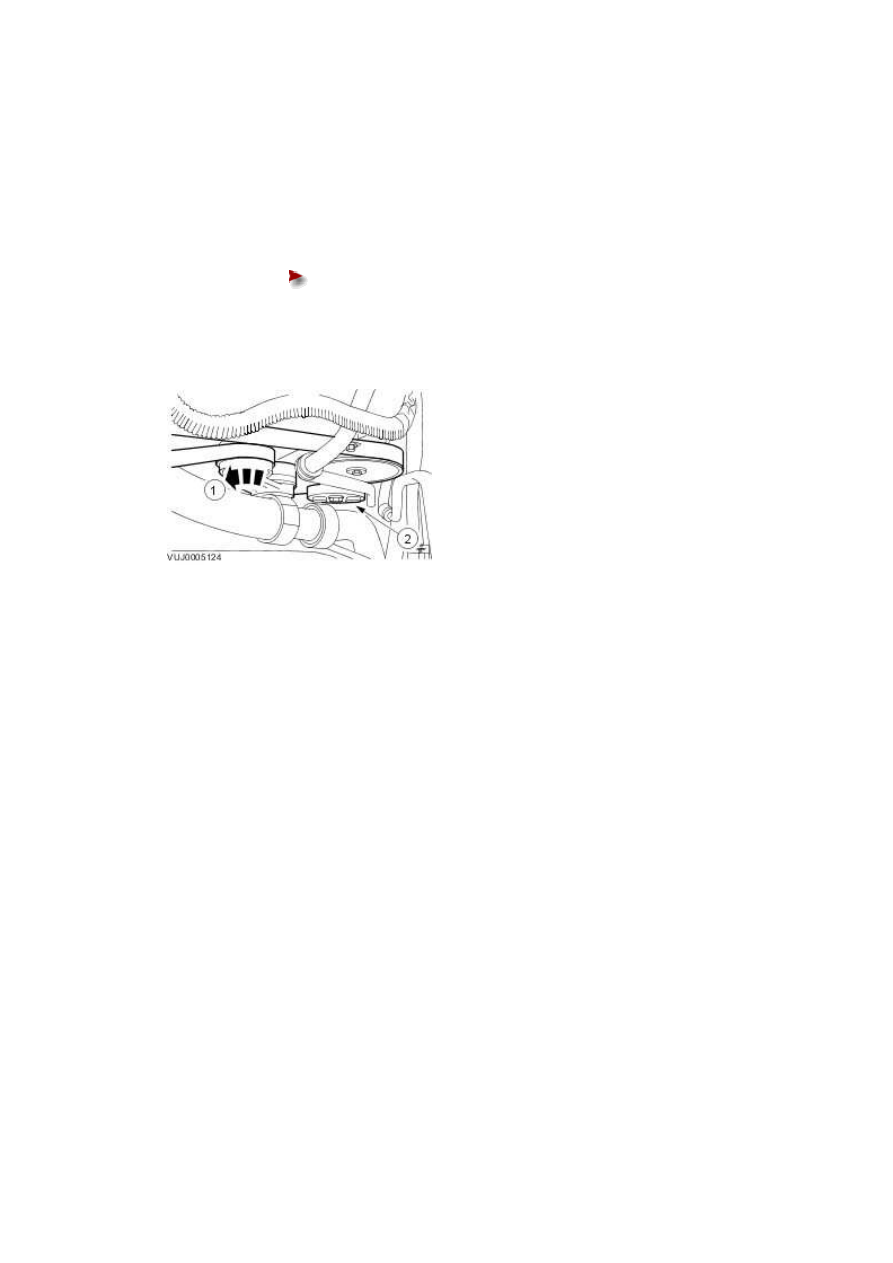
20
.
Attach the accessory drive belt.
1) Rotate the accessory drive belt tensioner counter-clockwise.
Use a 3/8 inch square drive bar to rotate the accessory drive belt
tensioner.
2) Attach the accessory drive belt.
21 . Install the air cleaner outlet pipe.
For additional information, refer to Air Cleaner Outlet Pipe (19.10.31)
22 . Connect the battery ground cable.
For additional information, refer to Battery Connect (86.15.15)
23
.
Carry out the A/C system evacuation and charging procedure.
For additional information, refer to Air Conditioning (A/C) System Recovery, Evacuation and
Charging (82.30.30)
Air Conditioning (A/C) Compressor - 4.2L
NA V8 - AJV8/4.2L SC V8 - AJV8/3.5L NA
V8 - AJV8, VIN Range: G45704->G99999
(82.10.20)
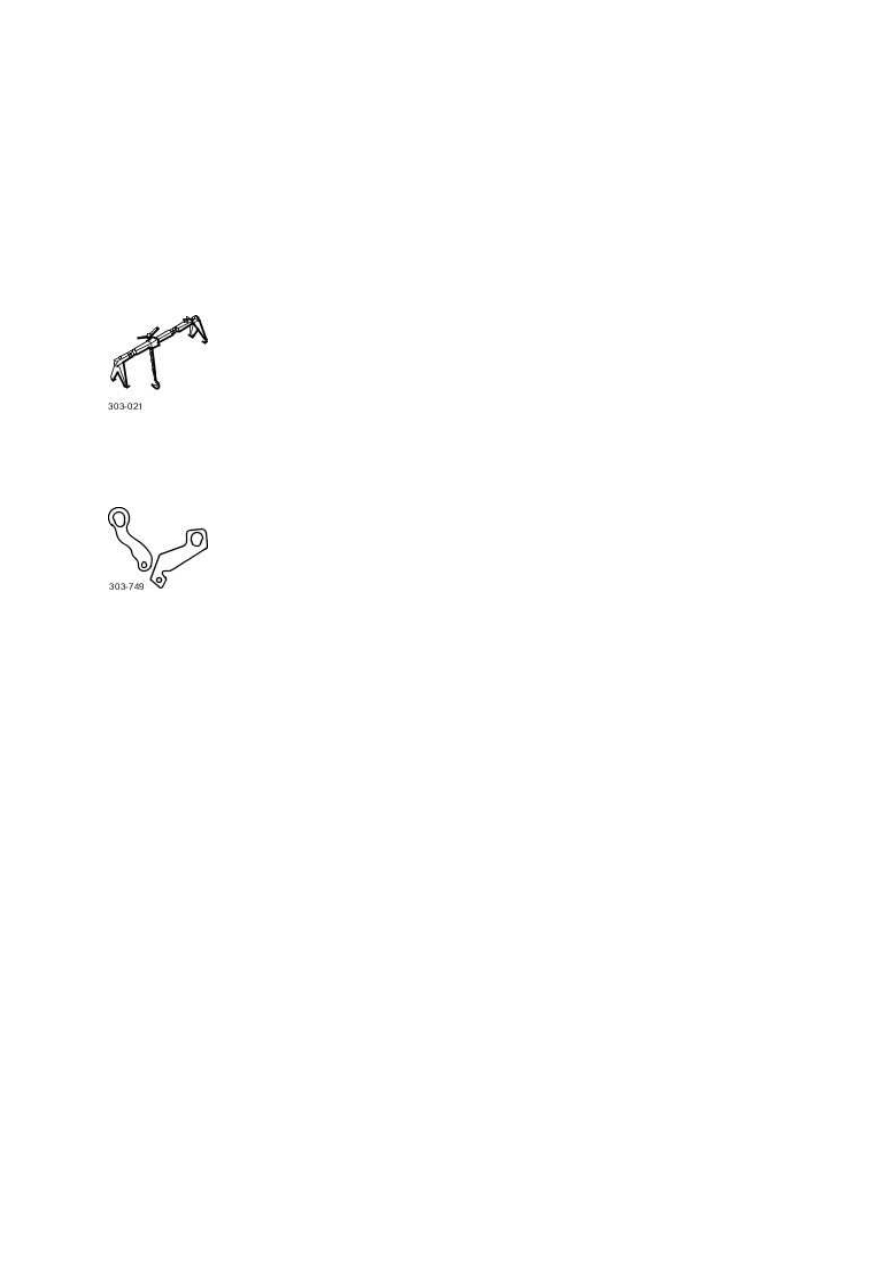
Special Service Tools
Engine support beam
303-021
Engine lifting brackets
303-749
Removal
All vehicles
1
.
Carry out the air conditioning (A/C) system recovery procedure.
For additional information, refer to Air Conditioning (A/C) System Recovery, Evacuation and
Charging (82.30.30)
2 . Disconnect the battery ground cable.
For additional information, refer to Battery Disconnect and Connect
3 . Remove the air cleaner.
For additional information, refer to Air Cleaner (19.10.05)
4
.
Detach the accessory drive belt.
www.
Нет комментариевНе стесняйтесь поделиться с нами вашим ценным мнением.
Текст