Jaguar XJ (X350). Manual — part 1504
Right-hand shown, left-hand similar.
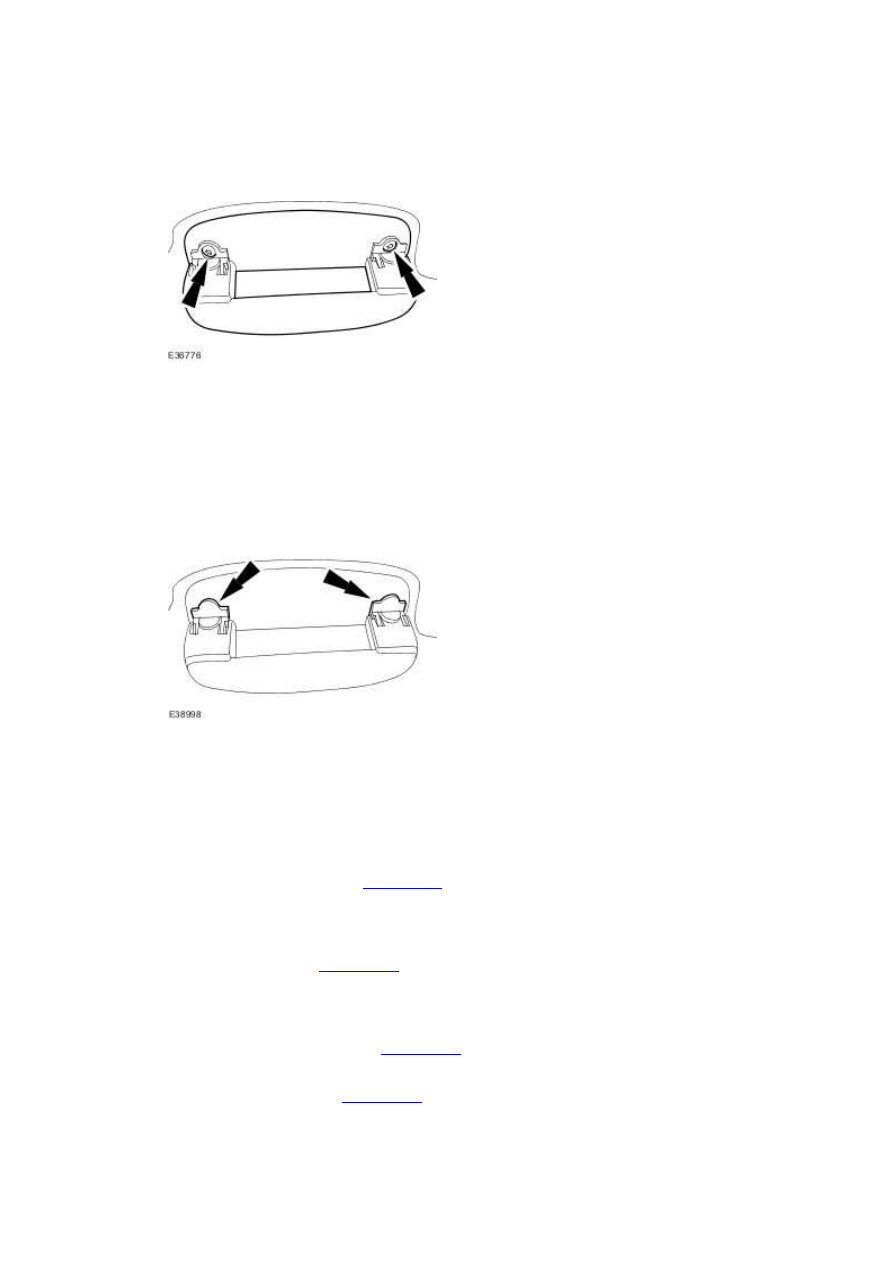
Install the front occupant assist handle.
18 . NOTE:
Right-hand shown, left-hand similar.
Attach the front occupant assist handle screw covers.
19 . Install the sun visor retaining clips.
20 . Install the overhead console. <<501-12>>
21 . Install both sun visors. <<501-05>>
22 . Install both A-pillar trim panels. <<501-12>>
23 . Install the interior mirror. <<501-09>>
17 . NOTE:
Windshield Glass (76.81.40) – Armoured
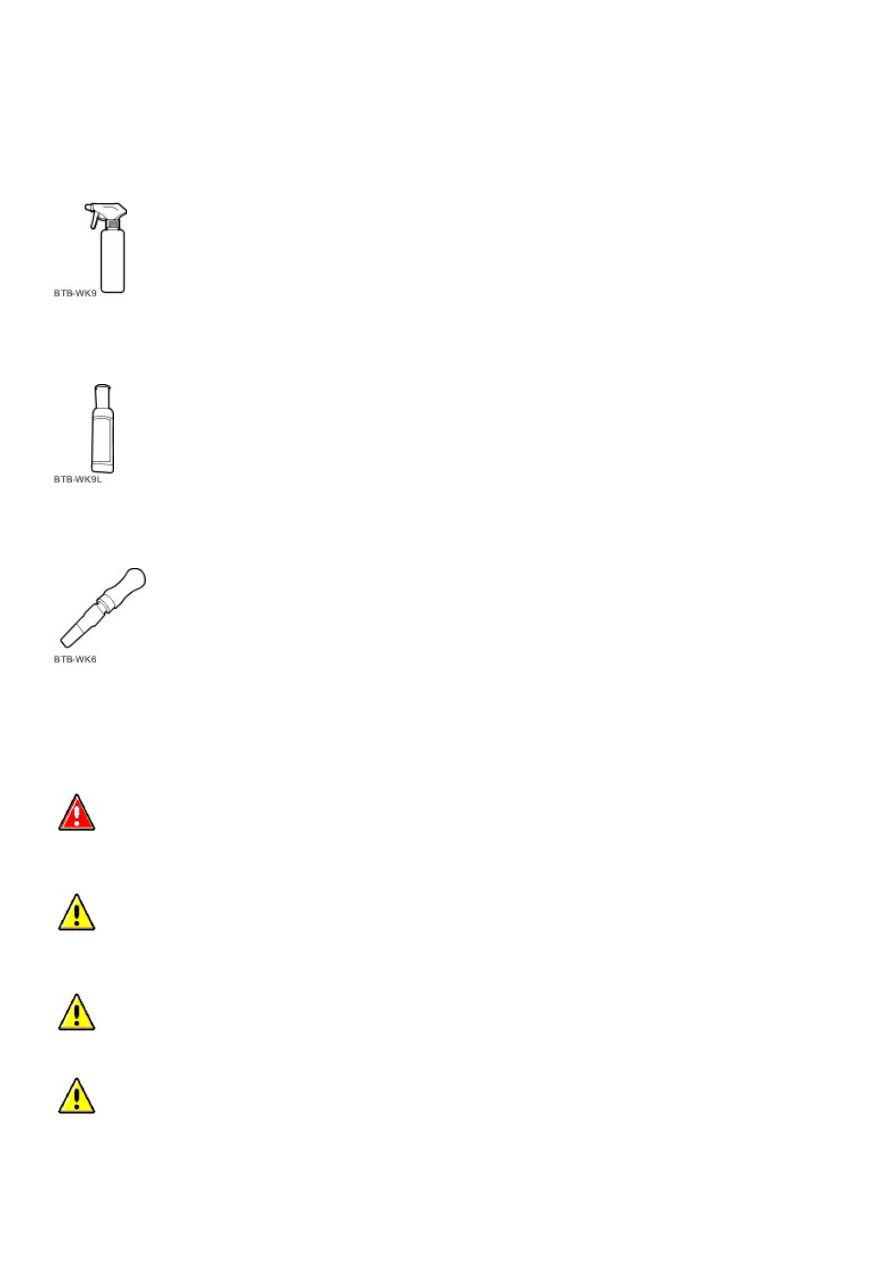
Special Service Tools
Spray bottle
WK9
Lubricant concentrate
WK9L
Adhesive removal blade - body
WK6
Removal
WARNING: The use of products other than Betawipe on poly carbonate may cause a deterioration of the glass, an
opacity effect and an early delamination of the shielding. The ballistic standards and the protection of the occupants
would not be assured. Failure to follow this instruction may result personal injury.
CAUTION: The use of products other than Betawipe on poly carbonate may cause a deterioration of the glass, an
opacity effect and an early delamination of the shielding. The ballistic standards and the protection of the occupants
would not be assured. Failure to follow this instruction may result in damage to the vehicle.
CAUTION: Make sure that only the recommended degreasing and cleaning fluids are used. Failure to follow this
instruction may result in damage to the vehicle.
CAUTION: Make sure that only the recommended adhesive, sealant and primers are used. Failure to follow this
instruction may result in damage to the vehicle.
Published: Mar 30, 2014
Vehicles
www.
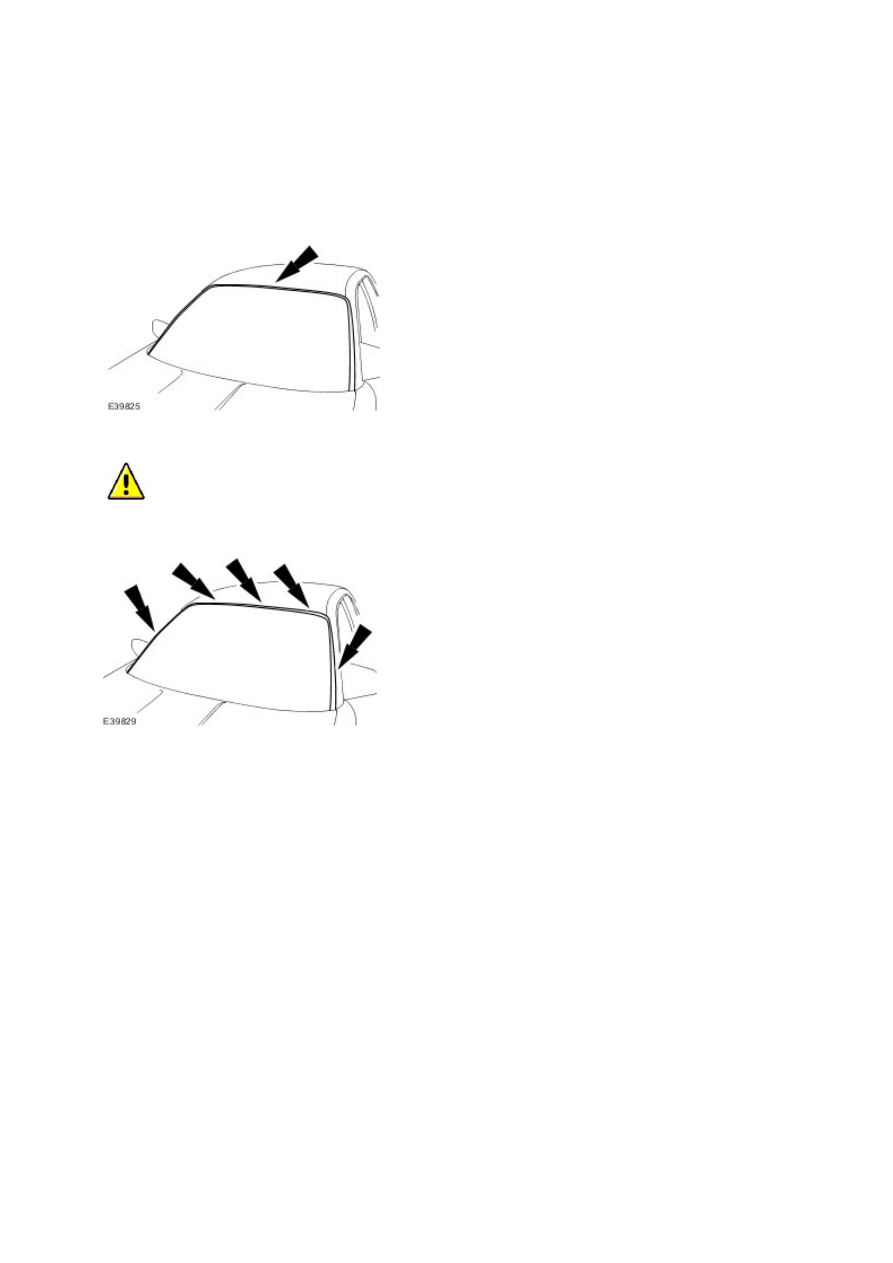
1 . Remove the cowl vent screen.
For additional information, refer to
2 . Remove the hood.
For additional information, refer to
3 . Place a suitable protective sheet over fascia and place a protecting board over sheet.
4 . Remove and discard the windshield glass finisher.
5
.
CAUTION: Make sure the vehicle is protected to prevent any damage to the vehicles paint work. Failure to
follow this instruction may result in damage to the vehicle.
Apply a suitable protective tape around windshield glass aperture to protect the paintwork.
6
.
WARNING: When removing the windshield glass, personal protection must be worn. Failure to follow this
instruction may result in personal injury.
NOTE:
Refer to the next step for the correct measurement.
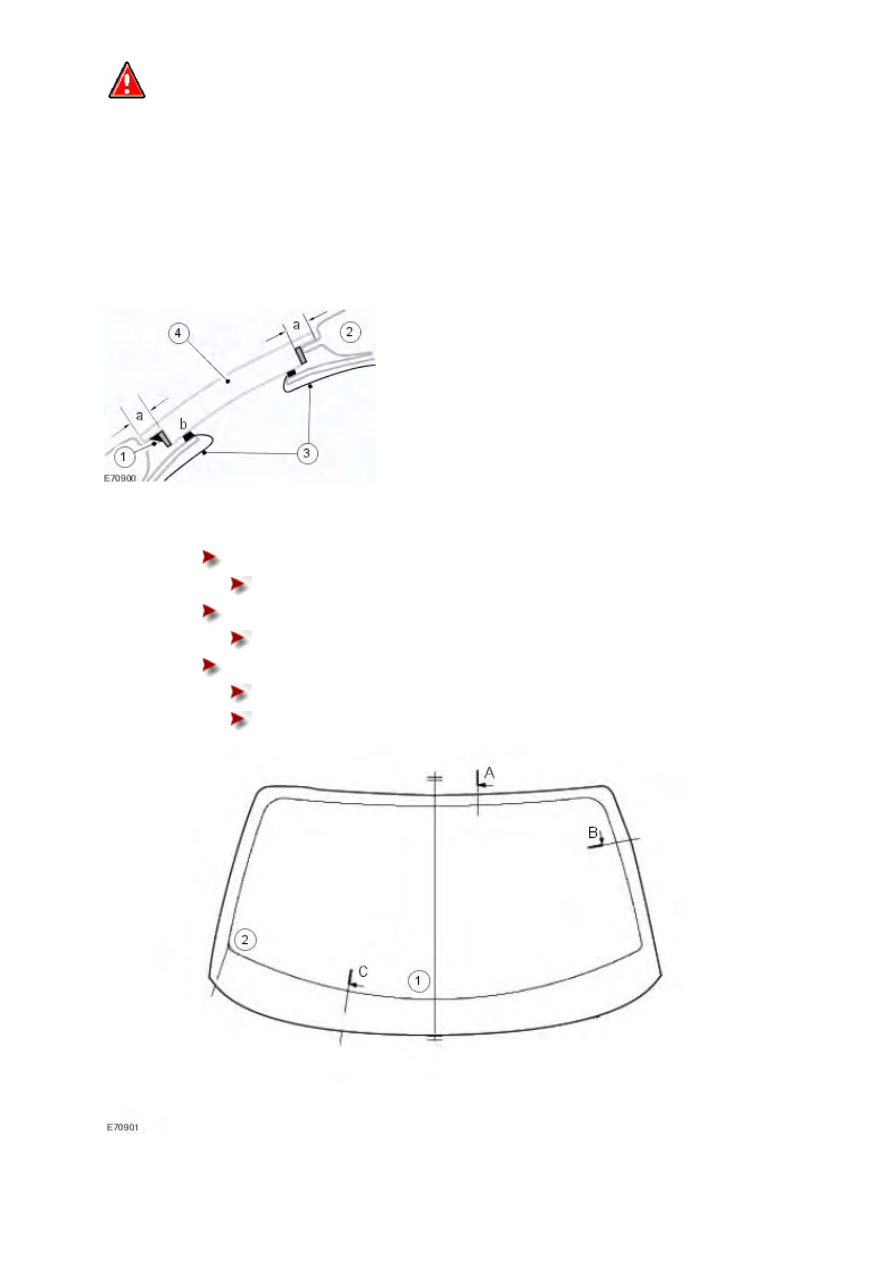
Using a suitable high speed diamond tipped cutting tool, remove area a from area b.
1) Windshield glass spacer.
2) Vehicle body.
3) Armoured frame.
4) Armoured windshield glass.
7 . Use the steps below to make sure the correct measurement is used to cut the windshield glass.
A: Windshield glass upper.
25 mm (0.98 inch).
B: Windshield glass side.
27 mm (1.06 inch).
C: Windshield glass lower.
1: 117 mm (4.61 inches).
2: 127 mm (5.00 inches).
www.
Нет комментариевНе стесняйтесь поделиться с нами вашим ценным мнением.
Текст