Jaguar XJ (X350). Manual — part 1506
13
.
WARNING: When installing the windshield glass, personal protection must be worn. Failure to follow this
instruction may result in personal injury.
CAUTION: When installing the windshield glass, do not strike it in any way as this will crack the glass.
Failure to follow this instruction may result in damage to the vehicle.
CAUTION: When the windshield glass is correctly aligned, hold the windshield glass into position with
strong adhesive tape for 24 hours. Failure to follow this instruction may result in damage to the vehicle.
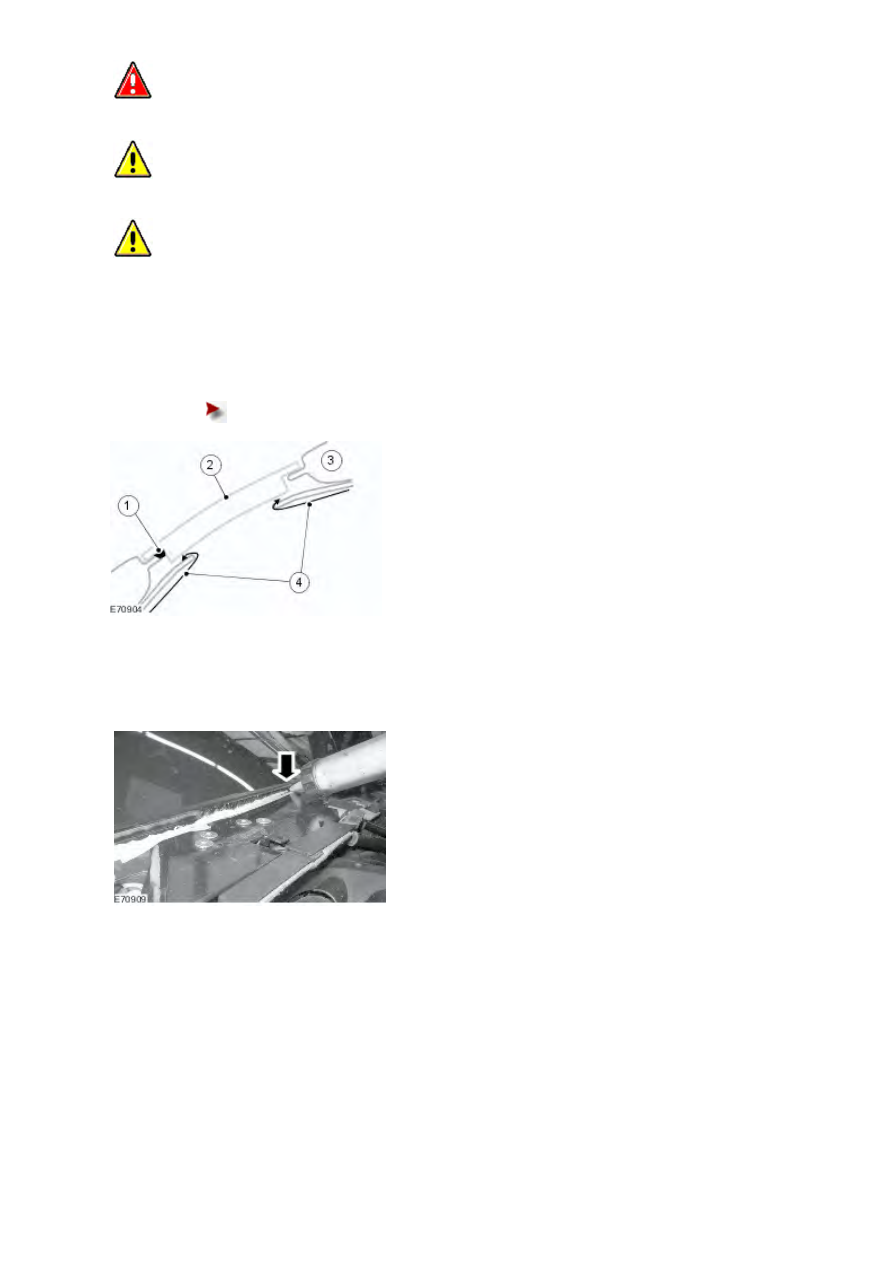
With the assistance of three people and exercising care, install the windshield glass.
1) Windshield glass spacer.
2) Windshield glass.
3) Vehicle body.
4) Armoured frame.
Align the windshield glass to the windshield glass frame and align with the marks previously made.
14 . NOTE:
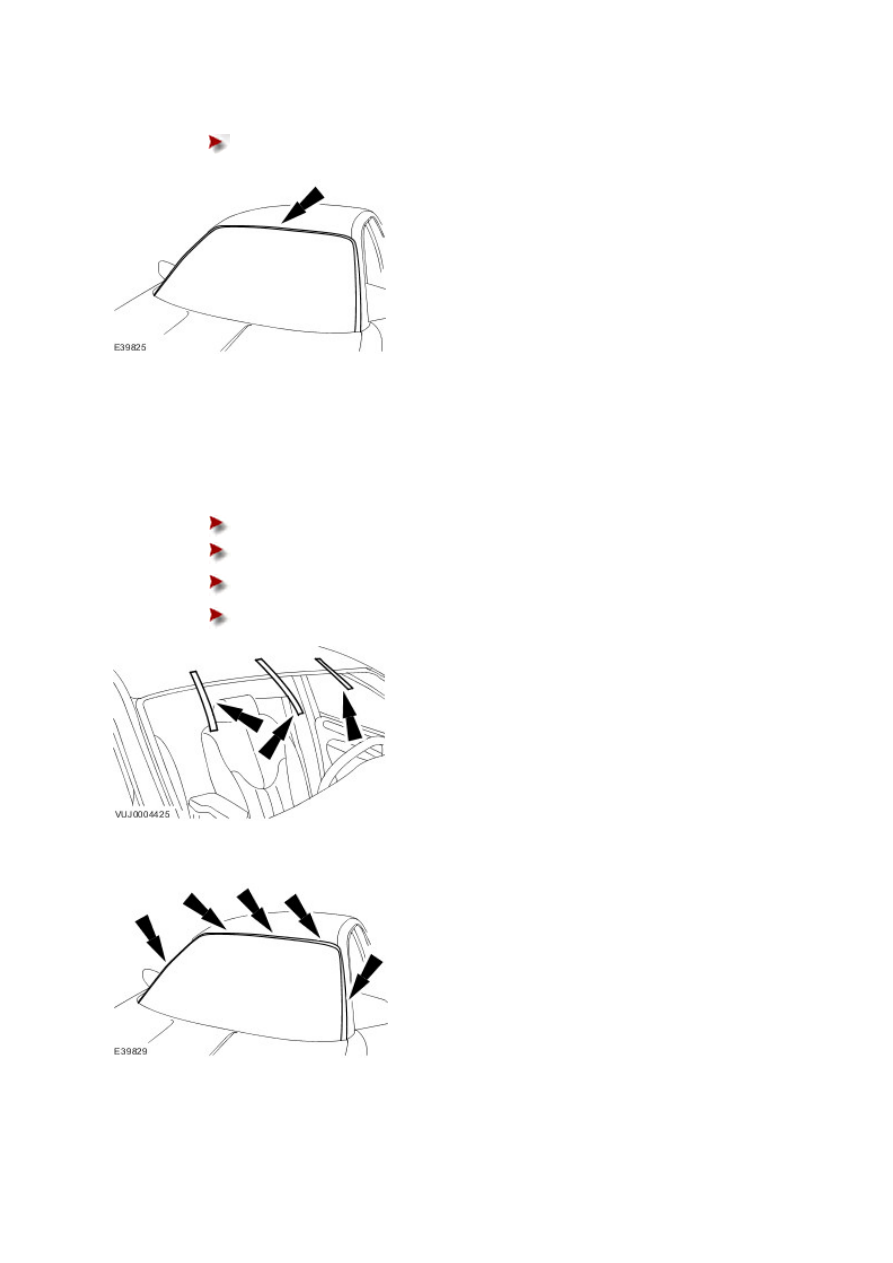
Leave the Betaseal to dry.
Apply betaseal seal around the windshield glass.
15
.
NOTE:
When the Betaseal seal is dry, install the new weather seal and mark the position.
Install the windshield finisher.
Center the windshield finisher to the windshield glass frame and mark the central position of the
windshield glass finisher.
16 . Apply primer on the seal on the surface to be glued.
17 . Apply glass primer on the glass where the seal will be glued.
18
.
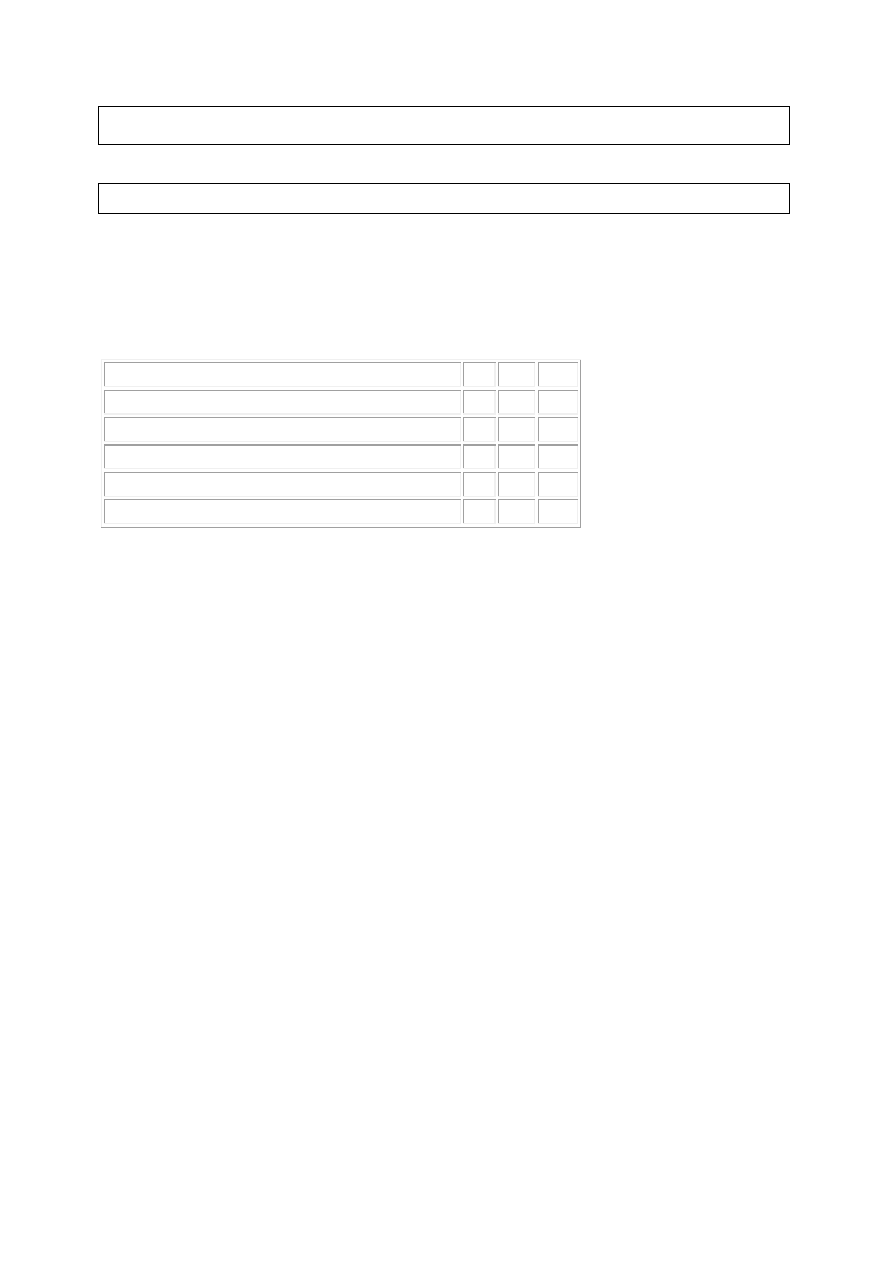
Make a 4 mm (0.16 inch) Betaseal seal on the windshield glass and fit the windshield glass finisher into position.
Press the windshield glass finisher to make the betaseal overflow.
Remove the surplus Betaseal.
Apply rubber shims on the windshield finisher and apply suitable adhesive tape to the top of the
windshield glass.
Let the Betaseal dry.
19 . Remove the protective tape around windshield glass aperture.
20 . Remove the protective sheet and the protective board from the fascia.
21 . Install the cowl vent screen.
For additional information, refer to
www.
22 . Install the hood.
For additional information, refer to
501-12 : Instrumentation Panel and Console
Specifications
Specifications
Torque Specifications
Description
Nm lb-ft lb-in
Instrument panel retaining bolts
20 15 -
Floor console retaining bolts
9
-
80
Instrument panel support brackets retaining bolts 9
-
80
Instrument panel support brackets retaining nuts 9
-
80
Instrument panel center retaining screw
3
-
27
www.
Нет комментариевНе стесняйтесь поделиться с нами вашим ценным мнением.
Текст