Jaguar XJ (X350). Manual — part 838

4 .
CAUTION: The brake caliper must be supported at all times.
NOTE:
Left-hand shown, right-hand similar.
Remove the brake disc.
Mark the brake disc position in relation to the hub.
5 .
CAUTION: The brake caliper must be supported at all times.
NOTE:
Left-hand shown, right-hand similar.
Using a suitable tie strap, secure the brake caliper to the upper arm.
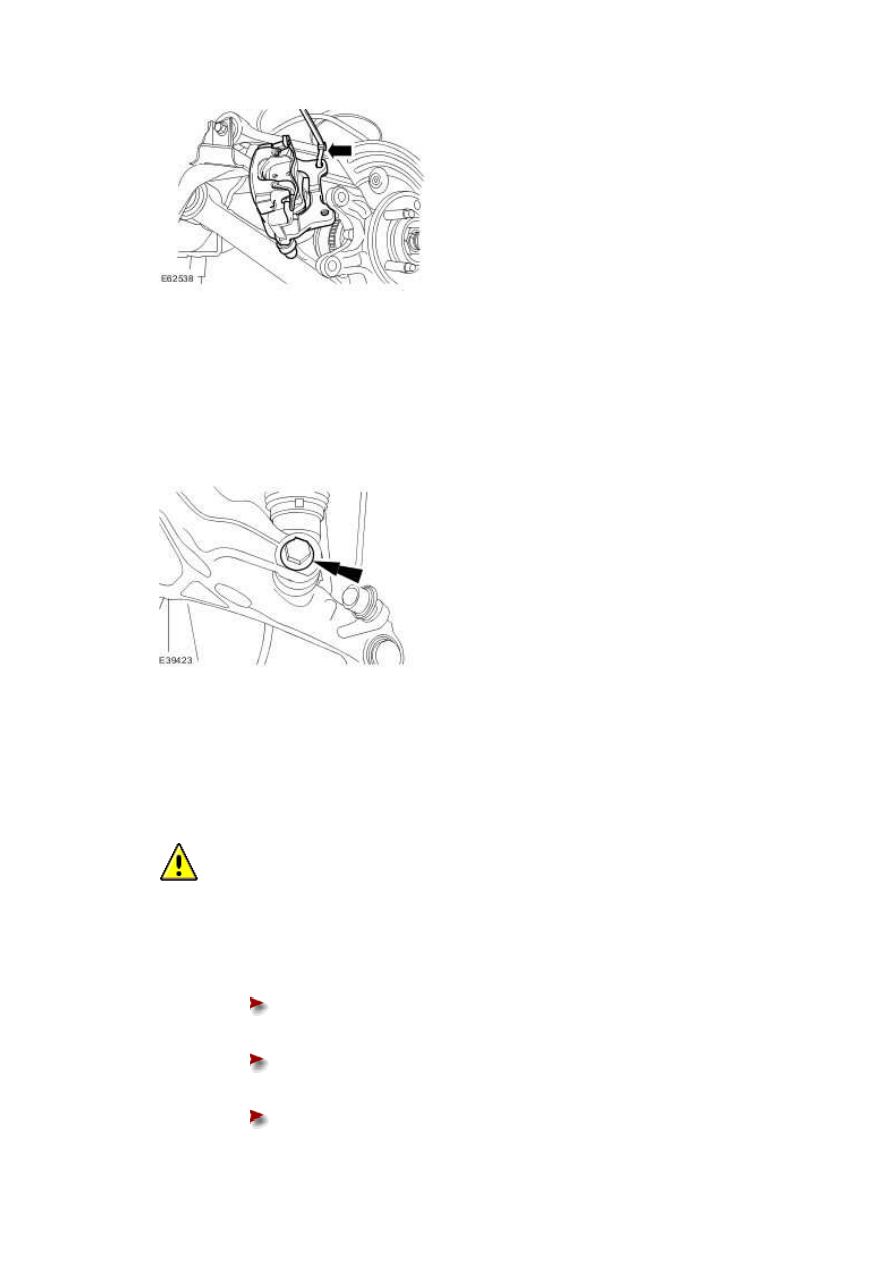
6 . NOTE:
Left-hand shown, right-hand similar.
Detach the air springs.
7 . Remove both rear exhaust mufflers and tail pipes.
For additional information, refer to Muffler and Tailpipe (30.10.52)
8
.
CAUTION: Under no circumstances must the flexible coupling (or its fixings) be
loosened or removed from the driveshaft.
Detach the driveshaft from the rear drive axle flange.
Mark the position of the driveshaft in relation to the rear drive axle flange.
Mark the position of the balance nut in relation to the rear drive axle flange
(if fitted).
Mark the position of each nut and bolt in relation to the rear drive axle
www.

flexible joint.
9 . Remove the fuel tank filler pipe to fuel tank hose.
10 . Detach the rear axle electrical connectors.
11 . NOTE:
Left-hand shown, right-hand similar.
NOTE:
Using a suitable tool, mark the position of the rear subframe to the vehicle body.
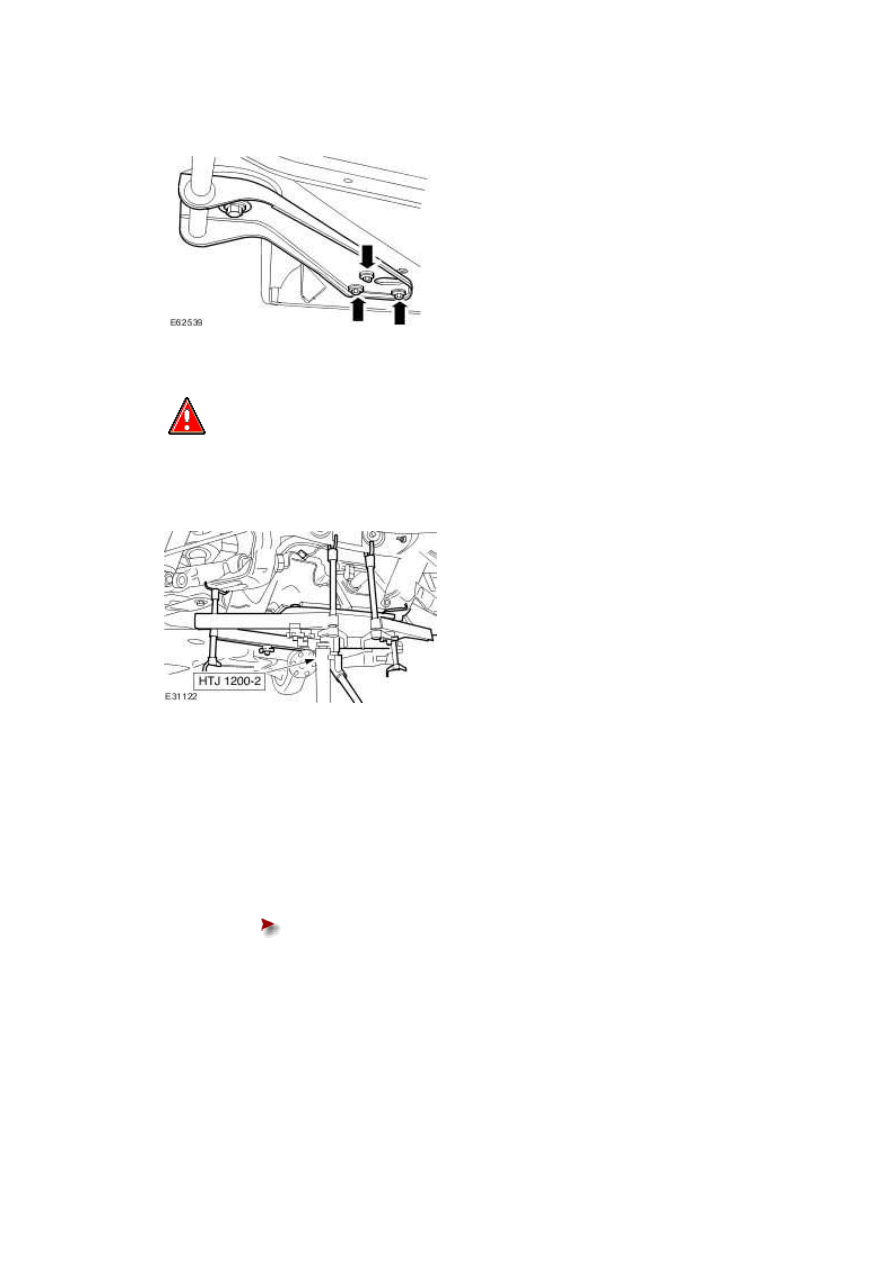
Remove the noise, vibration and harshness (NVH) brace retaining bolts.
12
.
WARNING: Rotate the special tool height adjustment valve slowly. Failure to
follow this instruction may result in personal injury.
Install the special tool to support the rear subframe.
13 . NOTE:
Left-hand shown, right-hand similar.
Remove the NVH brace.
Remove and discard the rear subframe front retaining bolts.
www.
Нет комментариевНе стесняйтесь поделиться с нами вашим ценным мнением.
Текст