Jaguar XJ (X350). Manual — part 1227
6
.
CAUTION: Do not leave the desiccant bag exposed to atmosphere for longer than
five minutes.
NOTE:
Catch the escaping oil into a suitable container.
NOTE:
On removal of the desiccant bag cap the exposed port immediately.
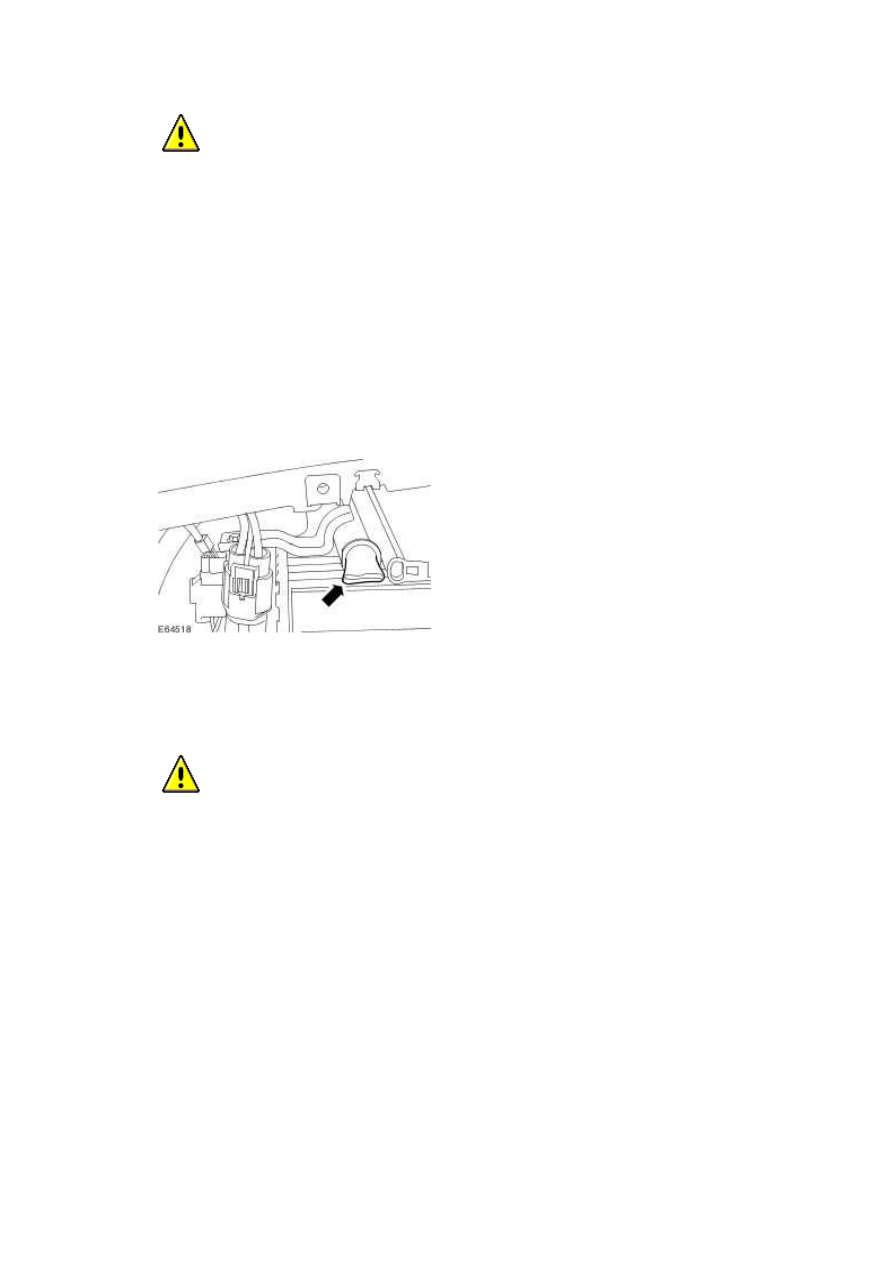
Remove the desiccant bag.
Installation
1
.
CAUTION: Do not leave the desiccant bag exposed to atmosphere for longer than
five minutes.
NOTE:
Uncap the exposed port.
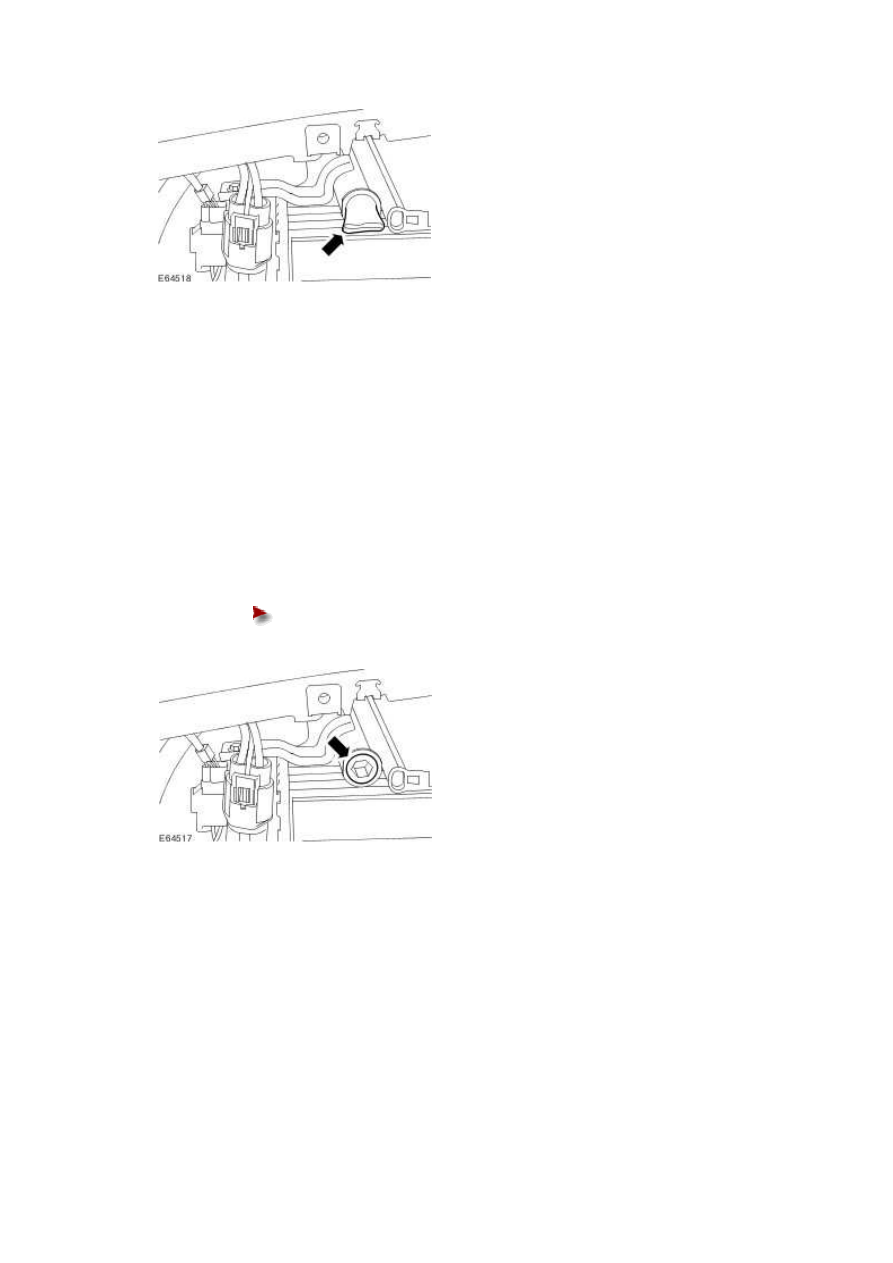
Install the desiccant bag.
2 . NOTE:
Install a new desiccant bag retaining screw O-ring seal.
NOTE:
Lubricate the new O-ring seal with A/C refrigerant oil.
Install the retaining screw.
Tighten to 3 Nm.
3 . Clean off any oil residue that may contain A/C system fluorescent dye.
4 . Install the radiator lower cowl.
www.
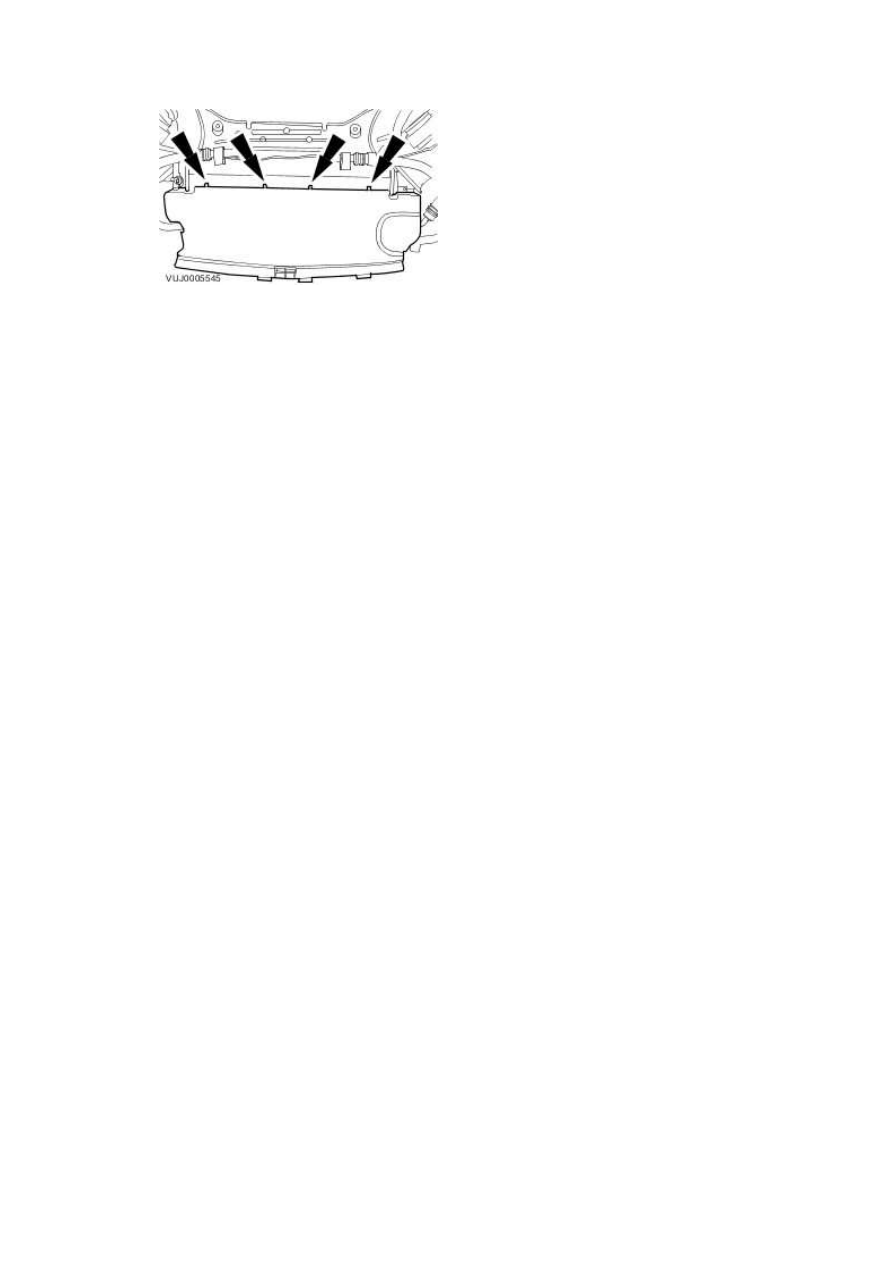
5 . Install the radiator splash shield.
For additional information, refer to Radiator Splash Shield (76.22.90)
6 . Lower the vehicle.
7
.
Carry out the A/C system evacuation and charging procedure.
For additional information, refer to Air Conditioning (A/C) System Recovery, Evacuation and
Charging (82.30.30)
8 . Carry out the A/C system fluorescent dye leak detection procedure.
For additional information, refer to Fluorescent Dye Leak Detection
Pressure Cutoff Switch - 4.2L NA V8 -
AJV8/4.2L SC V8 - AJV8/3.0L NA V6 -
AJ27/3.5L NA V8 - AJV8 (82.10.32)
Removal
1 . Remove the air cleaner.
For additional information, refer to Air Cleaner (19.10.05)
For additional information, refer to Air Cleaner (19.10.05)
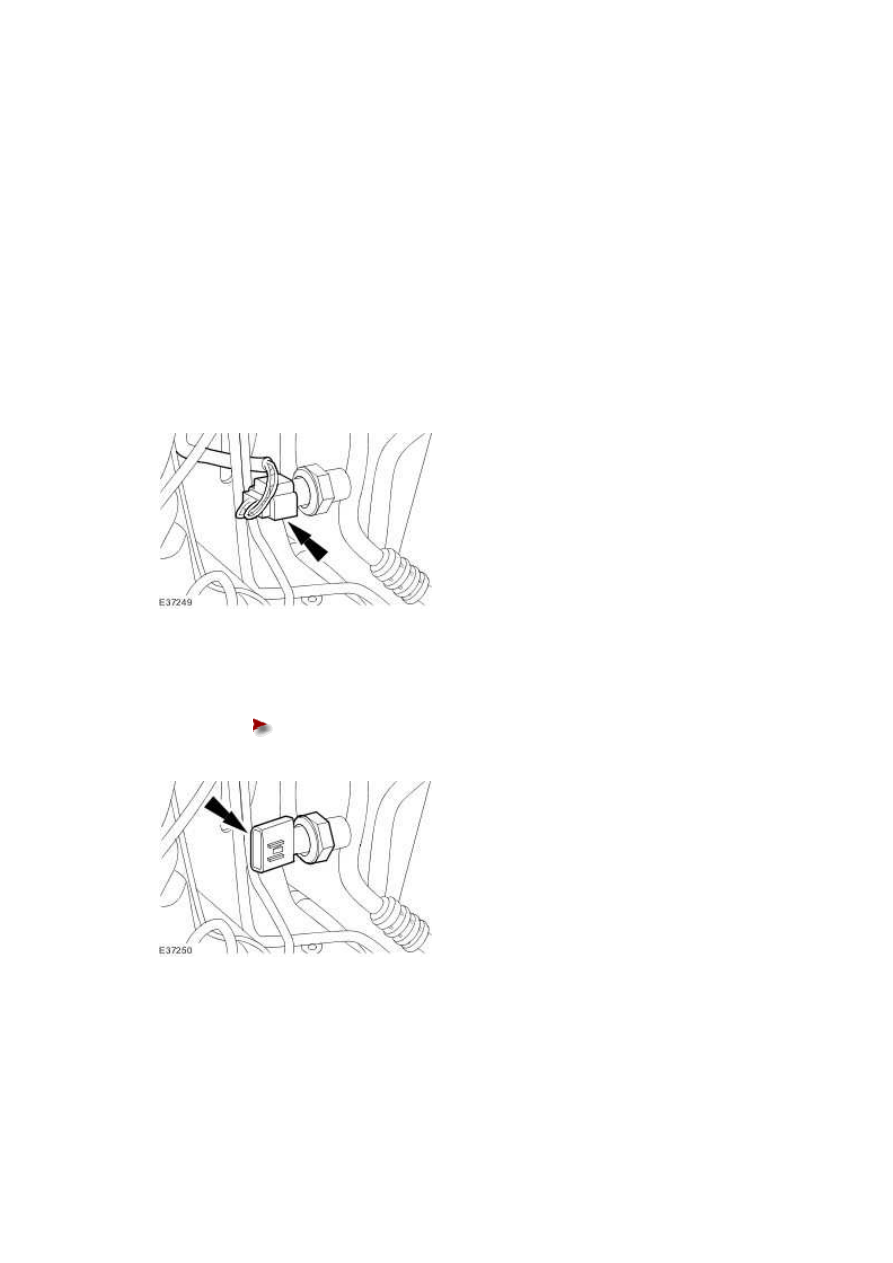
2 . Disconnect the pressure cutoff switch electrical connector.
3 . Remove the pressure cutoff switch.
Remove and discard the pressure cutoff switch O-ring seal.
Installation
1 . Install a new pressure cutoff switch O-ring seal.
www.
Нет комментариевНе стесняйтесь поделиться с нами вашим ценным мнением.
Текст