Jaguar XJ (X350). Manual — part 368

Rotate the engine clockwise to position the camshaft lobe away from the shim surface.
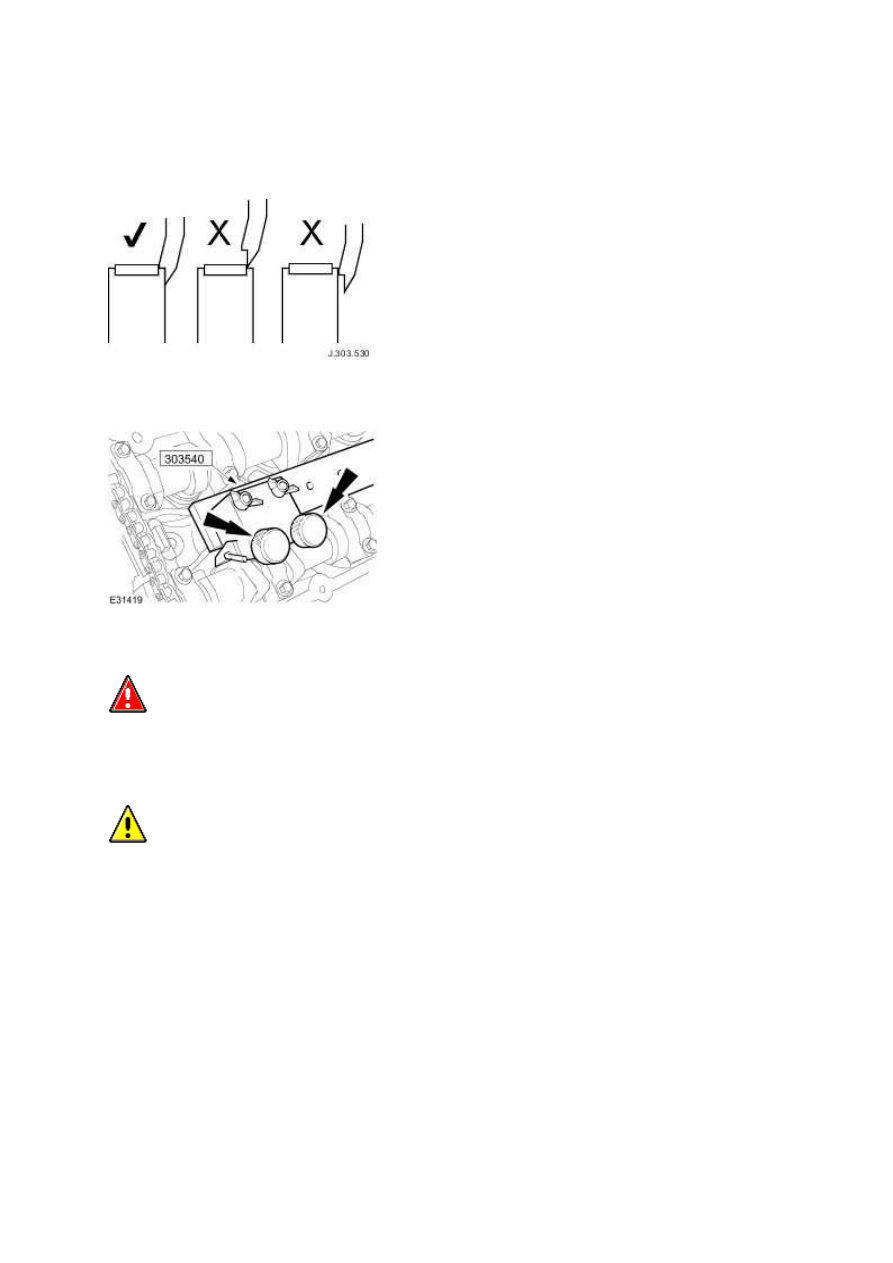
5. Install the base plate of the valve clearance adjusting tool to the relevant cylinder head using the
bolts supplied.
•
Secure the tool to the valve cover retaining holes.
6.
CAUTION: Do not rotate the crankshaft while the attachment is installed to the base plate.
Install the attachment of the tool to the base plate to remove the relevant shims.
1. Adjust the fingers of the attachment to the highest position.
2. Install the attachment to the base plate.
3. Tighten the retaining screws to secure the attachment to the base plate.
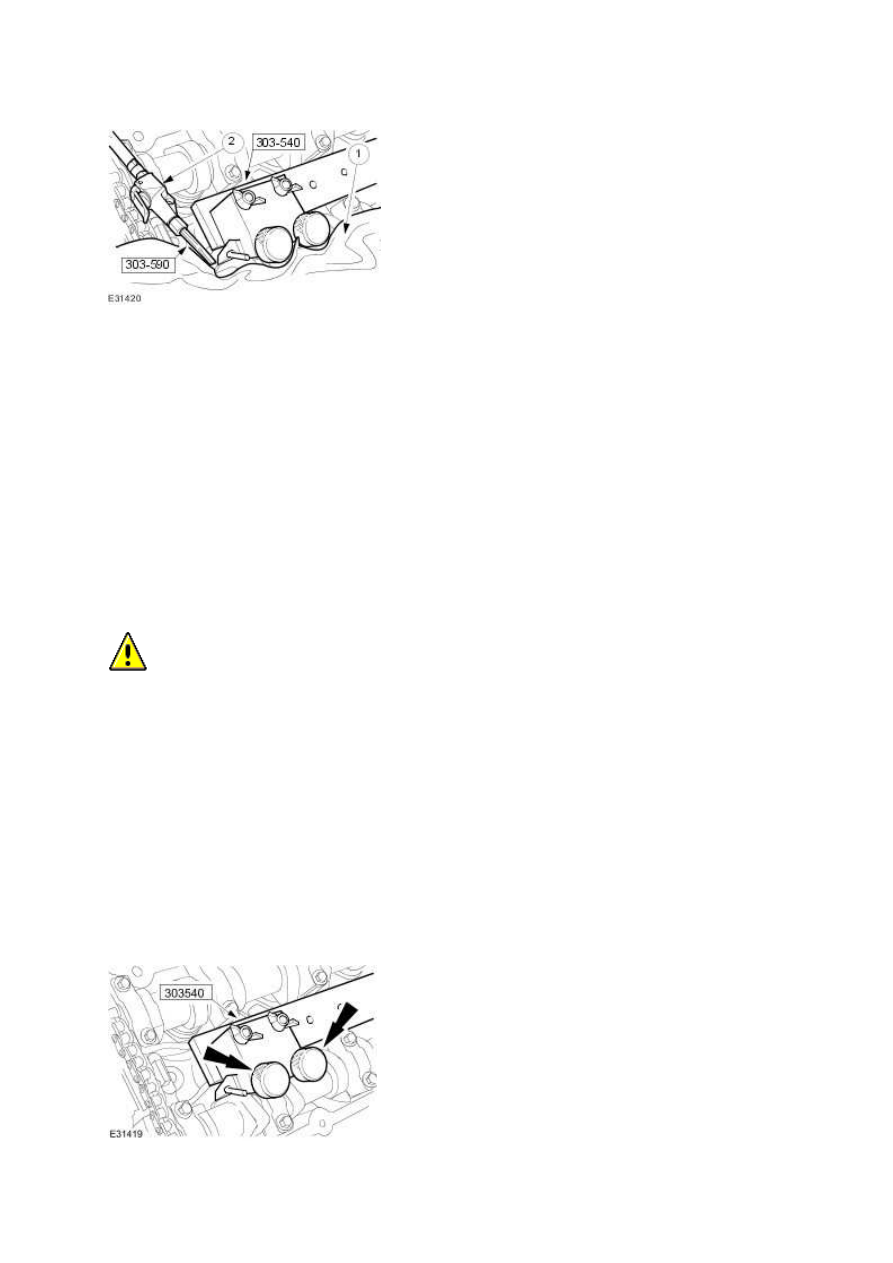
7. NOTE:
Use a mirror to help locating the fingers of the special tool as access is restricted.
Position the fingers on the outer edges of the tappet. Make sure the recessed step on each finger
locates on the edge of the tappet.
8. Tighten the special tool to compress the valve springs.
9.
WARNING: The following operations require the use of compressed air. Always wear
suitable eye protection.
CAUTION: Do not use a magnet to remove shims. Failure to follow these instructions may
result in damage to the vehicle.
Remove, clean and measure the shim.
1. Surround the immediate working area with a cloth to retain any loose shims displaced by the
compressed air.
2. Use special tool aimed at the edge of the shim to lift it from the tappet. Remove the shim from
each tappet, noting the position of each one.
www.
10. NOTE:
Two shims within each procedure are possible to be replaced using the special tool.
Use the following formula to calculate the required shim thickness.
•
Original shim thickness + measured shim clearance - desired clearance = required shim
thickness.
11.
CAUTION: Do not use a magnet to install shims. Failure to follow these instructions may
result in damage to the vehicle.
NOTE:
Shims must be fitted with the size markings facing the tappet, not the camshaft.
Apply a light coat of engine oil to the replacement shim(s) and install.
12. Loosen the special tool to allow the valve springs to return to their normal position.
13. Using the feeler gauge set, measure the clearance between the camshaft and the shim surface.
Record and check the readings.
Valve Clearance Check (12.29.47)
14. When the valve clearance is correct, remove the attachment from the base plate and repeat the
procedure for the following two valves to be adjusted.
15. Install the right-hand valve cover.
16. Install the left-hand valve cover.
www.
Нет комментариевНе стесняйтесь поделиться с нами вашим ценным мнением.
Текст