DAF LF45, LF55 Series. Manual — part 263

©
200508
3-3
Inspection and adjustment
ALLISON MD 3060 AUTOMATIC GEARBOX
ΛΦ45/55 series
3
8
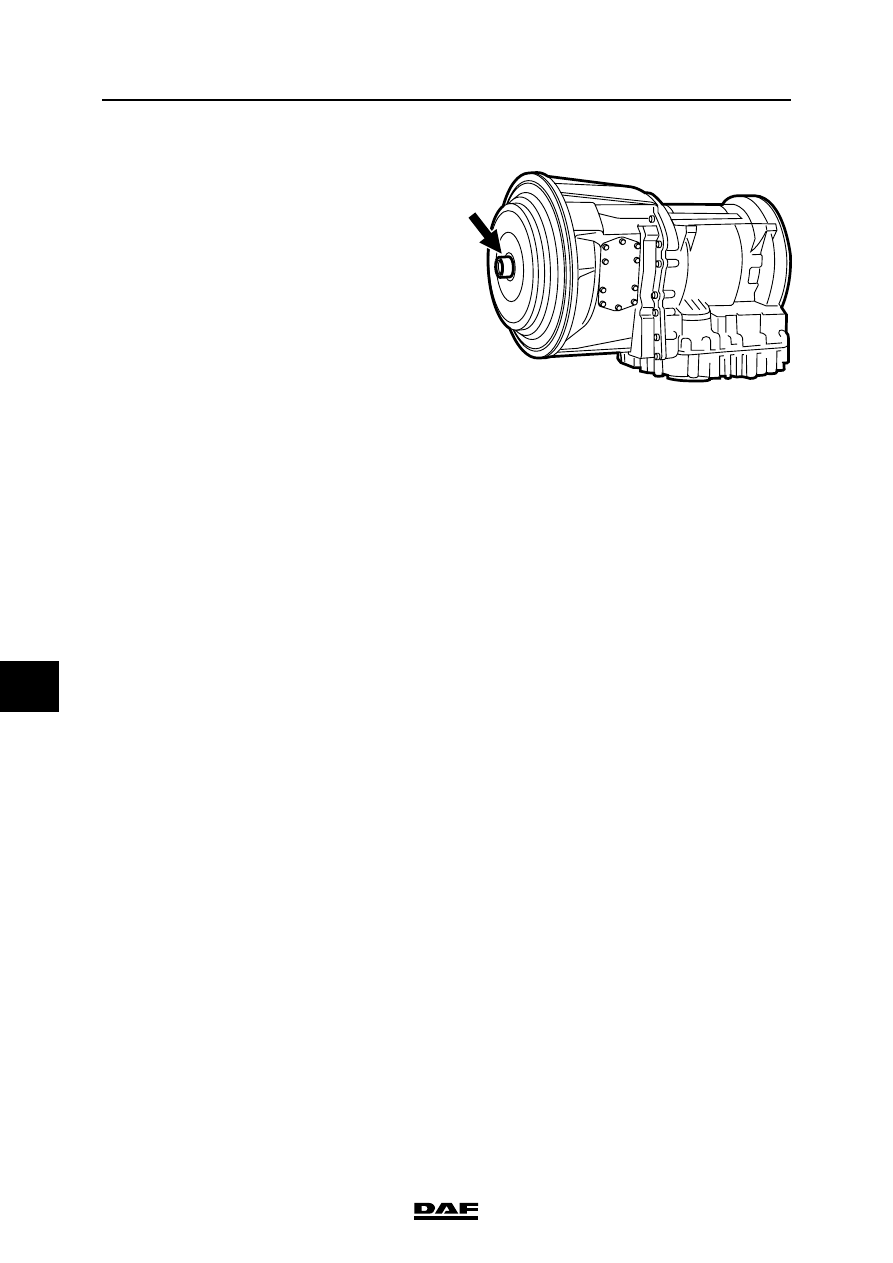
3.2 CHECKING OIL LEVEL WITH SELECTOR KEYPAD
Checking oil level with selector keypad
1.
Place the vehicle on a flat and level surface
and apply the parking brake.
2.
Put the gearbox in the neutral position and
bring the gearbox to operating temperature
(approx. 71
″ - 93″C).
3.
Run the engine at idling speed for 2 minutes.
4.
Press both arrow keys on the selector
keypad simultaneously. The display now
shows the letters O and L.
Note:
O and L stand for Oil Level
5.
When the oil level is correct, the letters O - K
appear on the display.
When the oil level is too high, this is indicated
by HI followed by the number of litres in
excess.
When the oil level is too low, this is indicated
by LO followed by the number of litres
lacking.
Example
LO-02 means that two litres have to be
added.
HI-03 means that three litres have to be
drained.
6.
Press the N key to exit the system.
R
D
MODE
N
V300392
ALLISON MD 3060 AUTOMATIC GEARBOX
3-4
©
200508
Inspection and adjustment
8
ΛΦ45/55 series
3
©
200508
4-1
Removal and installation
ALLISON MD 3060 AUTOMATIC GEARBOX
ΛΦ45/55 series
3
8
4. REMOVAL AND INSTALLATION
4.1 REMOVAL AND INSTALLATION, GEARBOX ASSEMBLY
Removing gearbox assembly
1.
Note:
Before the gearbox can be removed, the
gearbox oil must be drained.
2.
If necessary, remove the oil filler pipe to
avoid damage.
3.
Plug the external oil pipes after removing
and/or detaching them to prevent dirt
entering the oil system.
4.
Disconnect the gearbox wiring harness
connectors and secure the wiring harness.
Plug the openings.
5.
Remove the prop shaft.
6.
See what is best for gearboxes with PTO:
remove the PTO from the gearbox,
disconnect the hydraulic pipes from the
pump or remove the prop shaft, if fitted.
7.
Remove the gearbox from the engine.
ALLISON MD 3060 AUTOMATIC GEARBOX
4-2
©
200508
Removal and installation
8
ΛΦ45/55 series
3
Installing gearbox assembly
1.
When installing the gearbox, apply a small
amount of grease to the nose of the torque
converter to prevent noise after fitting. See
"Technical data".
2.
Fit the gearbox attachment bolts all around.
Tighten the attachment bolts to the specified
torque. See "Technical data".
3.
Install the PTO. Tighten the attachment bolts
to the specified torque. See "Technical data".
4.
If necessary, fit the hydraulic pipes and/or
prop shaft. Tighten the attachment bolts to
the specified torque. See "Technical data".
5.
Fit the prop shaft.
6.
Fit the wiring harness connectors.
7.
Fit the external oil pipes. Tighten the pipes to
the specified torque; see "Technical data".
8.
If necessary, fit the oil filler pipe.
9.
Fill the gearbox with oil and check the oil
level.
W 3 03 100
Нет комментариевНе стесняйтесь поделиться с нами вашим ценным мнением.
Текст