Dodge Dakota (ND). Manual — part 1190

21. Install the defroster grille (1). (Refer to 23 -
BODY/INSTRUMENT
PANEL/GRILLE-DE-
FROSTER - INSTALLATION)
NOTE: Torque the upper left nut first then the
lower right nut. Then torque the lower left nut then
the upper right nut.
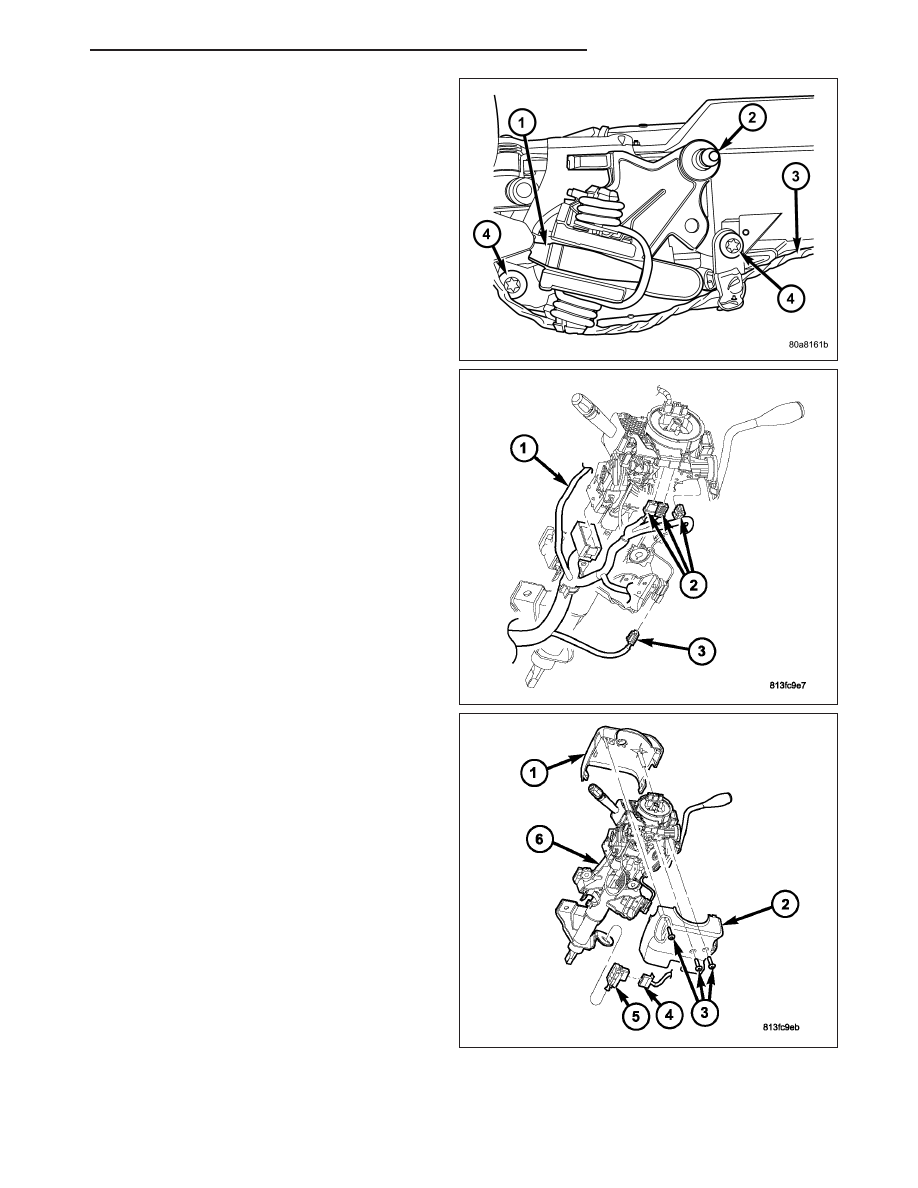
22. Position the steering column (3) on the dash
panel support (1) and loosely install the mounting
nuts (4).
23. Firmly slide the steering column upward against
the studs (2) in dash panel and hand tighten the
nuts.
24. Center steering column (3) in dash opening and
tighten mounting nuts (4) to 28 N·m (21 ft. lbs.).
25. Install the steering shaft coupler (7) on the steer-
ing shaft (1) and loosely install a new bolt (2).
NOTE: A new bolt must be used for reinstallation.
26. Tighten the coupler bolt (2) to 57 N·m (42 ft. lbs.).
23 - 172
INSTRUMENT PANEL
ND
27. Install the shifter cable (2). (Refer to 21 - TRANS-
MISSION/TRANSAXLE/AUTOMATIC
-
32RH/
GEAR SHIFT CABLE - INSTALLATION).
28. Connect the wiring harness (1, 2 & 3) to the col-
umn.
29. Install the SKIM module.
30. Install the shrouds (1 & 2).
31. Install the lilt lever knob.
ND
INSTRUMENT PANEL
23 - 173

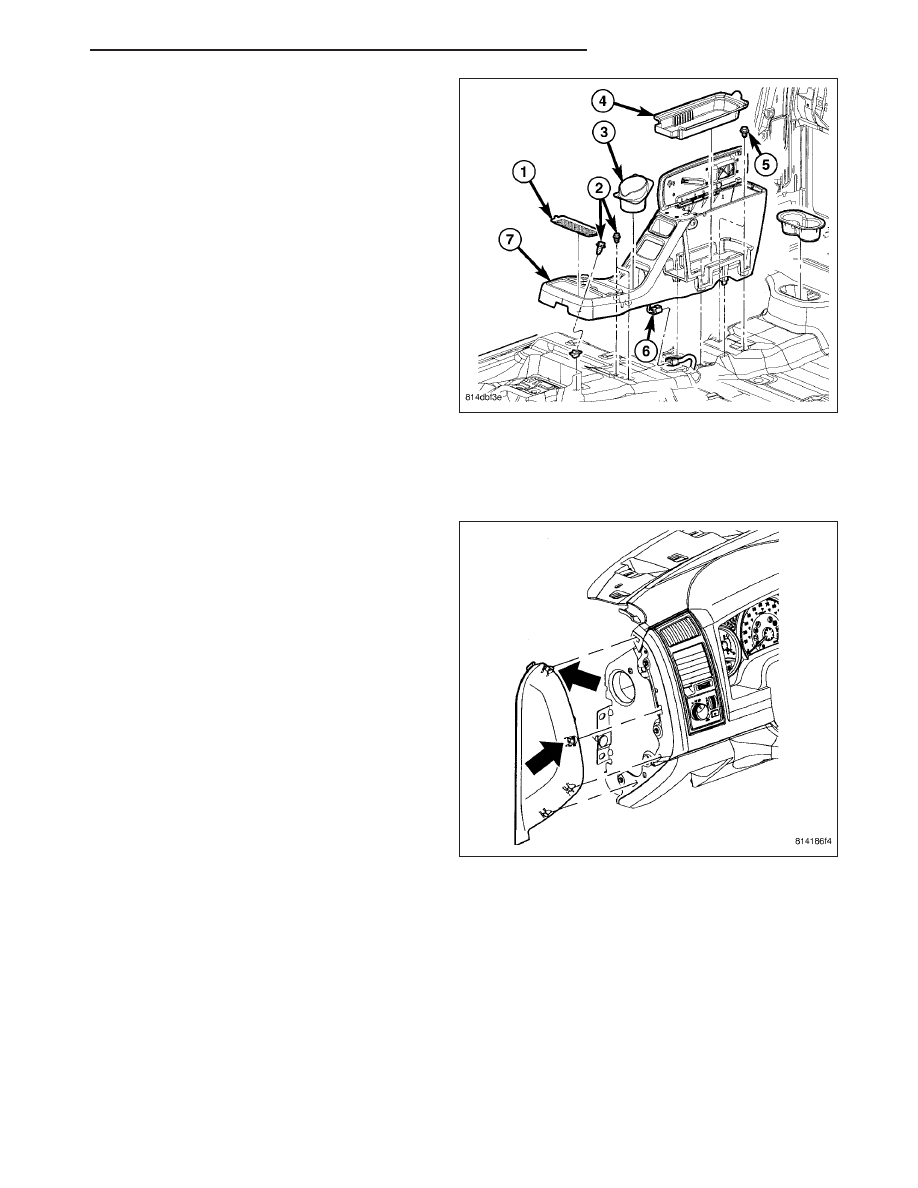
32. Connect the brake switch electrical connector (1).
33. Install the steering column opening cover (2).
(Refer to 23 - BODY/INSTRUMENT PANEL/COV-
ER-STEERING COLUMN OPENING - INSTALLA-
TION)
34. Install the driver side door sill trim cover (1).
(Refer to 23 - BODY/INTERIOR/COWL TRIM
COVER - INSTALLATION)
23 - 174
INSTRUMENT PANEL
ND
35. Install the floor console (7). (Refer to 23 - BODY/
INTERIOR/CONSOLE-FLOOR - INSTALLATION)
36. Connect battery negative cable.
COVER-STEERING COLUMN OPENING
REMOVAL
1. Before proceeding with the following repair proce-
dure, review all warnings and cautions. (Refer to
23 - BODY/INSTRUMENT PANEL - WARNING)
2. Using a trim stick C-4755 or equivalent, separate
the end cap retaining clips and remove the end
cap.
ND
INSTRUMENT PANEL
23 - 175
Нет комментариевНе стесняйтесь поделиться с нами вашим ценным мнением.
Текст