Dodge Dakota (ND). Manual — part 1191

3. Pull the park brake release handle (1) out, release
the clip (2) and disconnect the release rod (3).
4. Remove the two screws (3).
5. Using a trim stick C-4755 or equivalent, separate
the upper retaining clips (1) and remove the open-
ing cover (2).
6. Release the side tabs and separate the diagnostic
connector (1) from the opening cover reinforcement
(2).
23 - 176
INSTRUMENT PANEL
ND
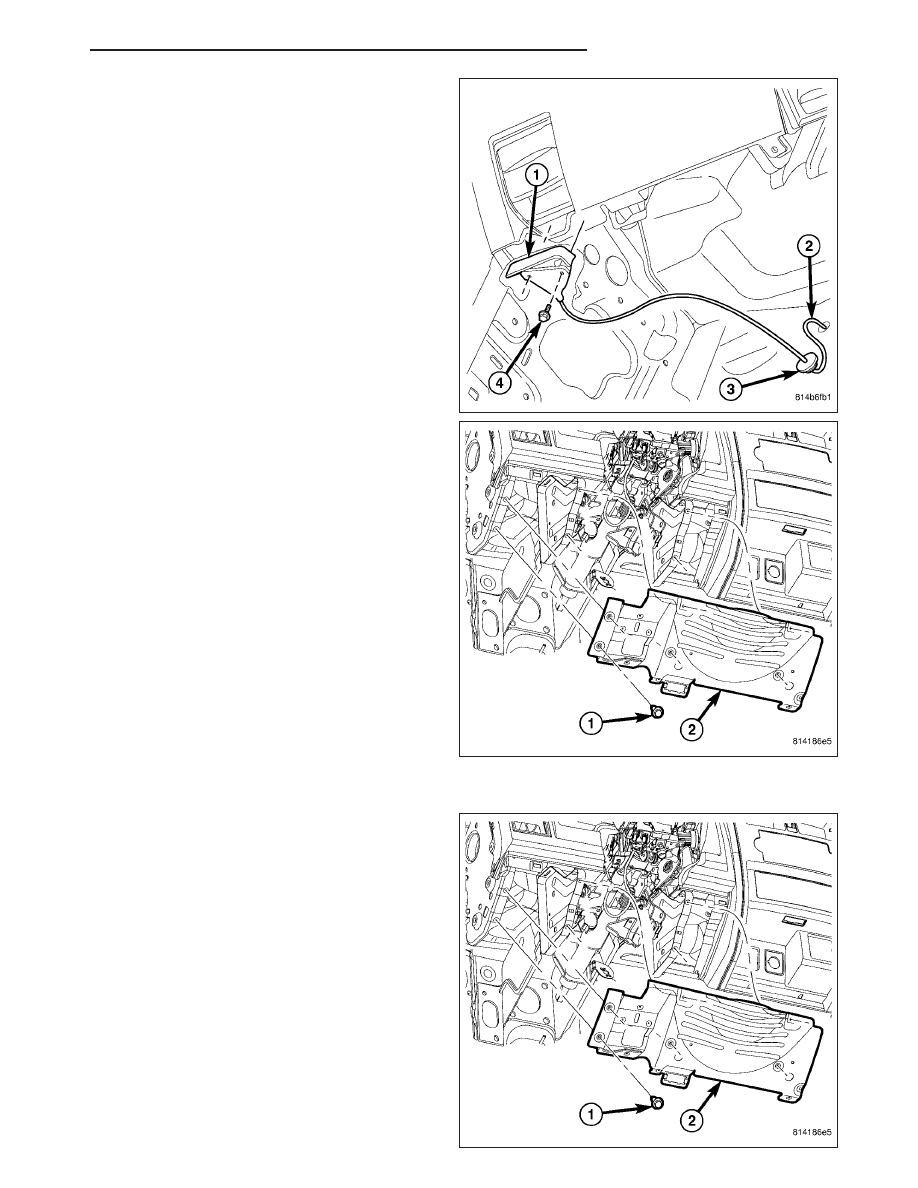
7. Remove the screws (4) and separate the hood
release handle (1) from the opening reinforcement.
8. Remove the two screws (1).
9. Using a trim stick C-4755 or equivalent, separate
the upper retaining clips and remove the opening
cover reinforcement (2).
INSTALLATION
1. Before proceeding with the following repair proce-
dure, review all warnings and cautions. (Refer to
23 - BODY/INSTRUMENT PANEL - WARNING)
2. Install the opening cover reinforcement (2) and
seat the upper clips fully.
3. Install the screws (1).
ND
INSTRUMENT PANEL
23 - 177
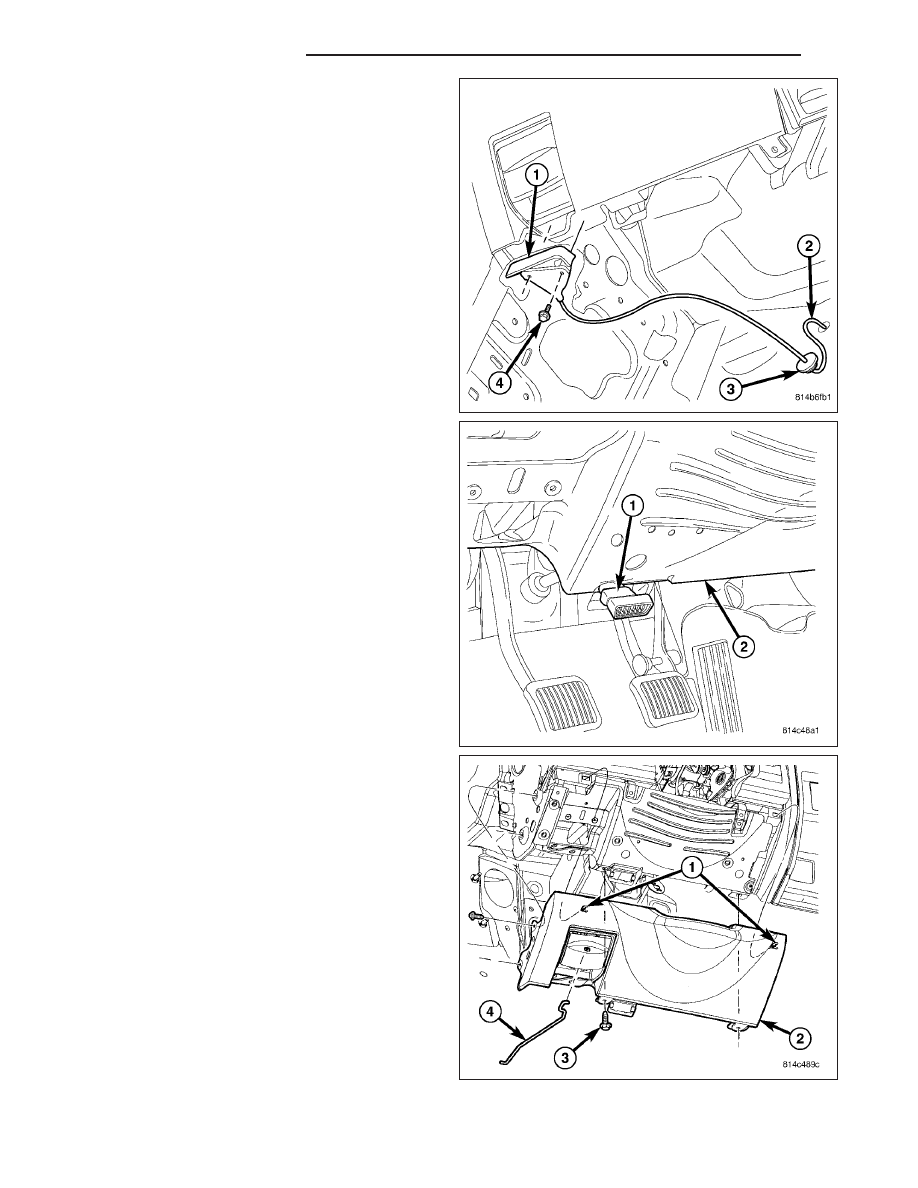
4. Position the hood release handle (1) back and
install the screws (4).
5. Snap the diagnostic connector (1) back into place
on the reinforcement (2) and seat fully.
6. Position the column cover against the reinforce-
ment and route the brake release rod through the
hole in cover.
7. Seat the upper retaining clips (1) fully and install
the bottom and side screws (3).
23 - 178
INSTRUMENT PANEL
ND

8. Connect the release rod (3) to the release handle
(1) and secure the attachment clip (2) fully.
9. Position the end cap and seat the retaining clips
fully.
ND
INSTRUMENT PANEL
23 - 179
Нет комментариевНе стесняйтесь поделиться с нами вашим ценным мнением.
Текст