Infiniti FX35, FX50 (S51). Manual — part 555
PREPARATION
DLN-55
< PREPARATION >
[TRANSFER: ETX13C]
C
E
F
G
H
I
J
K
L
M
A
B
DLN
N
O
P
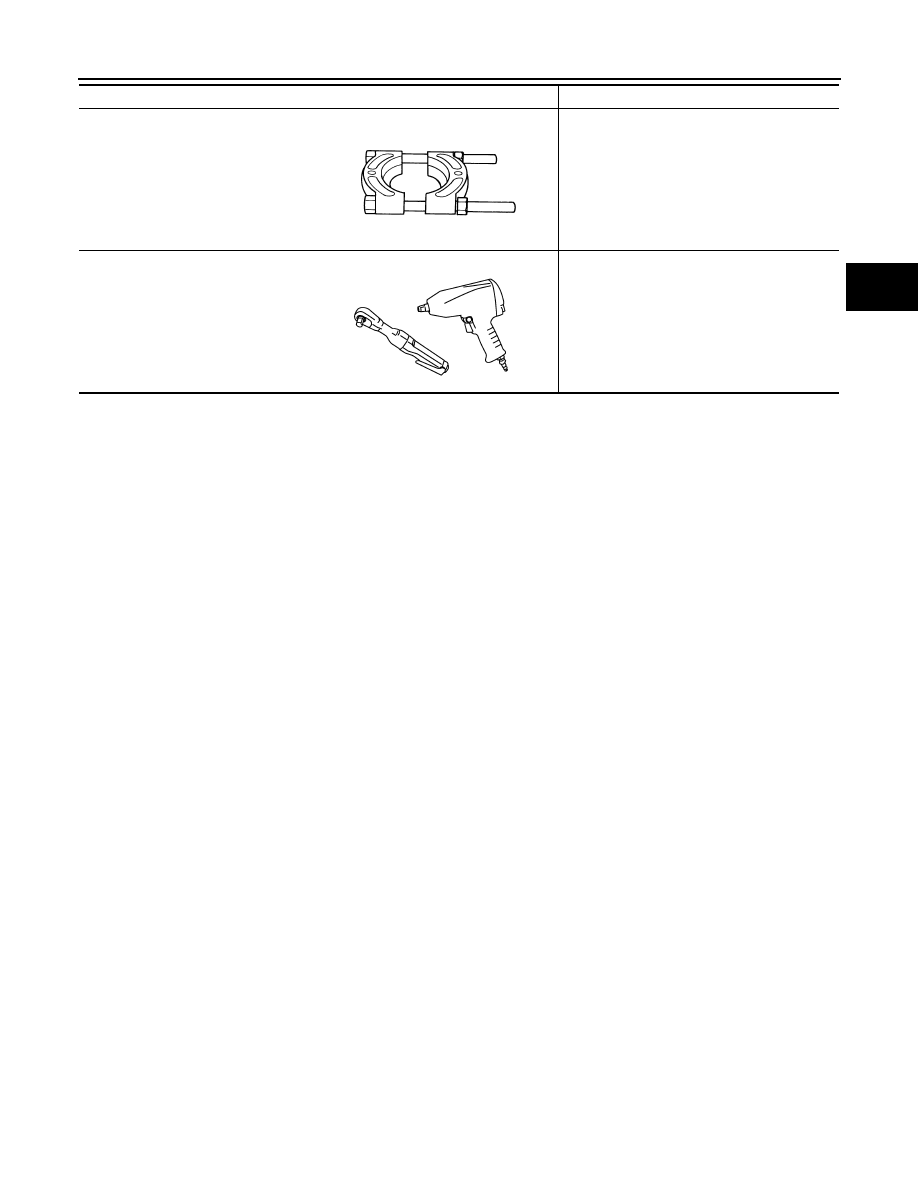
Replacer
• Remove companion flange
• Removing front drive shaft front bearing
• Removing front drive shaft rear bearing
Power tool
Loosening bolts and nuts
Tool name
Description
ZZB0823D
PBIC0190E
DLN-56
< PERIODIC MAINTENANCE >
[TRANSFER: ETX13C]
TRANSFER FLUID
PERIODIC MAINTENANCE
TRANSFER FLUID
VQ35HR
VQ35HR : Inspection
INFOID:0000000005249099
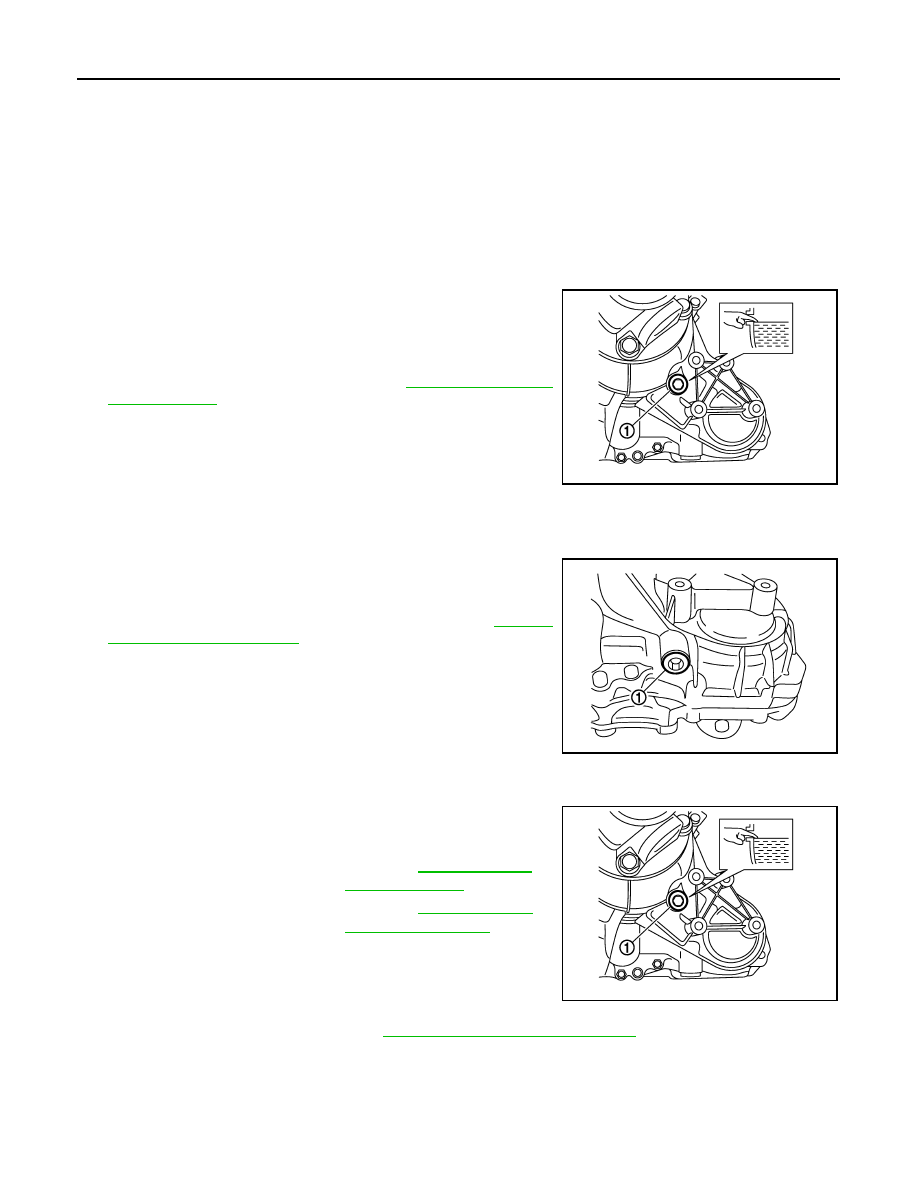
FLUID LEAKAGE
Check transfer surrounding area (oil seal, drain plug, and filler plug etc.) for fluid leakage.
FLUID LEVEL
1.
Remove filler plug (1) and gasket. Then check that fluid is filled
up from mounting hole for the filler plug.
CAUTION:
Never start engine while checking fluid level.
2.
Set a new gasket onto filler plug, and install it on transfer and
tighten to the specified torque. Refer to
.
CAUTION:
Never reuse gasket.
VQ35HR : Draining
INFOID:0000000005249100
1.
Run the vehicle to warm up the transfer unit sufficiently.
2.
Stop the engine, and remove the drain plug (1) to drain the
transfer fluid.
3.
Set a new gasket onto the drain plug, and install it on the trans-
fer and tighten to the specified torque. Refer to
CAUTION:
Never reuse gasket.
VQ35HR : Refilling
INFOID:0000000005249101
1.
Remove filler plug (1) and gasket. Then fill fluid up to mounting
hole for the filler plug.
CAUTION:
Carefully fill the fluid. (Fill up for approximately 3 minutes.)
2.
Leave the vehicle for 3 minutes, and check the fluid level again.
3.
Set a new gasket onto filler plug, and install it on transfer and
tighten to the specified torque. Refer to
DLN-69, "VQ35HR : Exploded View"
.
CAUTION:
Never reuse gasket.
VK50VE
JPDIE0129ZZ
JPDIE0130ZZ
Fluid and viscosity
: Refer to
.
Fluid capacity
: Refer to
.
JPDIE0129ZZ
TRANSFER FLUID
DLN-57
< PERIODIC MAINTENANCE >
[TRANSFER: ETX13C]
C
E
F
G
H
I
J
K
L
M
A
B
DLN
N
O
P
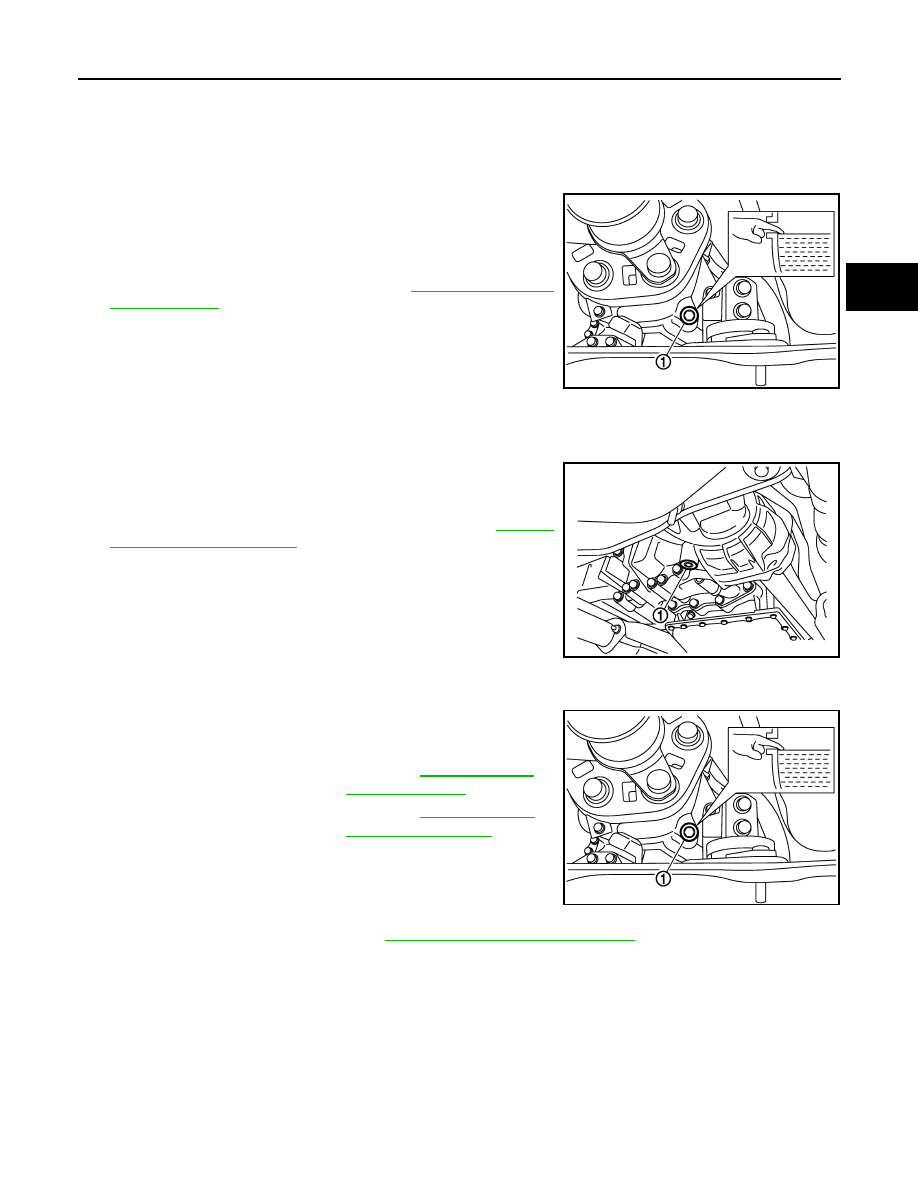
VK50VE : Inspection
INFOID:0000000005249102
FLUID LEAKAGE
Check transfer surrounding area (oil seal, drain plug, and filler plug etc.) for fluid leakage.
FLUID LEVEL
1.
Remove filler plug (1) and gasket. Then check that fluid is filled
up from mounting hole for the filler plug.
CAUTION:
Never start engine while checking fluid level.
2.
Set a new gasket onto filler plug, and install it on transfer and
tighten to the specified torque. Refer to
.
CAUTION:
Never reuse gasket.
VK50VE : Draining
INFOID:0000000005249103
1.
Run the vehicle to warm up the transfer unit sufficiently.
2.
Stop the engine, and remove the drain plug (1) to drain the
transfer fluid.
3.
Set a new gasket onto the drain plug, and install it on the trans-
fer and tighten to the specified torque. Refer to
.
CAUTION:
Never reuse gasket.
VK50VE : Refilling
INFOID:0000000005249104
1.
Remove filler plug (1) and gasket. Then fill fluid up to mounting
hole for the filler plug.
CAUTION:
Carefully fill the fluid. (Fill up for approximately 3 minutes.)
2.
Leave the vehicle for 3 minutes, and check the fluid level again.
3.
Set a new gasket onto filler plug, and install it on transfer and
tighten to the specified torque. Refer to
DLN-78, "VK50VE : Exploded View"
CAUTION:
Never reuse gasket.
JSDIA0788ZZ
JSDIA0789ZZ
Fluid and viscosity
: Refer to
.
Fluid capacity
: Refer to
.
JSDIA0788ZZ
DLN-58
< REMOVAL AND INSTALLATION >
[TRANSFER: ETX13C]
AWD CONTROL UNIT
REMOVAL AND INSTALLATION
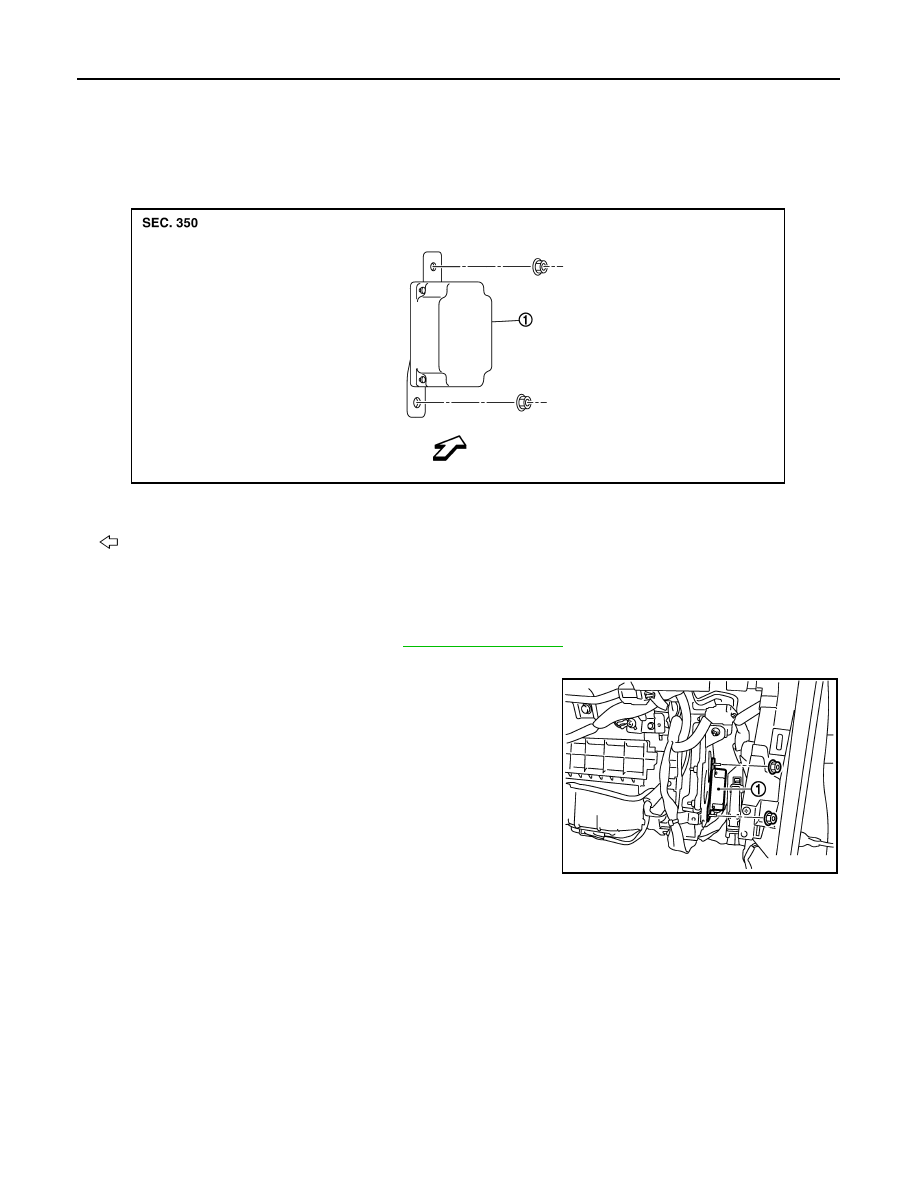
AWD CONTROL UNIT
Exploded View
INFOID:0000000005249105
Removal and Installation
INFOID:0000000005249106
REMOVAL
1.
Remove the glove box assembly. Refer to
2.
Disconnect AWD control unit harness connector.
3.
Remove AWD control unit (1) mounting nuts.
4.
Remove AWD control unit.
INSTALLATION
Install in the reverse order of removal.
1.
AWD control unit
: Vehicle front
JSDIA0050ZZ
JSDIA0051ZZ
Нет комментариевНе стесняйтесь поделиться с нами вашим ценным мнением.
Текст