Isuzu KB P190. Manual — part 1215

7D-30 TRANSFER CASE
Detent Spring Free Length
1. Use a vernier caliper to measure the detent spring
free length.
2. If the measured value is less than the specified limit,
the detent spring must be replaced.
Detent spring free length
Detent ball
Standard: 23.4 mm (0.92 in)
Limit: 22.8 mm (0.90 in)
220RW035
Detent Spring Tension
1. Use a spring tester to measure the detent spring
tension.
2. If the measured value is less than the specified limit,
the detent spring must be replaced.
Detent ball
Compressed height: 18.7 mm (0.736 in)
Standard: 68.6-88.2 N (7.0-9.0 kg/ 15.4-19.8 lb)
220RS013
Shift Arm
1. Inspect the shift arms for wear, distortion or scoring.
Replace if these conditions are present.
Shift Arm Thickness
1. Use a micrometer to measure the shift arm thickness.
2. If the measured value is less than the specified limit,
the shift arm must be replaced.
H-L Shift arm thickness
Standard: 7.6-7.85 mm (0.299-0.309 in)
Limit: 7.0 mm (0.276 in)
2-4 Shift arm thickness
Standard: 9.6-9.85 mm (0.378-0.388 in)
Limit: 9.0 mm (0.354 in)
TRANSFER CASE 7D-31
Reassembly
Transfer Reassembly
The rear cover oil seals and the rear output shaft ball
bearings cannot be reused. They must be replaced with
new ones when the transfer is reassembled.
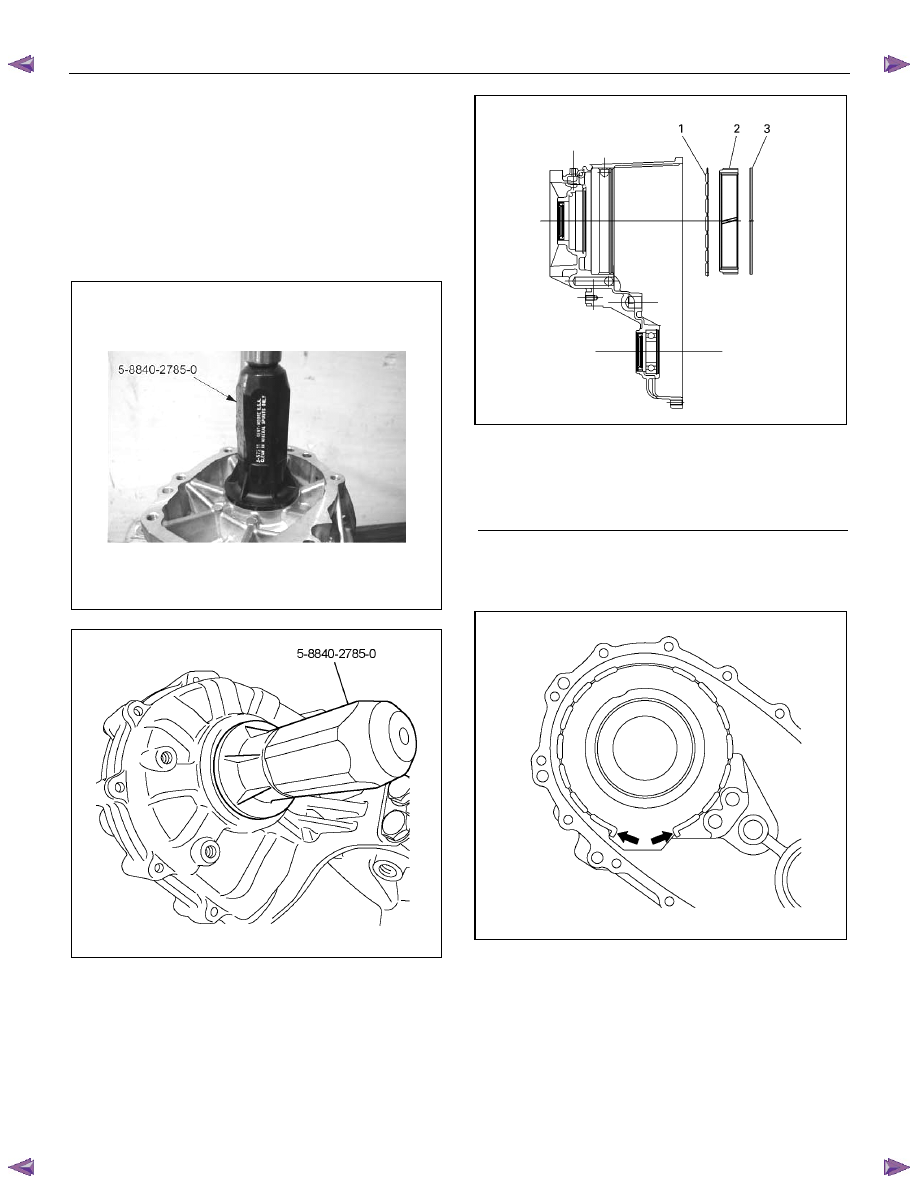
1. Use an oil seal installer (5-8840-2785-0) to press the
new input shaft and/or front output shaft oil seals into
place (If replacement is required).
RTW77DSH000301
2. Use a press to install the ball bearings to the front
output shaft. Be sure that the bearings are fully
inserted and then install the snap ring.
3. Install the damper ring and the internal gear to the
transfer case. Be sure that the damper ring is
between the internal gear and the case.
226R300004
Note the direction of the dumper ring installation as
figure.
226R300025
Legend
(1) Dumper Ring
(2) Internal Gear
(3) Retaining Ring

7D-32 TRANSFER CASE
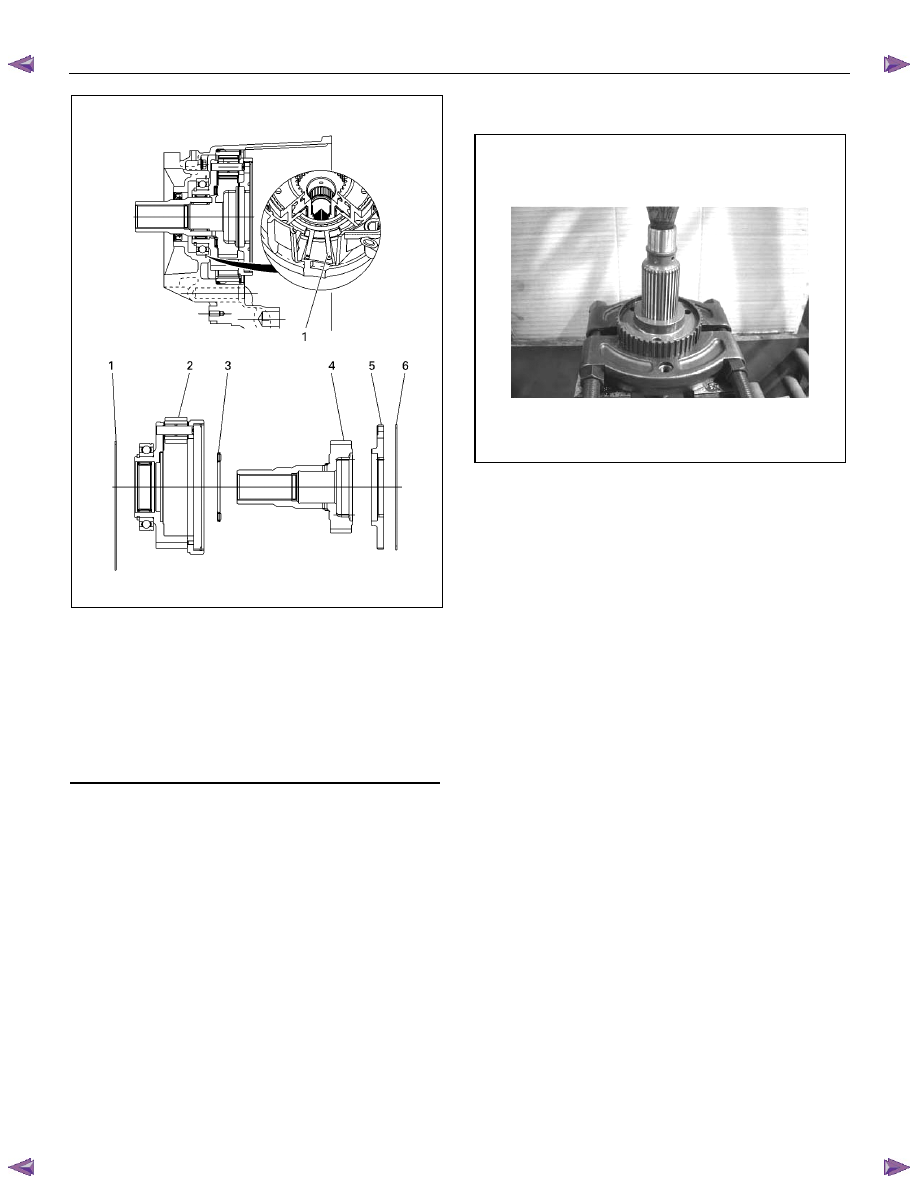
4. Use a press and an installer (5-8840-2784-0) to hold
the internal gear against the damper ring. Install the
retaining ring (spiral type).
5. Use a press and an installer (5-8840-2782-0) to force
the needle bearing fully into the carrier and gear
assembly.
6. Use a press and an appropriate special tool to force
the ball bearings fully into the carrier and gear
assembly.
7. Install the carrier snap ring.
8. Install the thrust needle bearing, the sun gear input
shaft, the needle bearing, the planetary dog teeth, and
the dog teeth snap ring to the carrier and gear
assembly in that order.
9. Install the outer retaining ring to the transfer case
10. Use a pair of snap ring pliers to install the carrier and
gear assembly.
NOTE: Be sure that the outer retaining ring fits snugly in
its groove.
TRANSFER CASE 7D-33
226R300003
11. Use a press to install the 2-4 hub.
12. Install the hub snap ring.
13. Install the synchronizer key springs, the synchronizer
key, and the 2-4 sleeve to the 2-4 hub. The key and
the open end of the springs must be facing in the
opposite direction.
Legend
(1) Retaining Ring
(2) Carrier and Gear ASM
(3) Thrust Needle Bearing
(4) Sungear Input Shaft
(5) Planetary Dog Teeth
(6) Dog Teeth Snap Ring
Нет комментариевНе стесняйтесь поделиться с нами вашим ценным мнением.
Текст