Jaguar XJ (X350). Manual — part 291
NOTE:
If you are re-using this fixing on a vehicle built prior to VIN H16708, then tighten to 25 Nm. If you
are replacing a fixing, then you must tighten to 30 Nm.
3 .
CAUTION: Make sure the pinch bolt is correctly installed.
Tighten to 35 Nm.
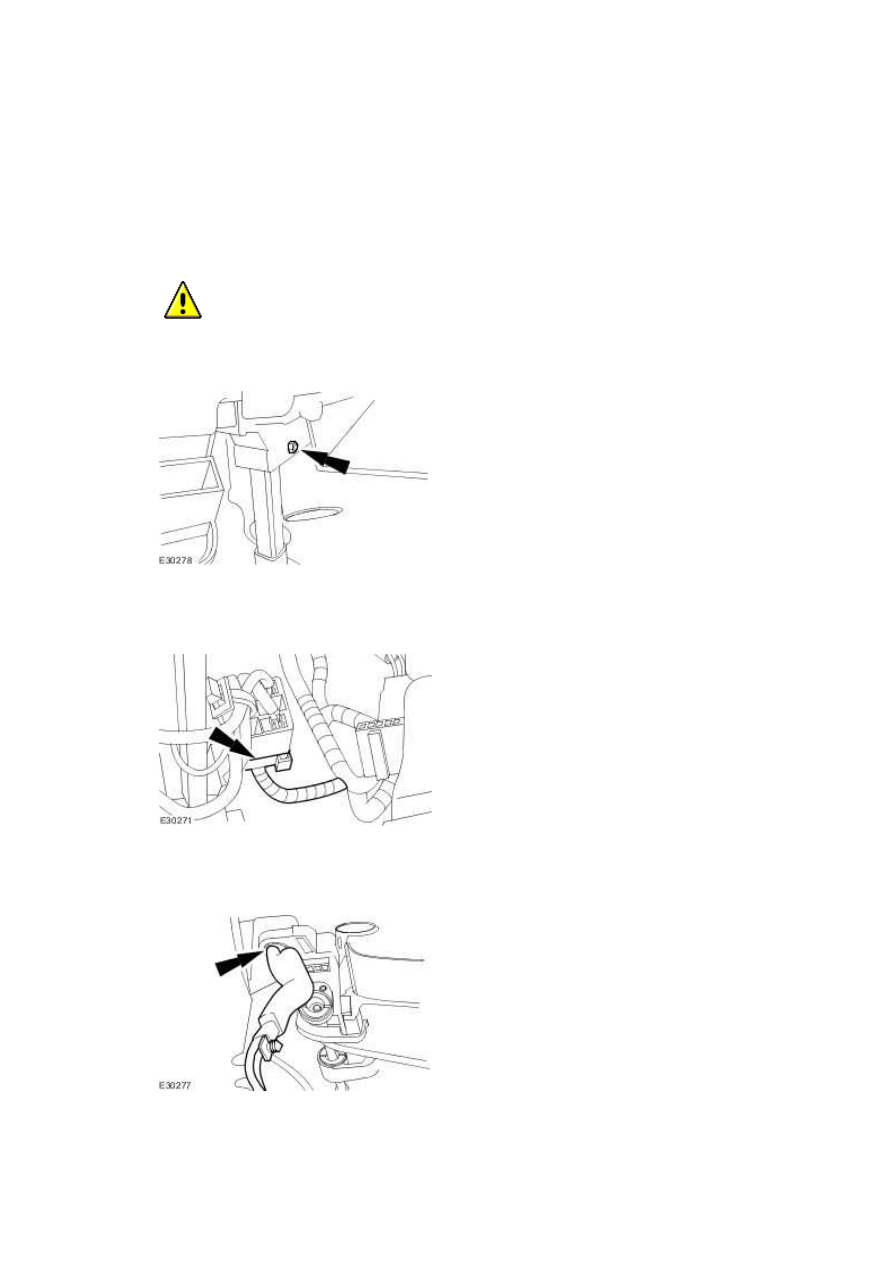
4 . Connect the steering column electrical connector.
5 . Attach the left-hand multifunction switch wiring harness.
6 . Attach the left-hand multifunction switch wiring harness.
7 . Attach the right-hand multifunction switch wiring harness.
8 . Attach the right-hand multifunction switch wiring harness.
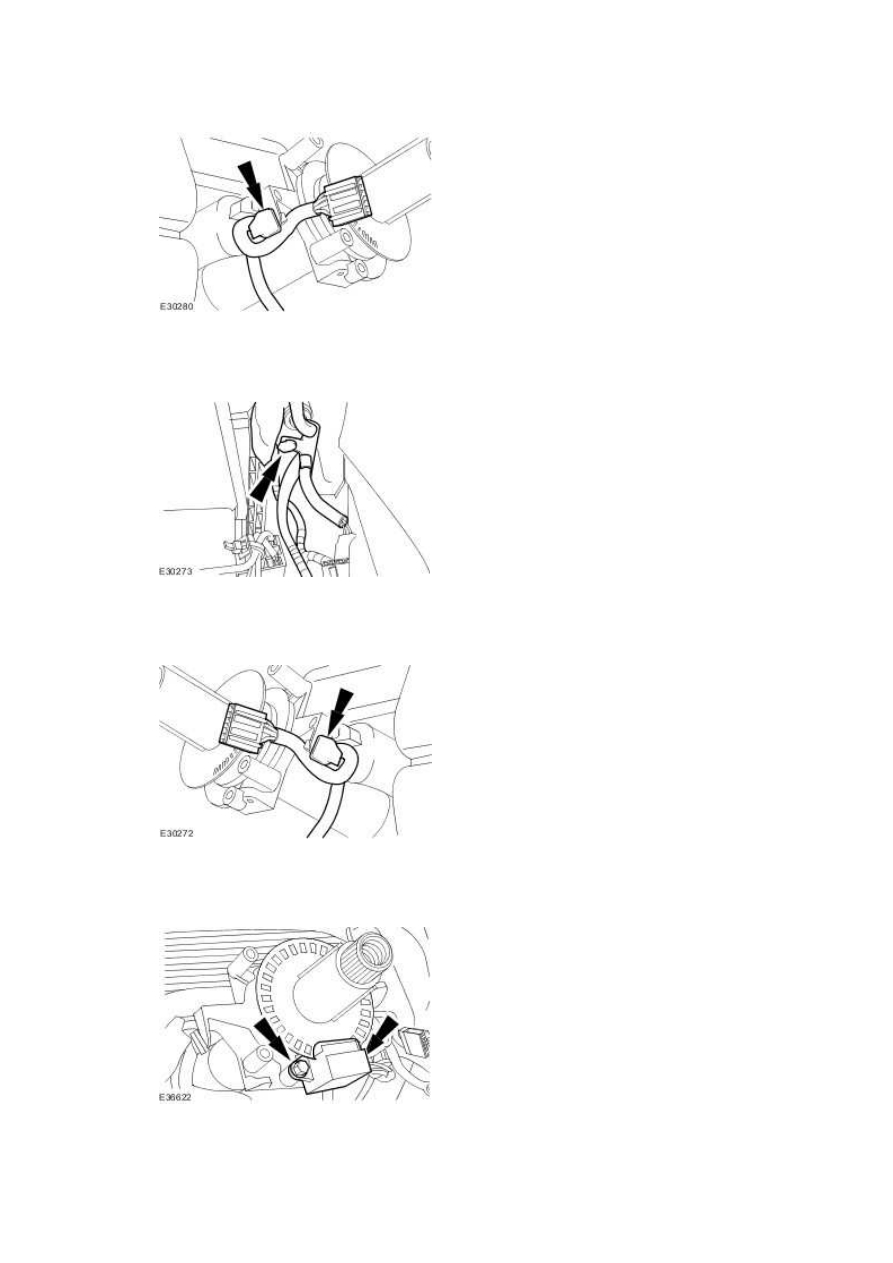
9 . Install the steering wheel rotation sensor.
www.
10 . Connect the steering wheel rotation sensor electrical connector.
11 . Install the clockspring.
For additional information, refer to
Clockspring (86.65.92)
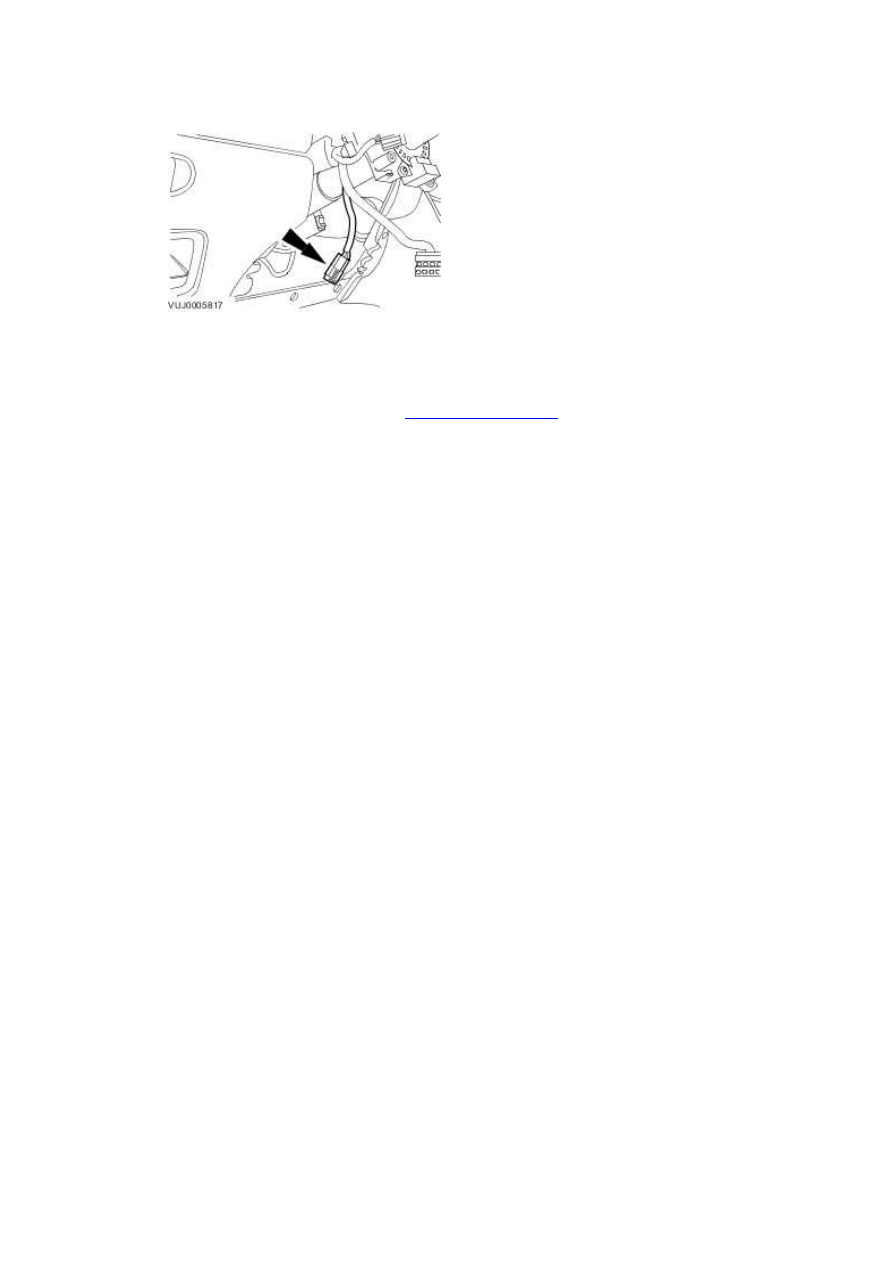
12 . Reposition the steering column back to its original position.
Steering Column Lower Shaft (57.40.05)
Removal
1 . Centralize the steering wheel.
Lock in position and remove the ignition key.
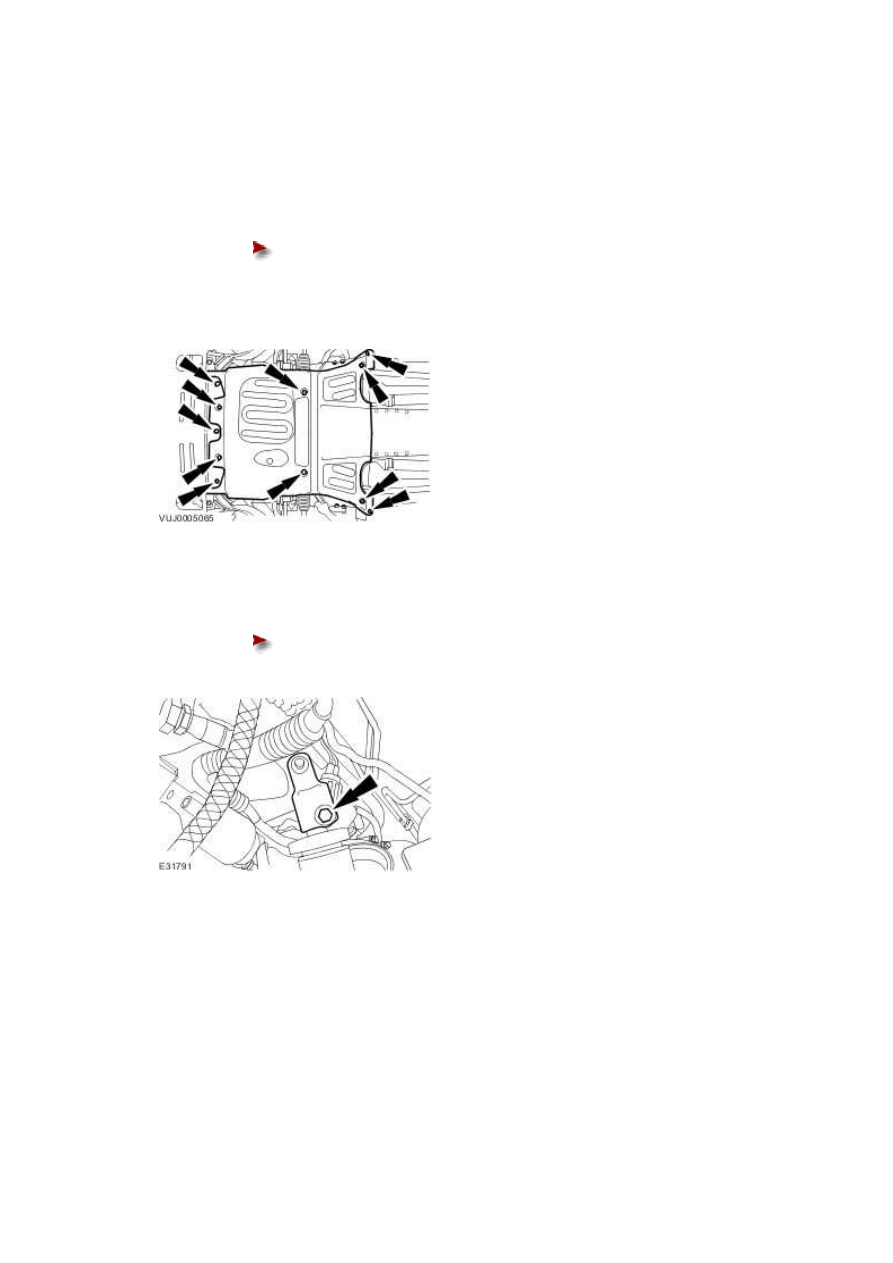
2 . Remove the air deflector.
3 . Detach the lower steering column universal joint from the steering gear.
Remove the retaining bolt.
4 . Remove the upper steering column pinch bolt.
www.
Нет комментариевНе стесняйтесь поделиться с нами вашим ценным мнением.
Текст